Devin Pettigrew
7/28/2013
Cross-peg atlatls are a traditional style of atlatl that we know was used in Arkansas, the Trans-Pecos and northeastern Mexico, and by Mesoamerican cultures in central Mexico. Its distribution may have been even more wide spread than the artifacts and artwork suggest (see my article on the Alred atlatl for more: http://basketmakeratlatl.com/?page_id=148).
The artifacts from Arkansas and northeastern Mexico reveal a very simple, minimalistic form of atlatl. I have had trouble reproducing the Alred atlatl due to the fact that the spur was placed at an off-shoot branch, and a specific wood was chosen from which to make the atlatl that can be difficult to find. However perfectly functional cross-peg atlatls can be made by carving the spur into the shaft.
Surprisingly I have had a lot of luck giving these simple cross-peg atlatls to beginners. Having no prior judgments, folks take to the grip fairly easily and are able to find a comfortable method for them. These atlatls are simple, easy to make, and also traditional.
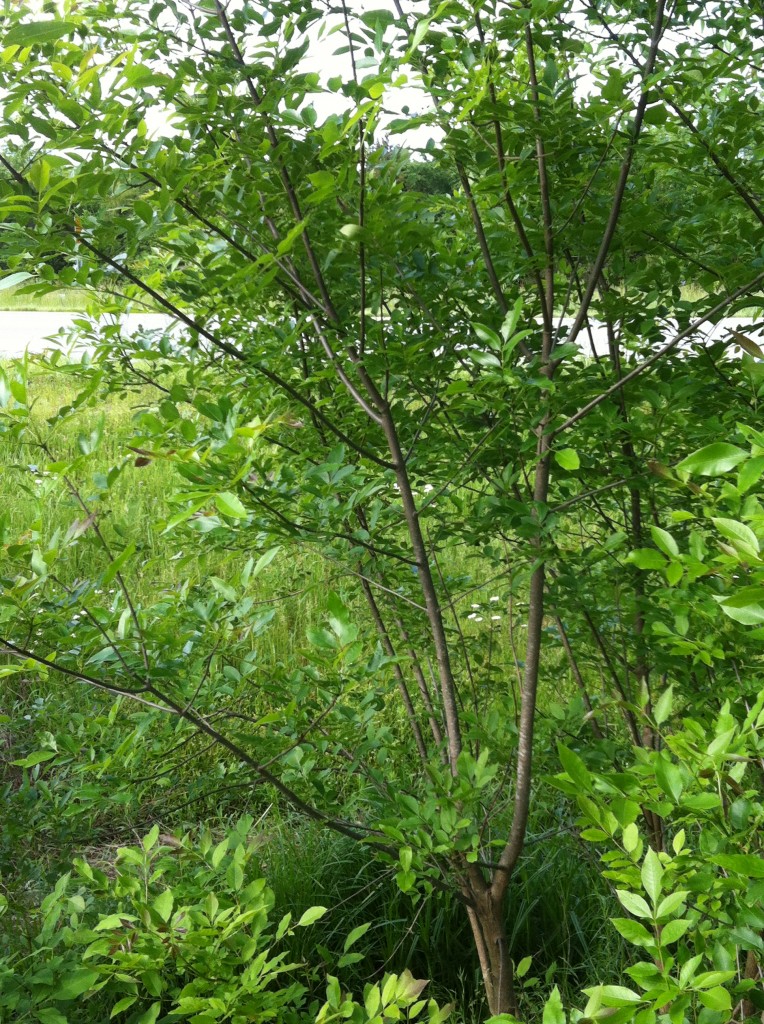
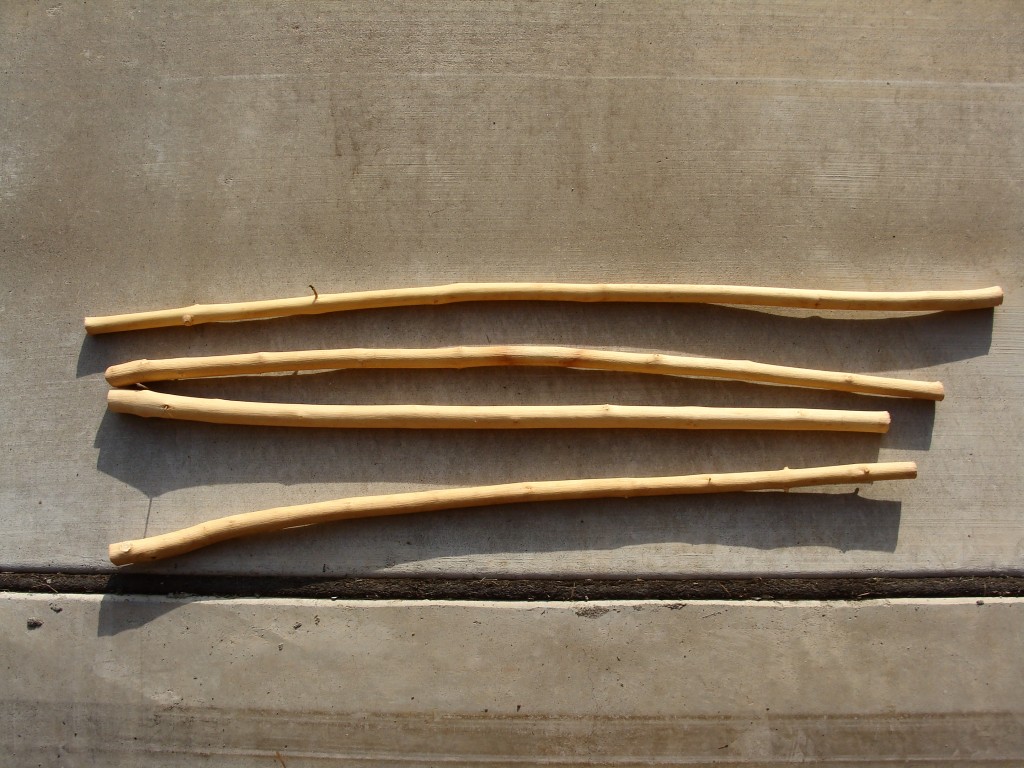
You can make a cross-peg atlatl from a dowel from the hardware store, or go to the woods and find a straight limb. I often use ash (Fraxinus sp), which grows with long straight branches. Here it is growing in a road ditch:
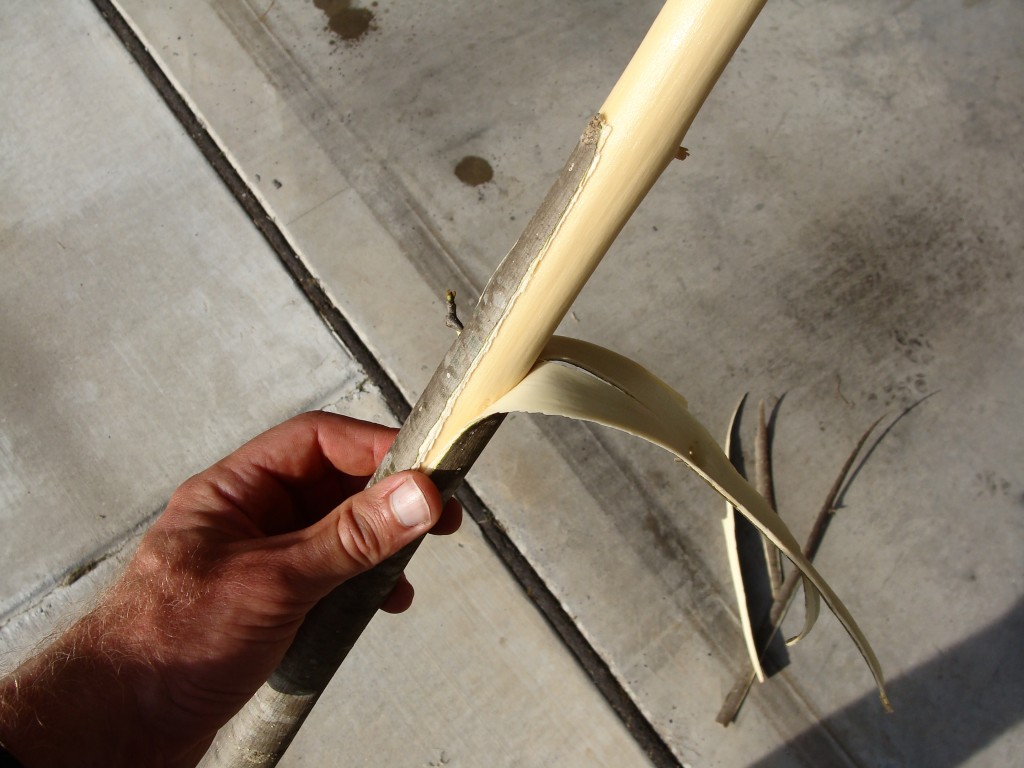
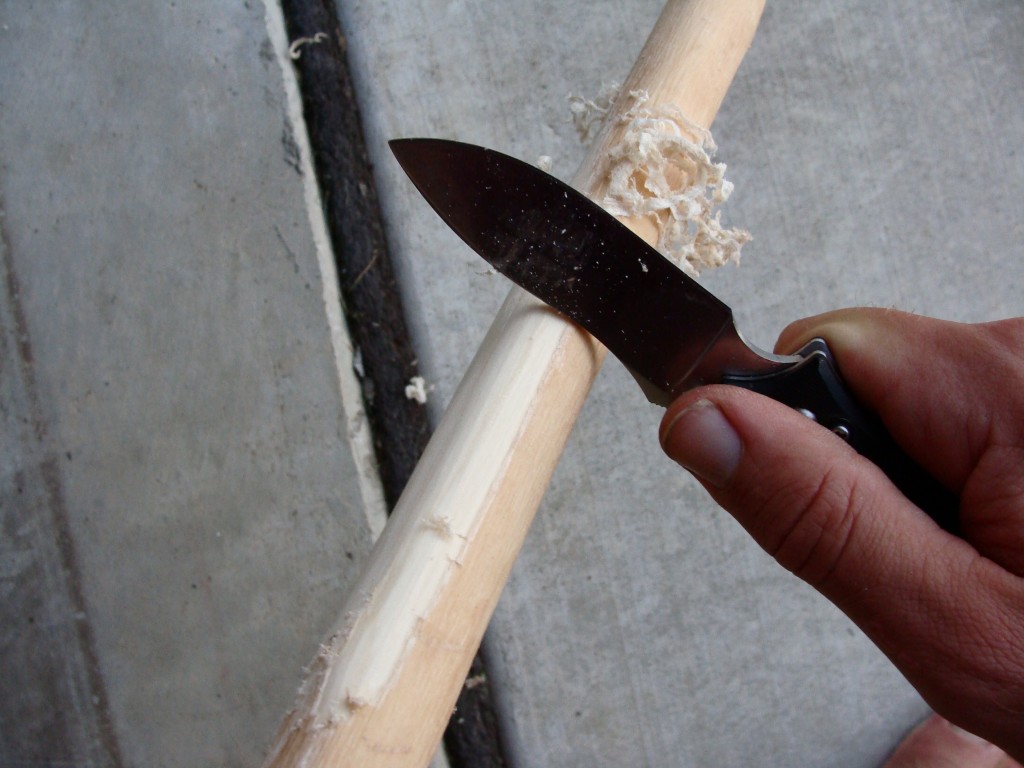
If you cut limbs in the spring or sometimes into summer the bark can usually be peeled. This is the easiest way to remove the bark. See if you can peel it from the end. If it can’t be peeled you can slice it off with a sharp knife or scrape it away. I use the 45 degree angle on the back of my locking knife to scrape. Experiment to see what works best with the piece you’ve chosen. You can also make these atlatls with the bark left on.
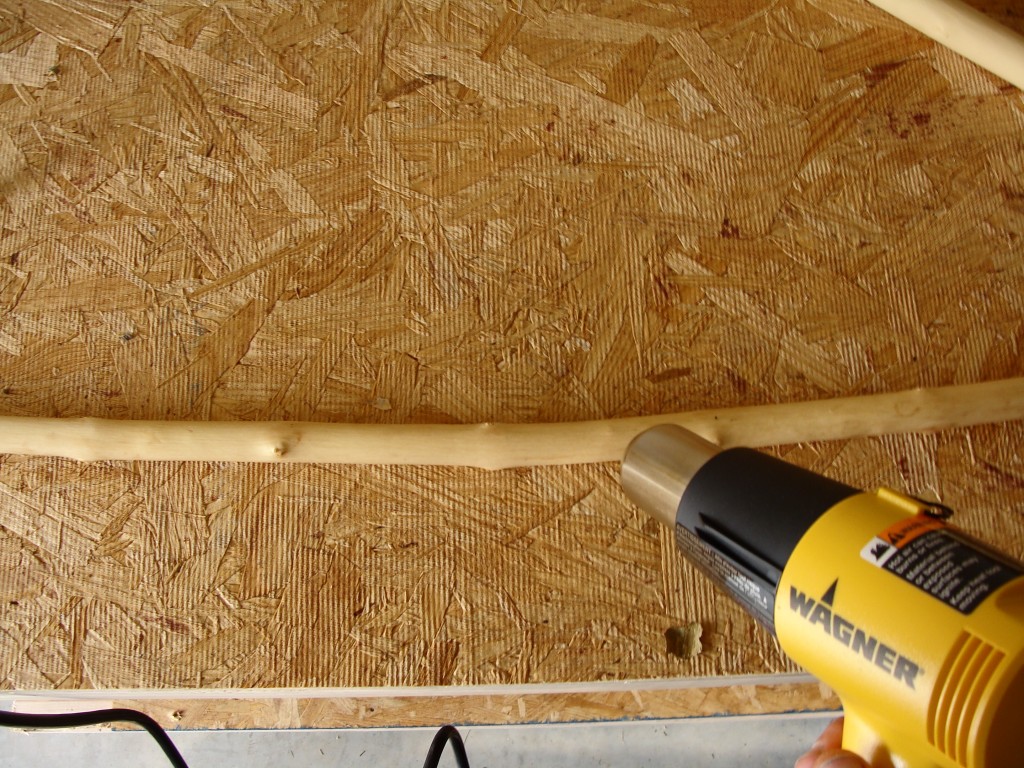
If the limb is slightly crooked you can straighten it over heat. Here I’m using a heat gun, but you can also use other heat sources such as your kitchen stove or of course fire. The limb might also be straightened without heat. It might take multiple episodes of straightening for the limb to retain its new shape. A tad bit of upward curvature can be helpful to facilitate proper engagement of the dart with the spur, but isn’t necessary.
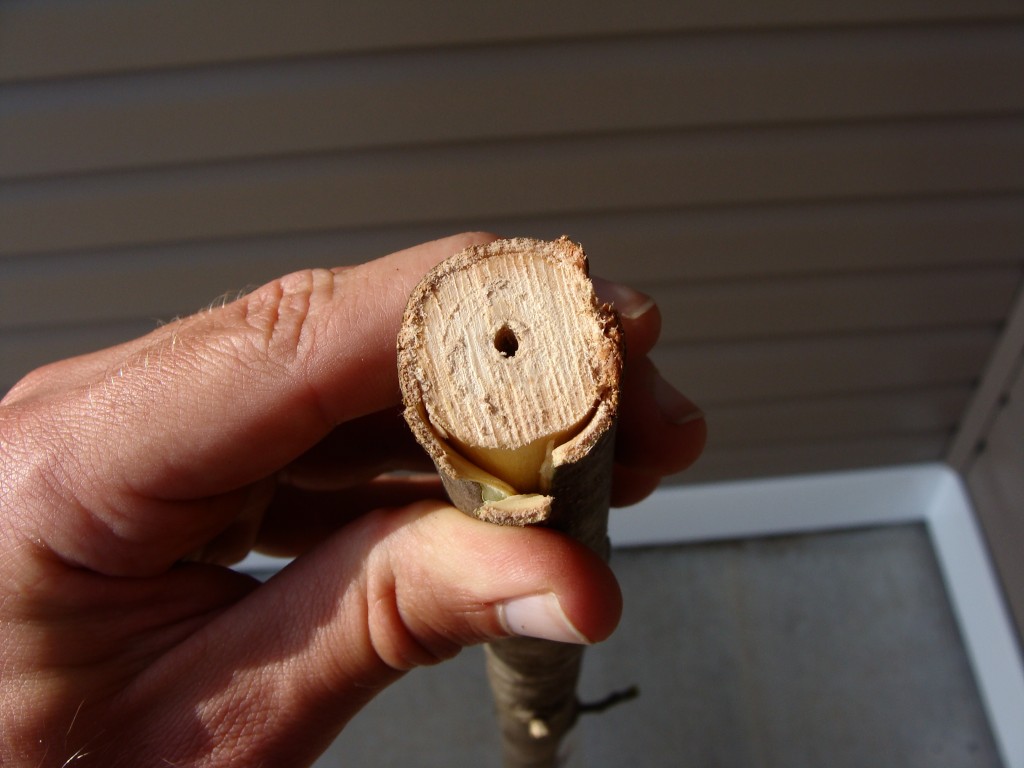
At this point I generally allow the limb to dry for a couple of days or longer, however you can keep working it completely green. Green wood is easily carved, but a lot of wood will crack (check) as it dries after the bark is removed or is carved into. Ash doesn’t do this if I give it a little drying time, which is one reason I like it. Experiment with your material. Checking will not effect the functionality of your atlatl, only the aesthetics. Checking can sometimes be reduced by heating the entire limb to cook out some of the moisture.
On ash there is a layer under the bark that turns a darker brown. It is easily scraped off with the knife after the bark is removed and it has dried a bit. I remove it just for aesthetic appeal.
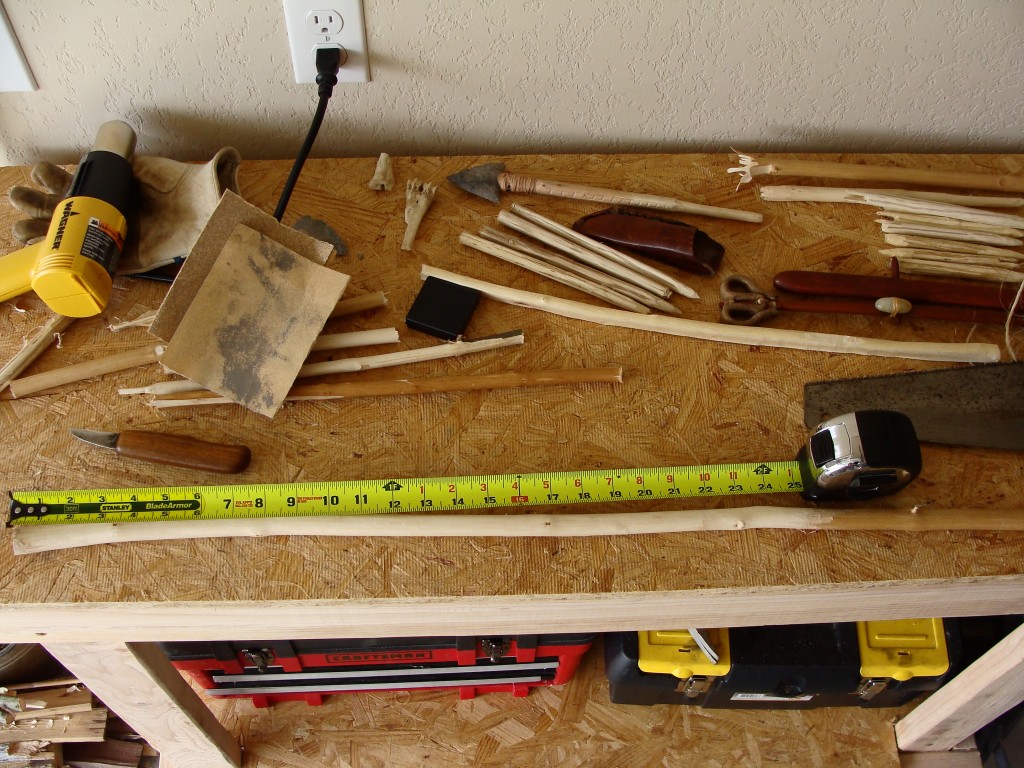
Cut the limb to length. A good length for most atlatls is somewhere between 20-25 inches. I don’t try to size the atlatl specifically to my body type, but that’s something you can look into (see Justin’s video on sizing atlatls and darts using body measurements: https://www.youtube.com/watch?v=w2aEwL7O278). Look for the best shape in the limb to cut out.
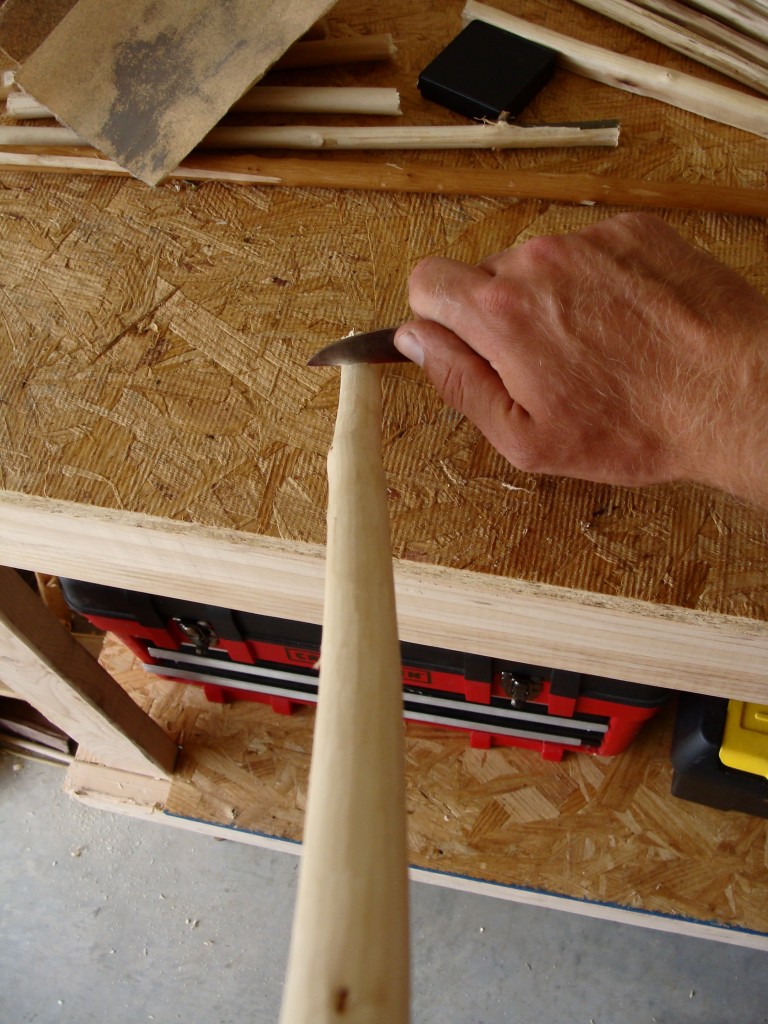
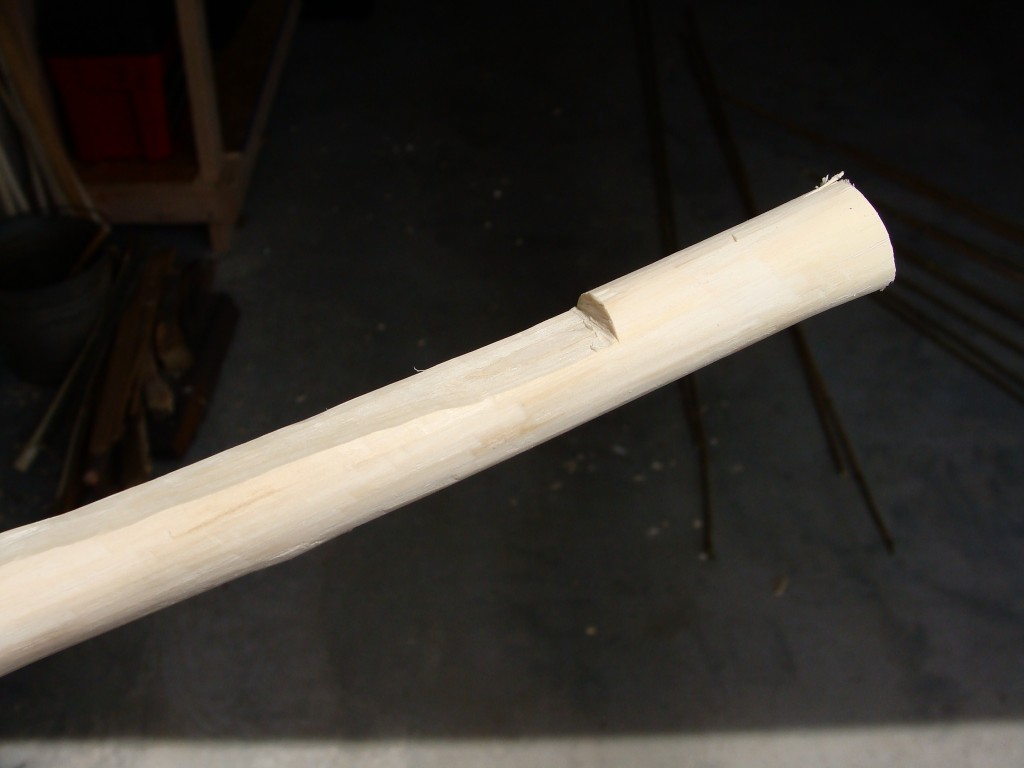
Now its time to carve the spur. If the atlatl has some curvature to it, sight down it to match up the position of the spur with the curve, then cut straight down into the limb. I like a little head space behind the spur for aesthetics, as on the originals, so I leave a couple of inches or so behind the cut.
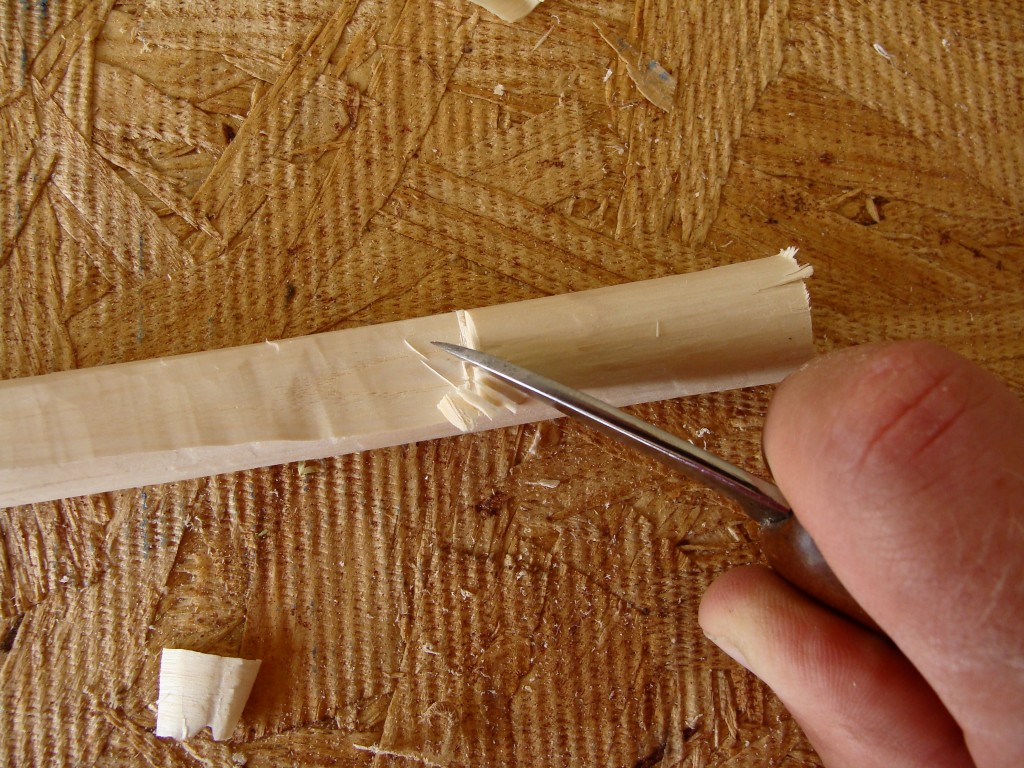
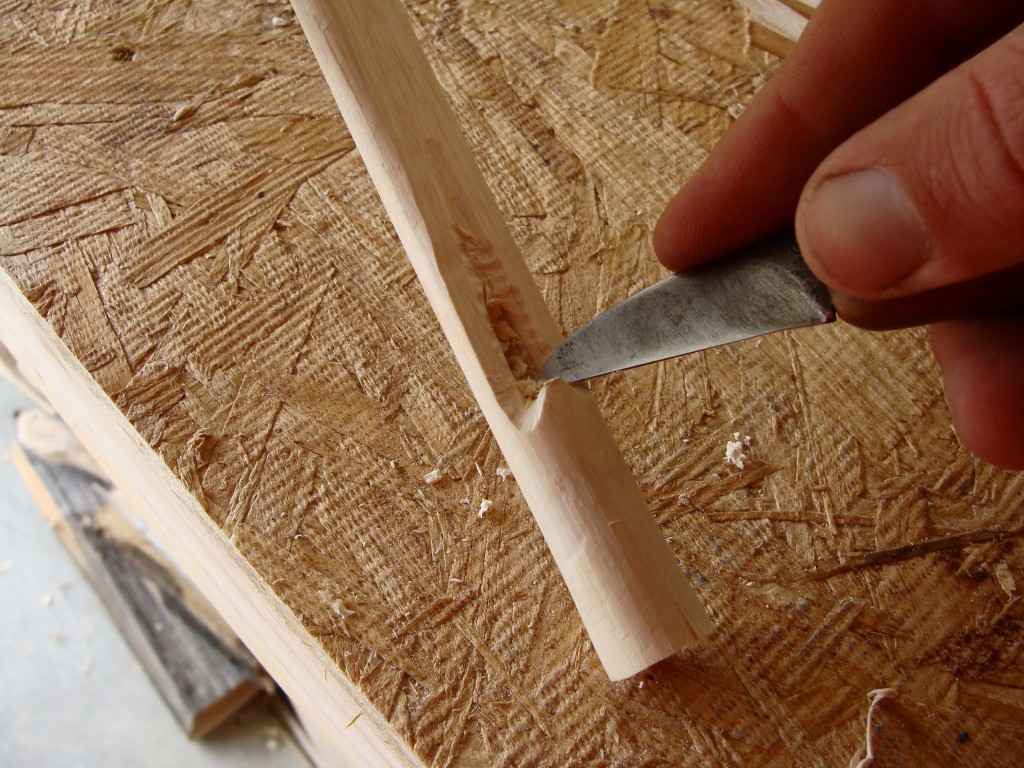
Carefully whittle up to the cut. The cut will form a stopper for the knife blade when you have whittled deep enough.
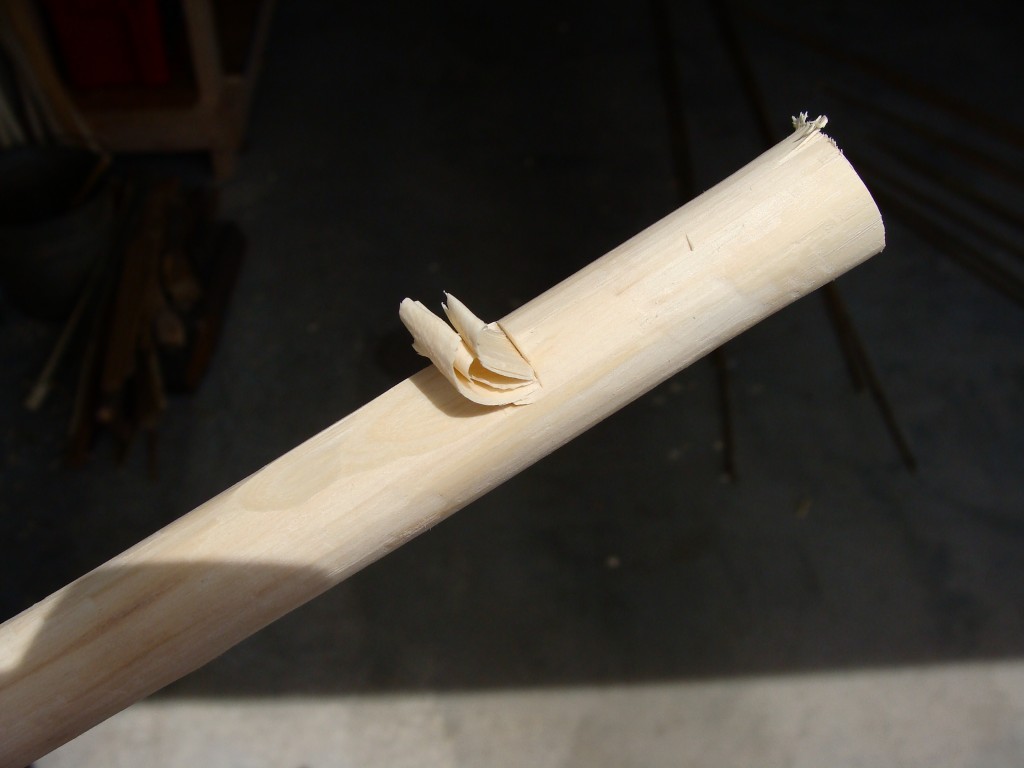
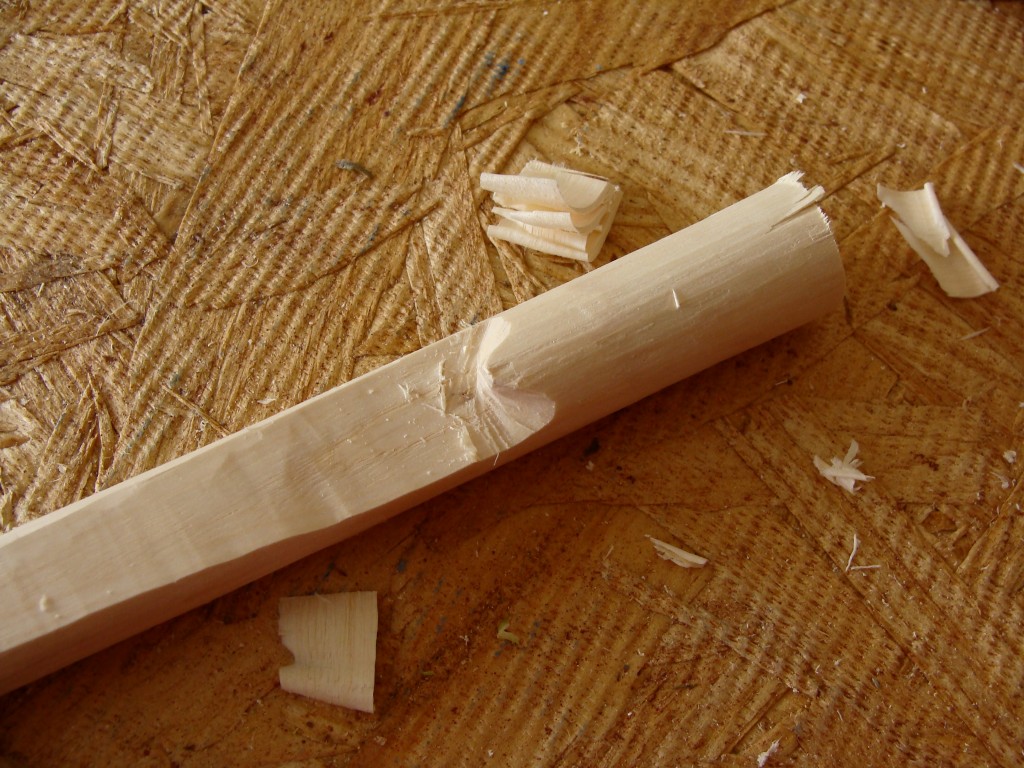
Cut straight down again to remove the shavings.
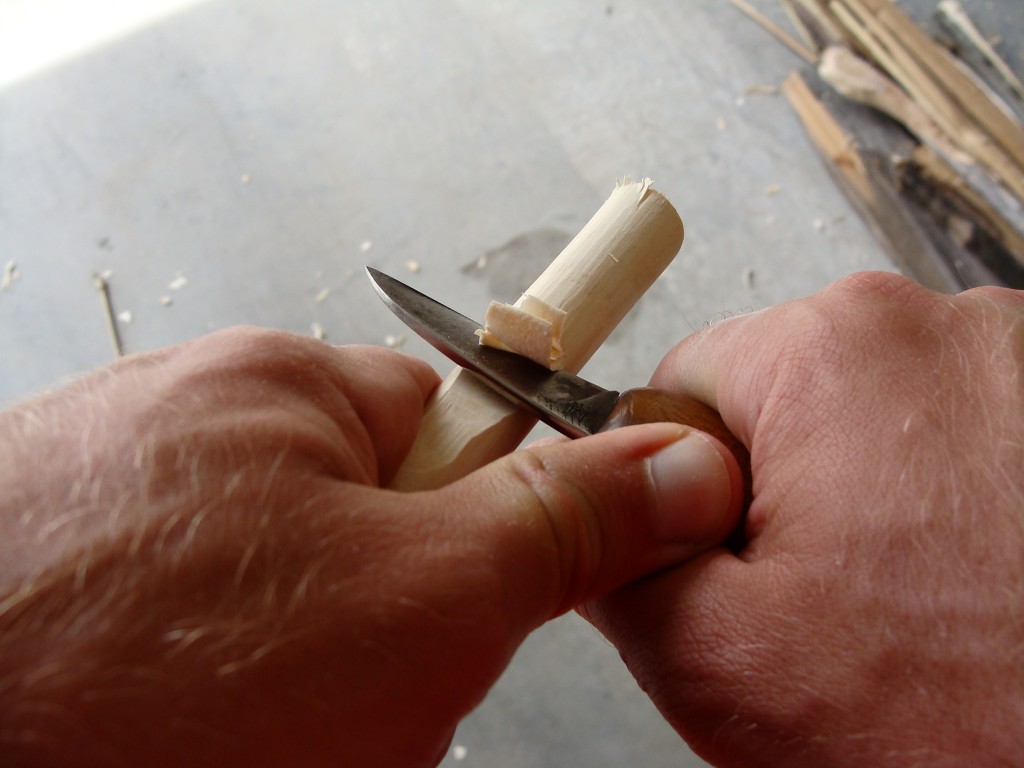
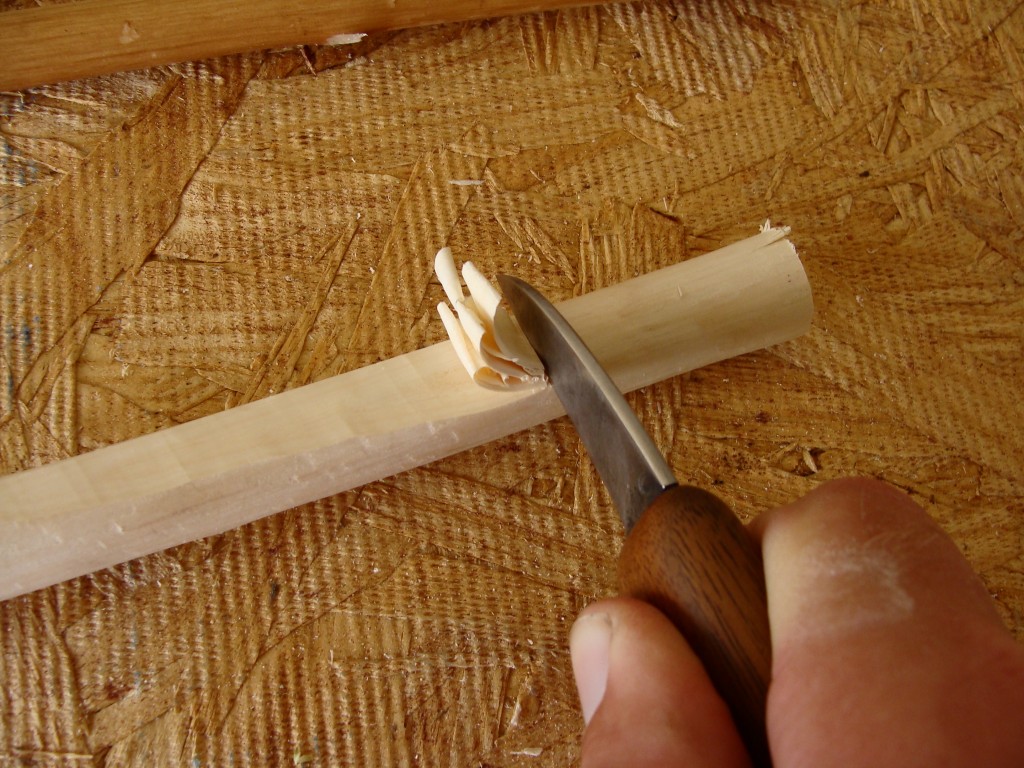
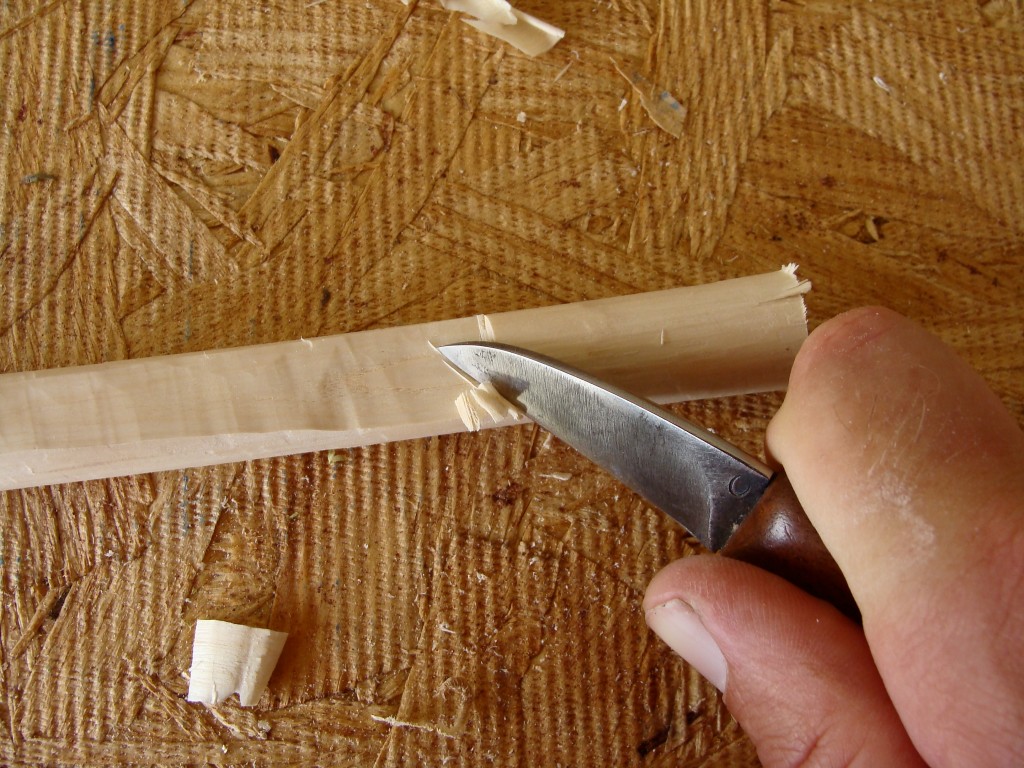
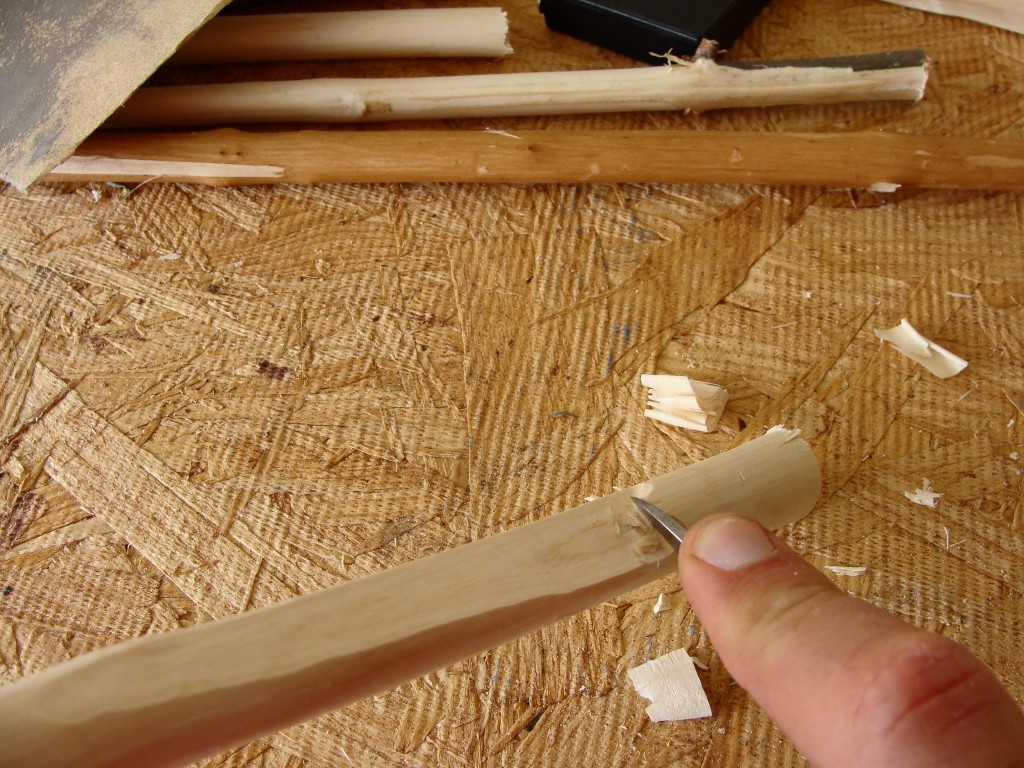
Now cut off the edges. Cut straight down and roll the knife blade out at the bottom. This isn’t prying, which can break a knife blade, but more like a rolling cut.
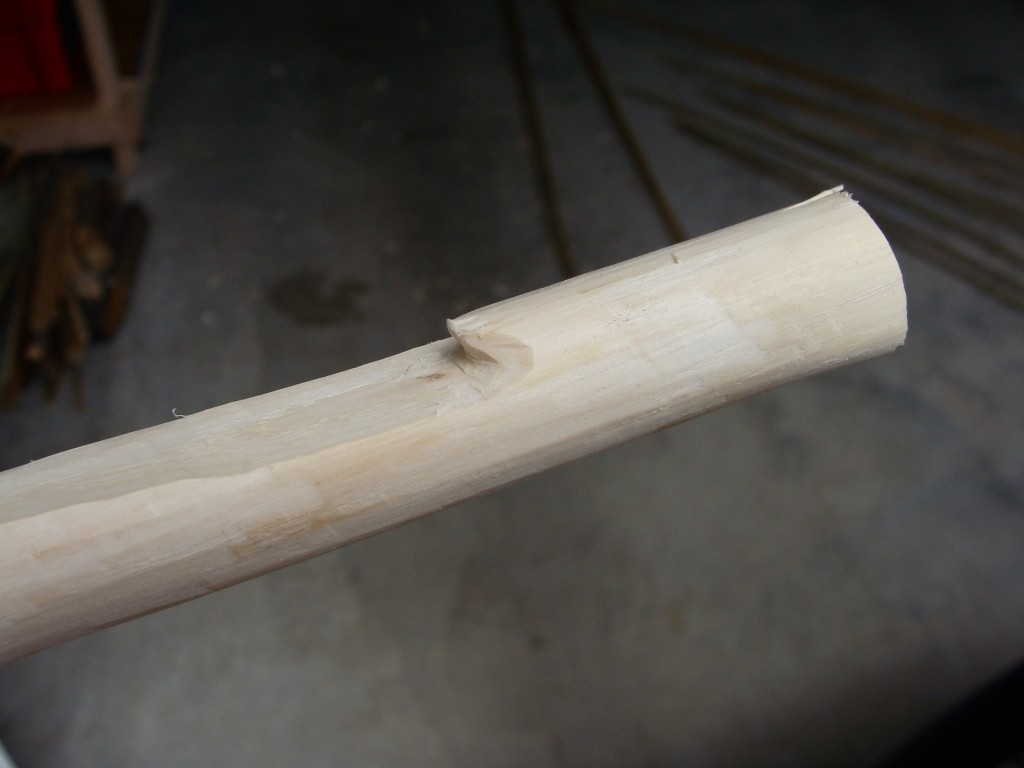
Now make a cut angling in to form the spur, again rolling out at the bottom.
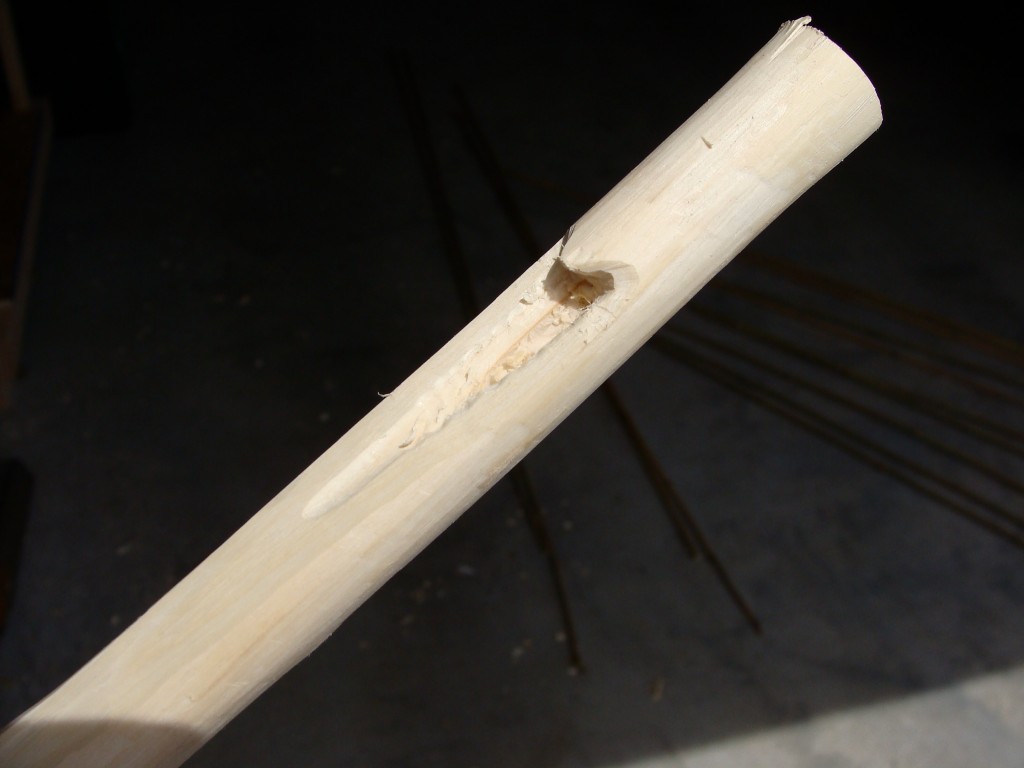
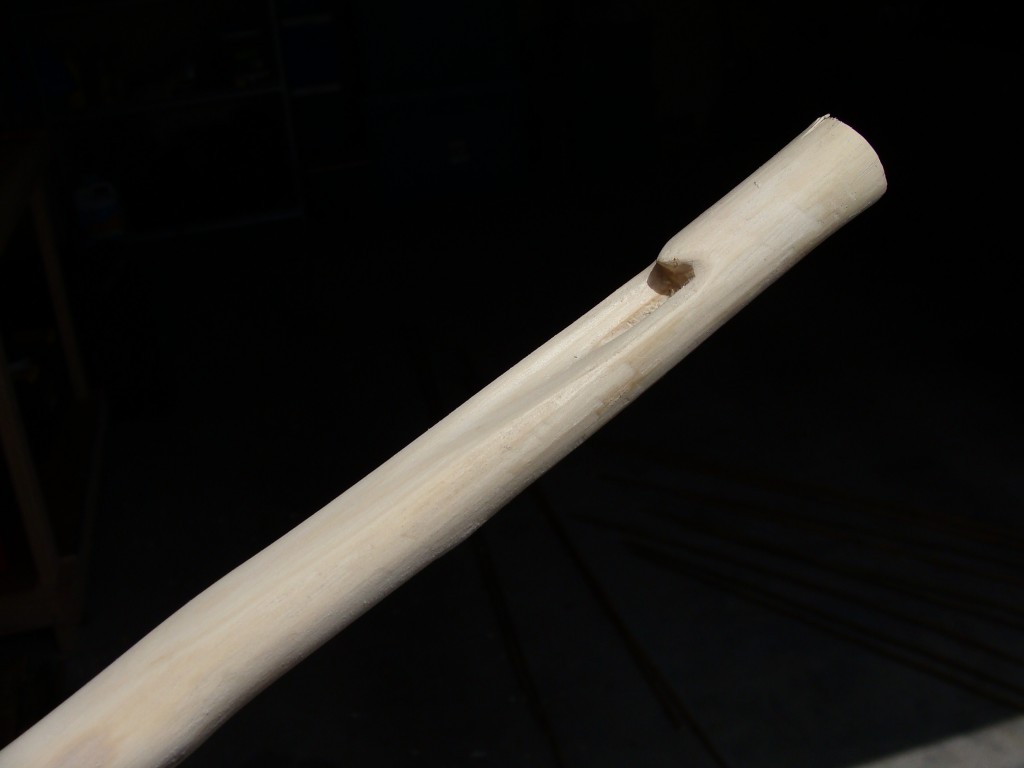
At this point you have a functioning atlatl. A dart could be thrown with it right now, or you could go straight to putting in the peg or some other handle contrivance. However notice I’ve left the spur a little low. That’s because I intend to carve in a short loading groove up to the spur. Not necessary and many artifacts don’t have them, but something I’ve grown accustomed to, so whether or not you carve a loading groove is optional.
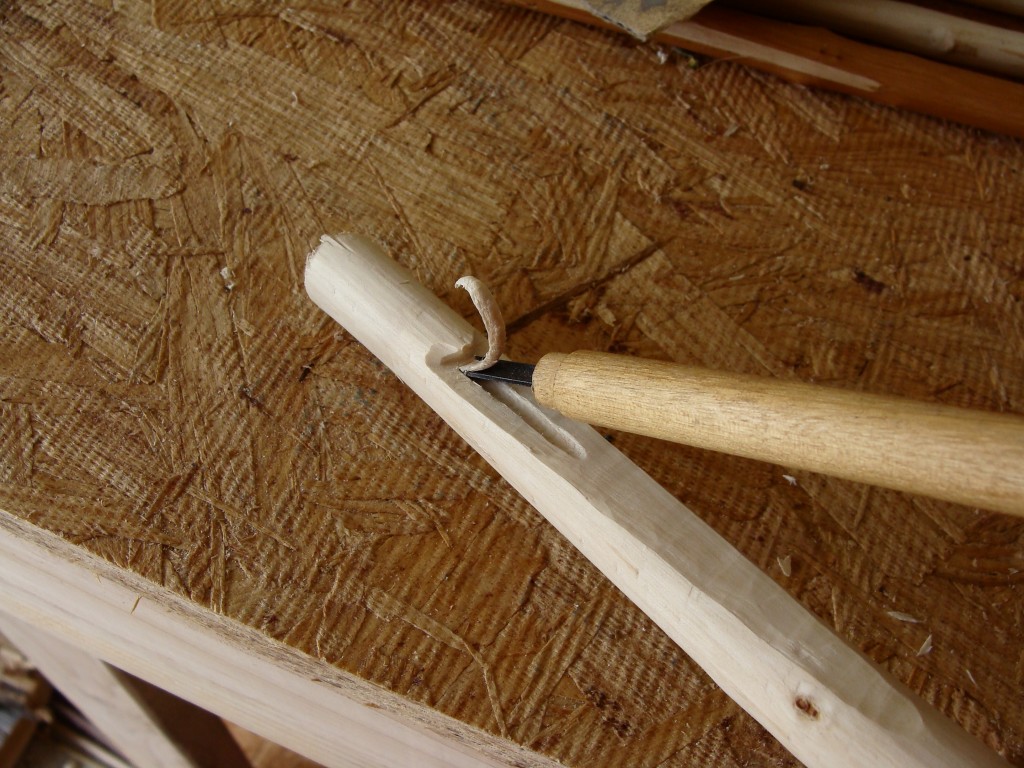
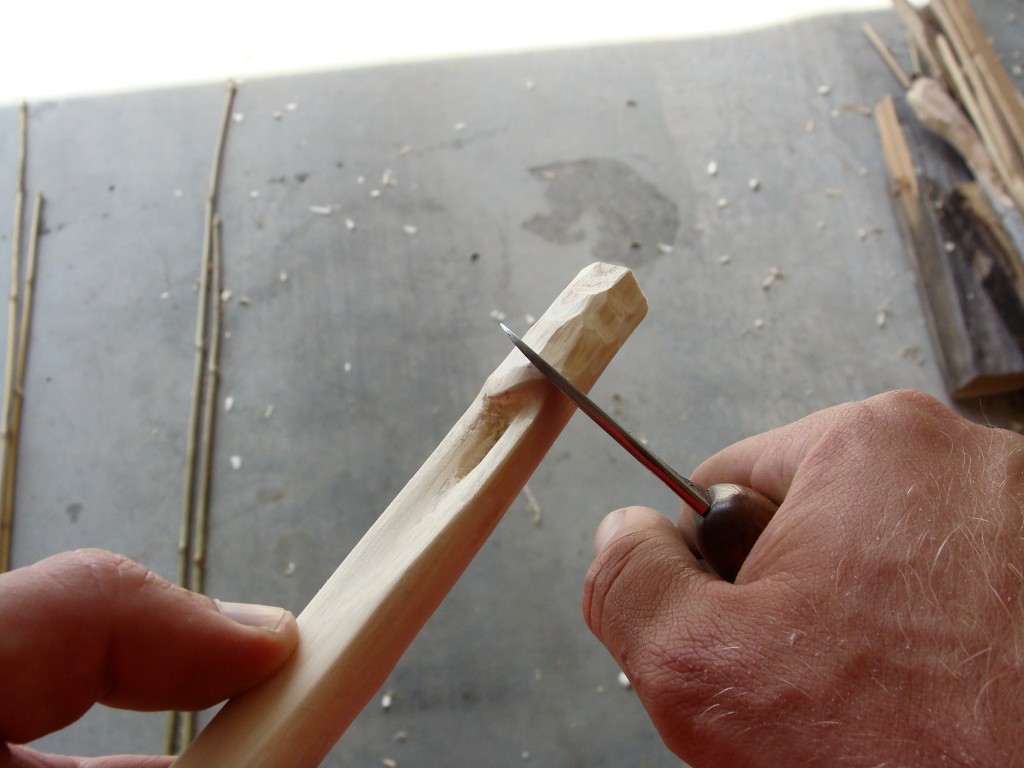
I use a cheap rounded gouge for this task. Cut up to the spur, then shape the groove with cuts from the side.
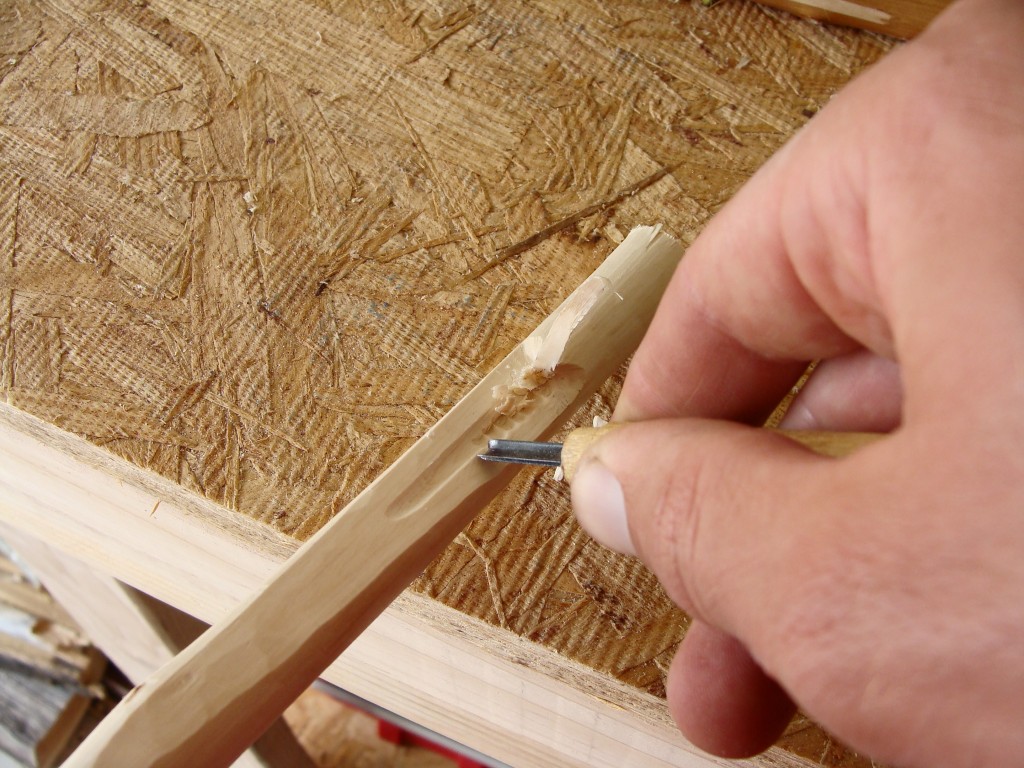
Use your knife to clean up the edges of the groove. Use rolling cuts to clean out under the spur as well.
Once again you now have a functional groove.
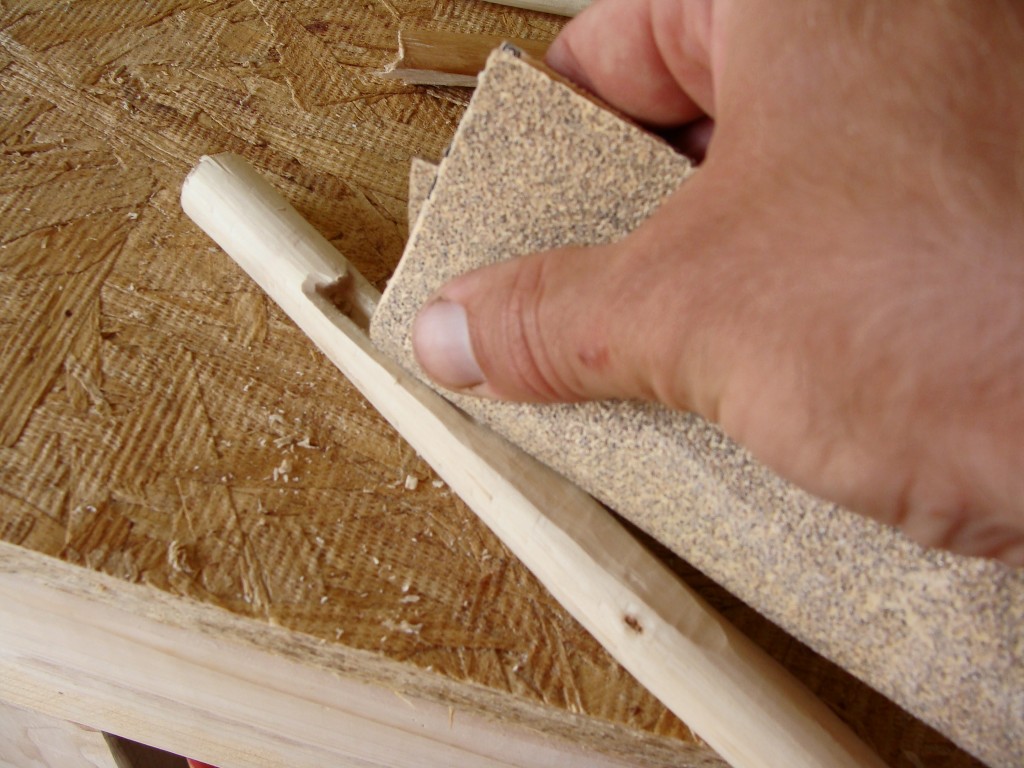
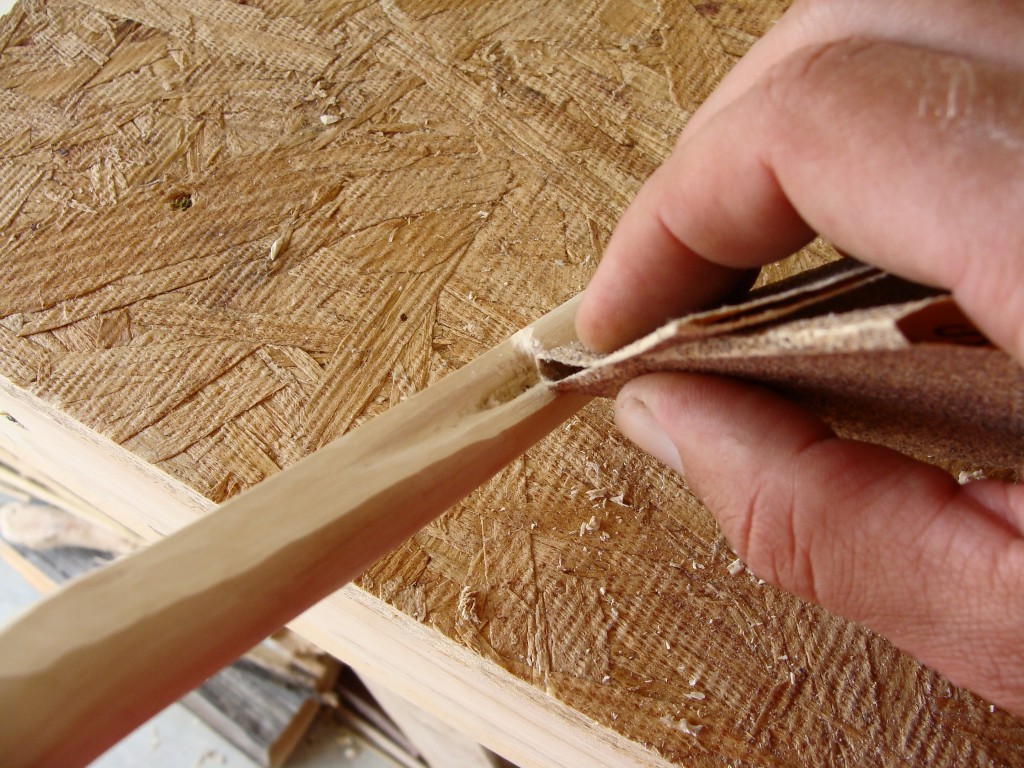
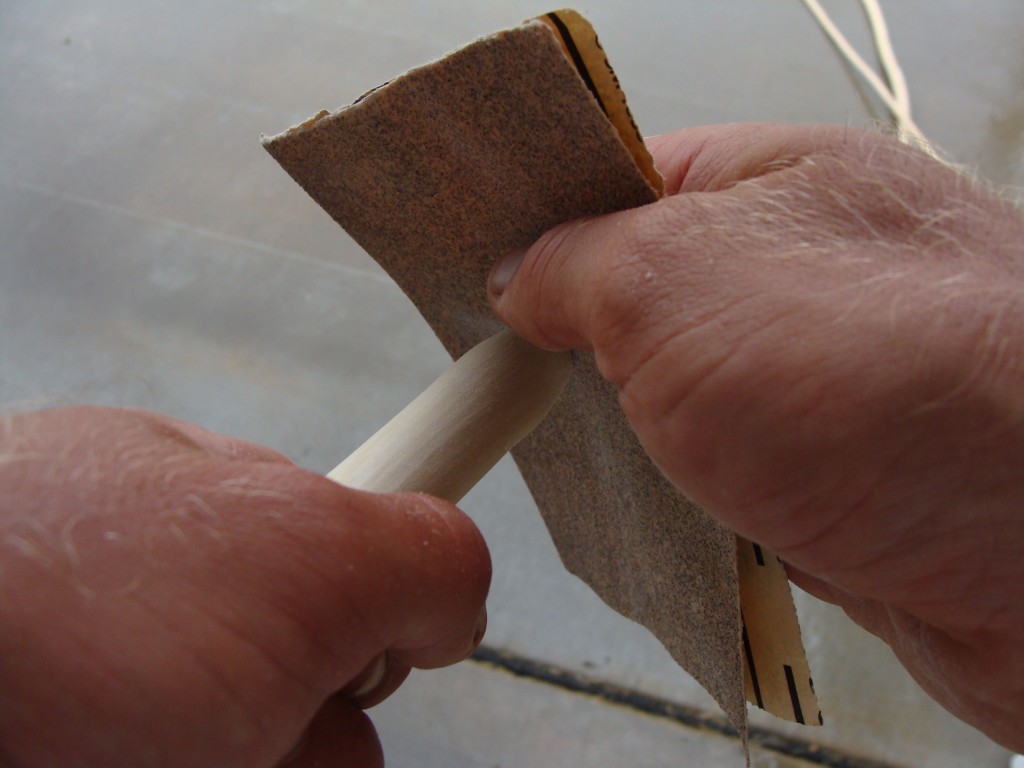
But you can take it a step further by cleaning up the spur and groove with sandpaper.
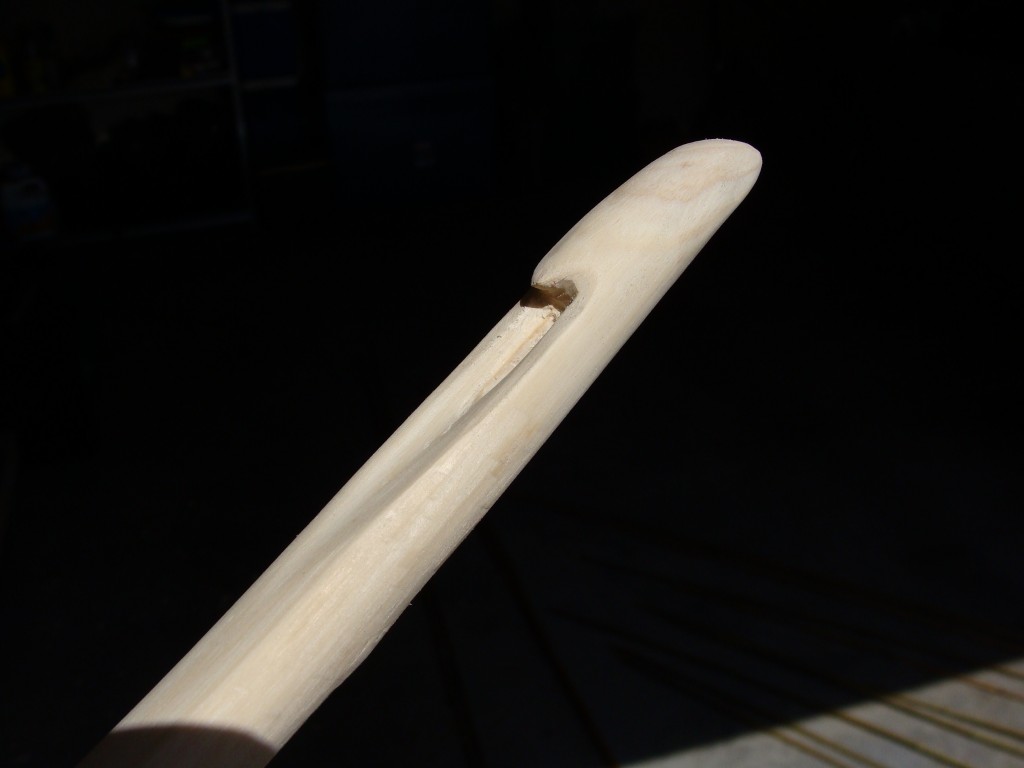
Head space behind the spur can sometimes impede proper engagement of the dart nock with the spur, by hitting the top of the nock and prying it off the spur part way through the throw. So I like the head space to be sloping back. Use the knife, and for aesthetics the sandpaper.
The distal end is now complete.
Optionally, you can round off the end of the handle with knife and sandpaper.
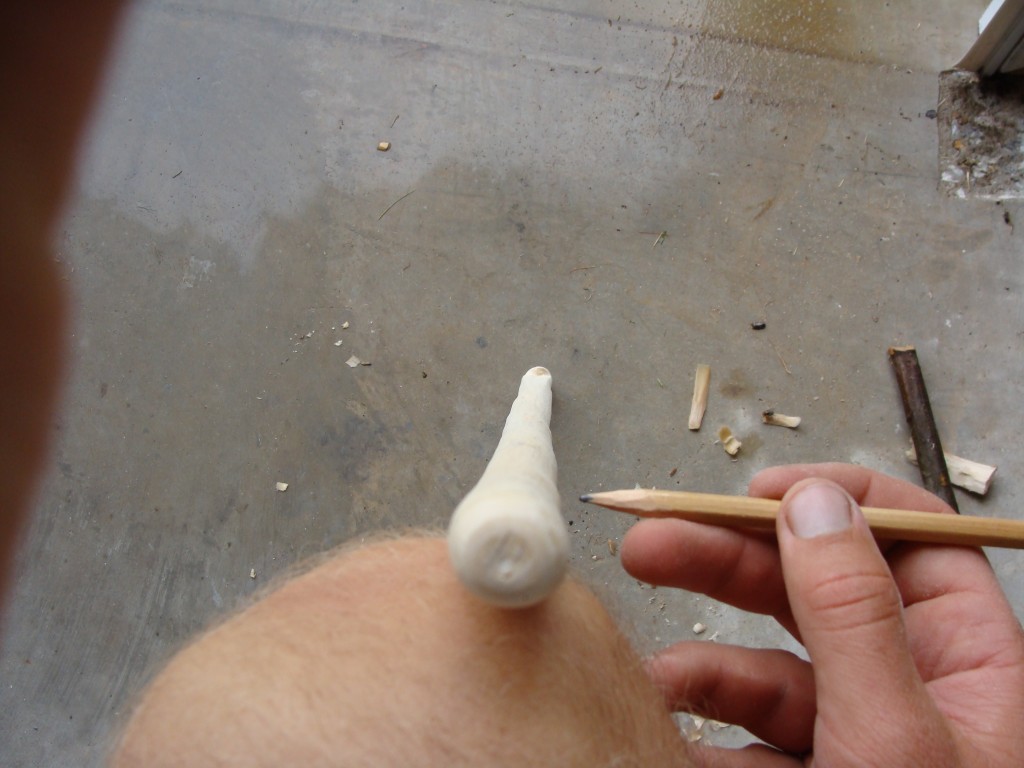
For the peg, hold a dart with the atlatl and use a pencil to put a dot just behind your thumb and in front of the index finger. For me the peg is usually around 4.5 inches from the end of the handle.
Sight down the atlatl and make sure the peg is aligned properly to the spur (pretending the pencil is the peg). Adjust the dot as necessary.
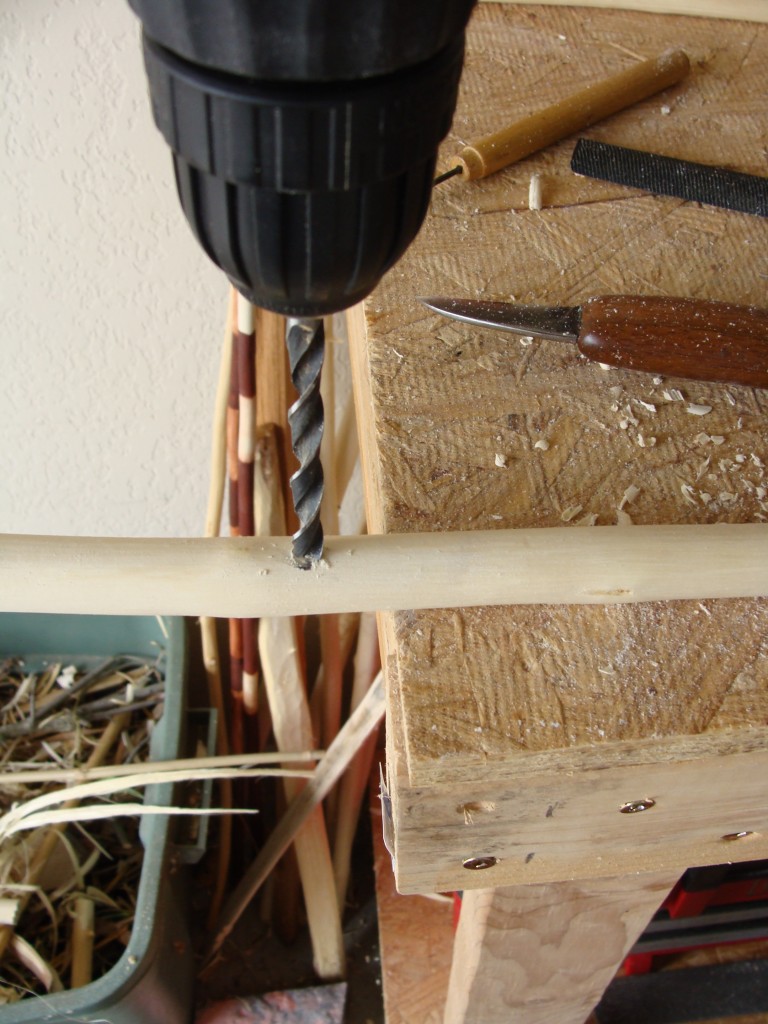
This next part can be a bit tricky. You’re not likely to end up with a peg that is perfectly perpendicular to the atlatl shaft, or perfectly aligned with the spur (cross-peg effigies from Tenochtitlan also have slightly crooked pegs), but you can get close by being careful and aware of the position of the spur as you drill. Obviously the size of the drill represents the diameter of the peg. Here I’m using a 9/32 bit.
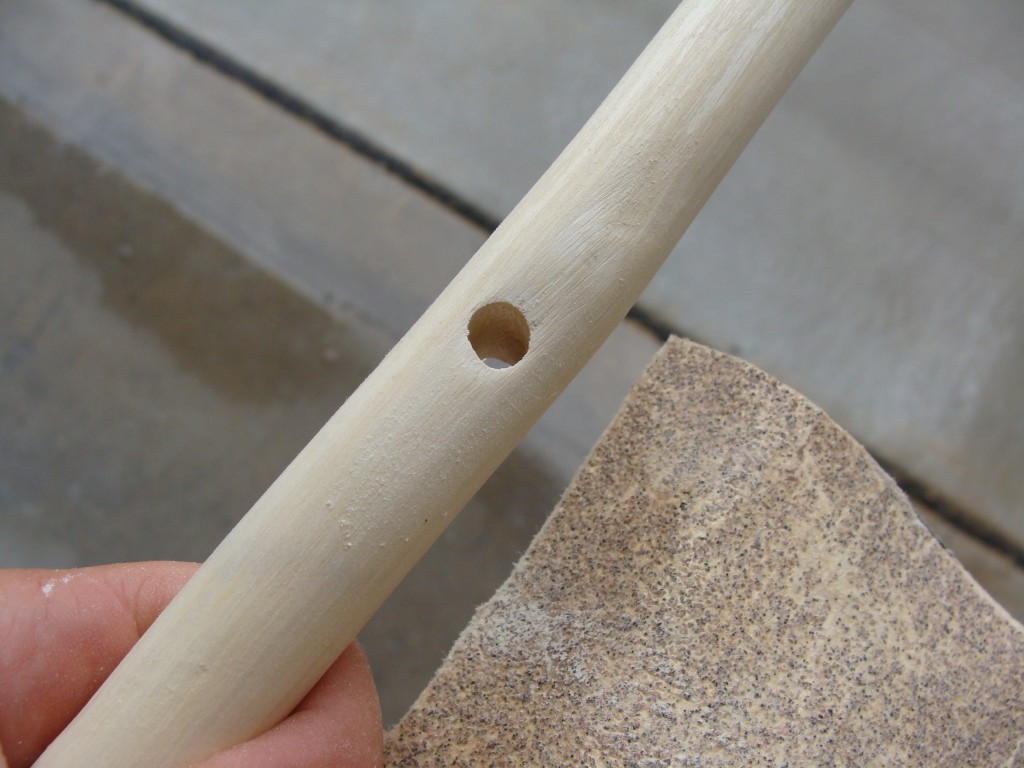
Clean up the hole with knife and/or sandpaper.
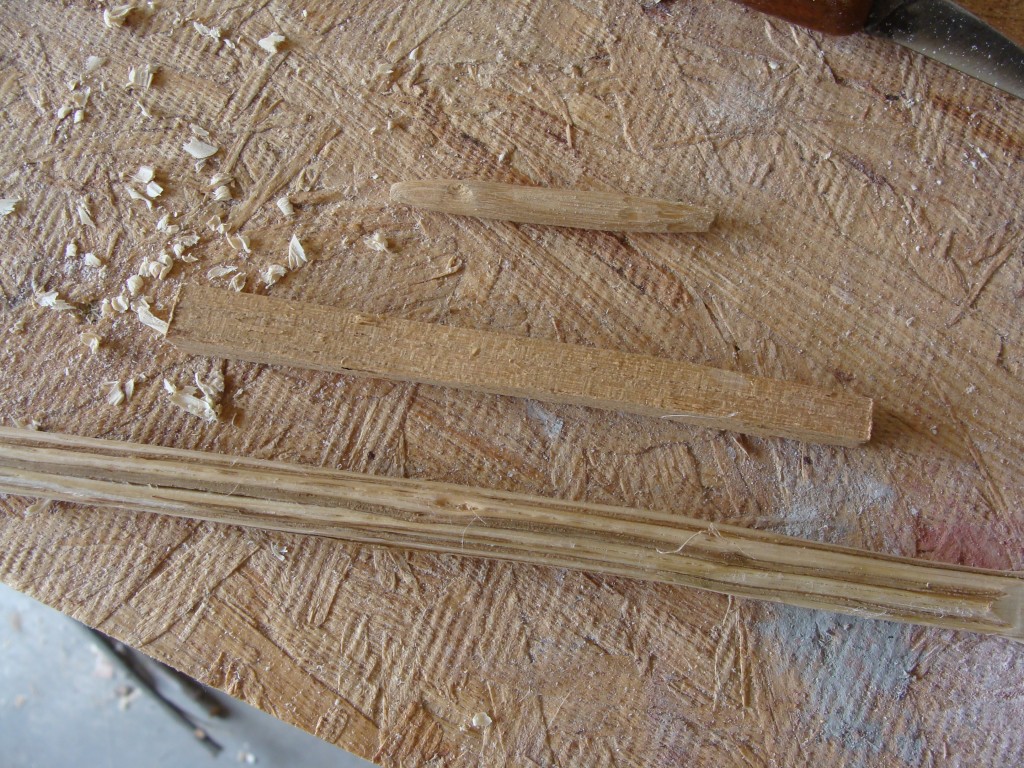
Now for the peg. I like to use split pieces of very hardwood such as black locust or Osage orange heartwood. You can also use a hardwood limb, or get a dowel the same size as your drill bit at the store.
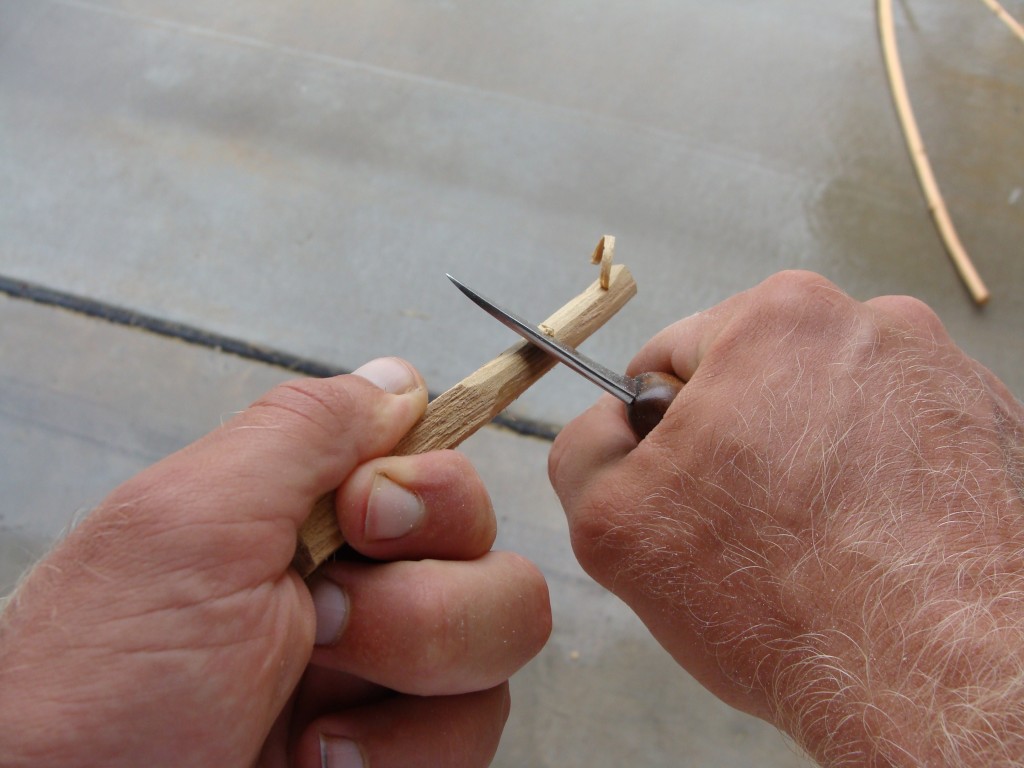
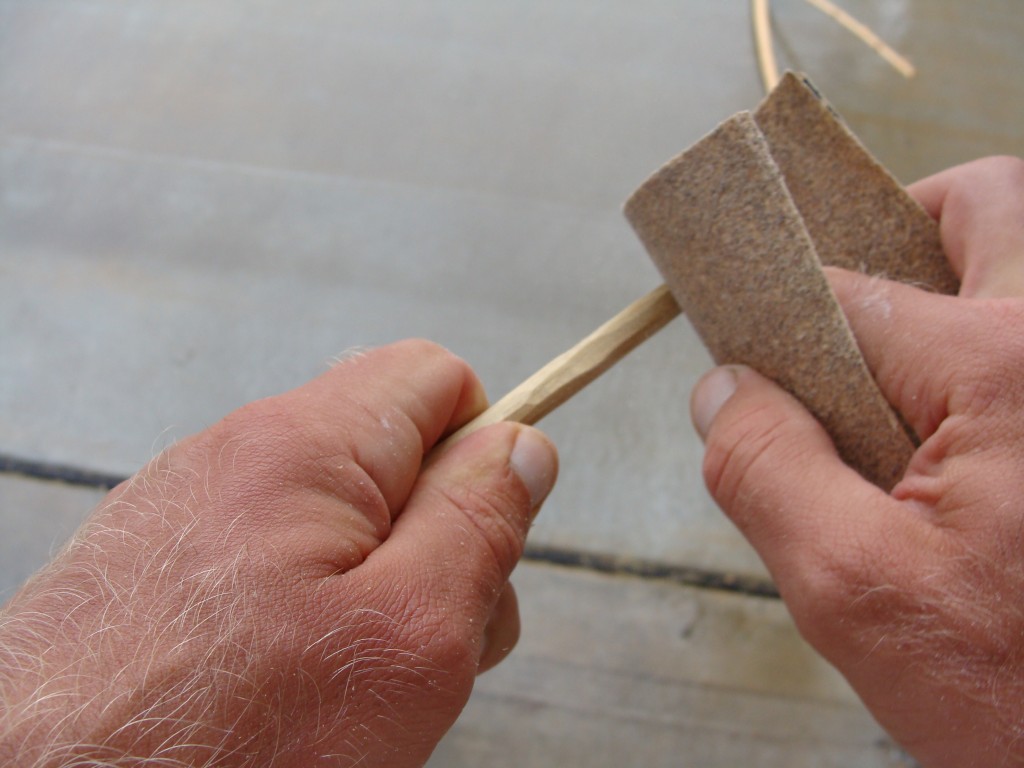
Whittle and sand the peg down to size.
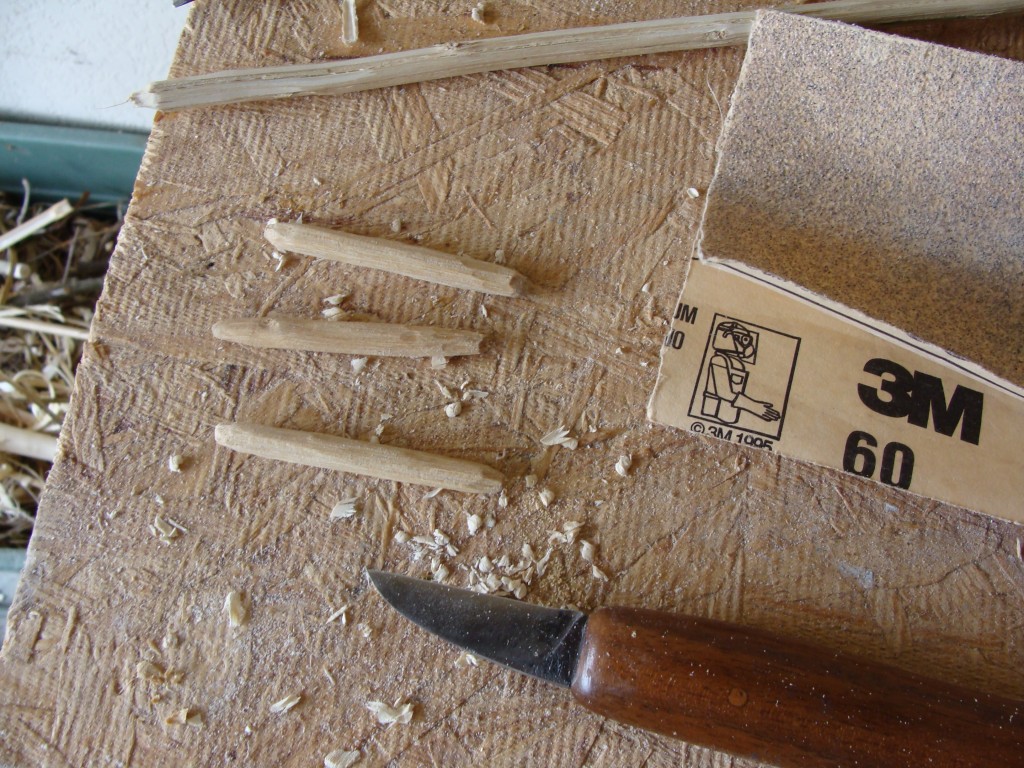
Make sure the peg fits. It should be snug, but if its too large it will crack the atlatl when you hammer it in. Notice the oak limb above the three pegs I’ve carved out in the picture below would also make a nice peg. These pegs are around 2.5 inches long.
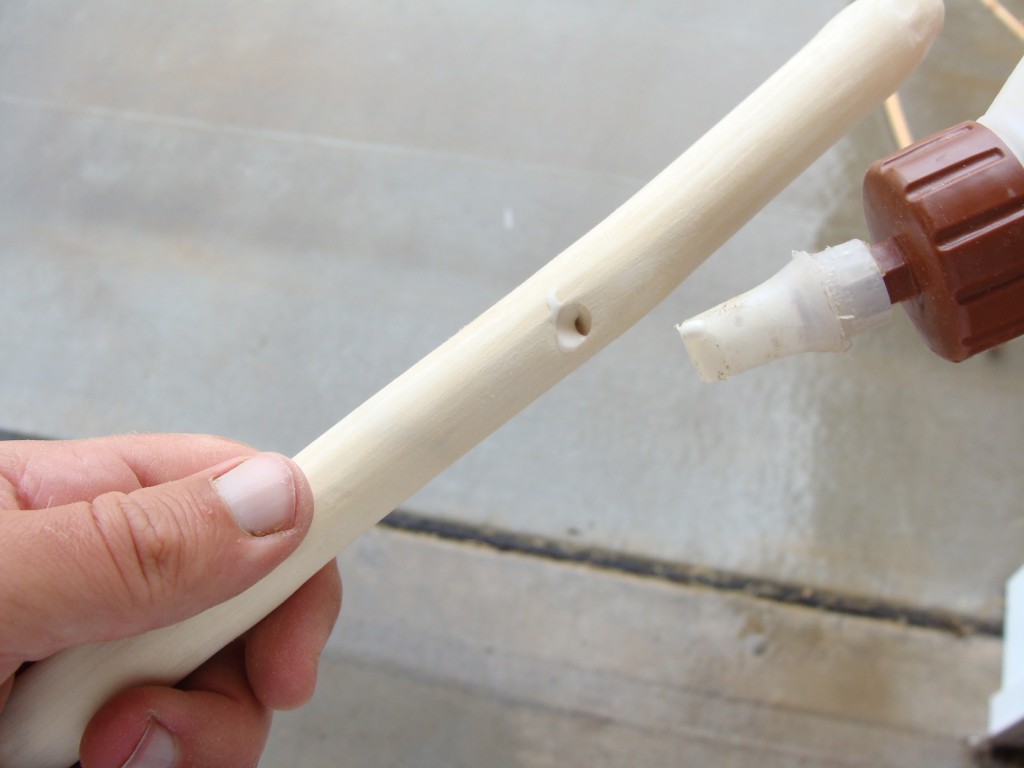
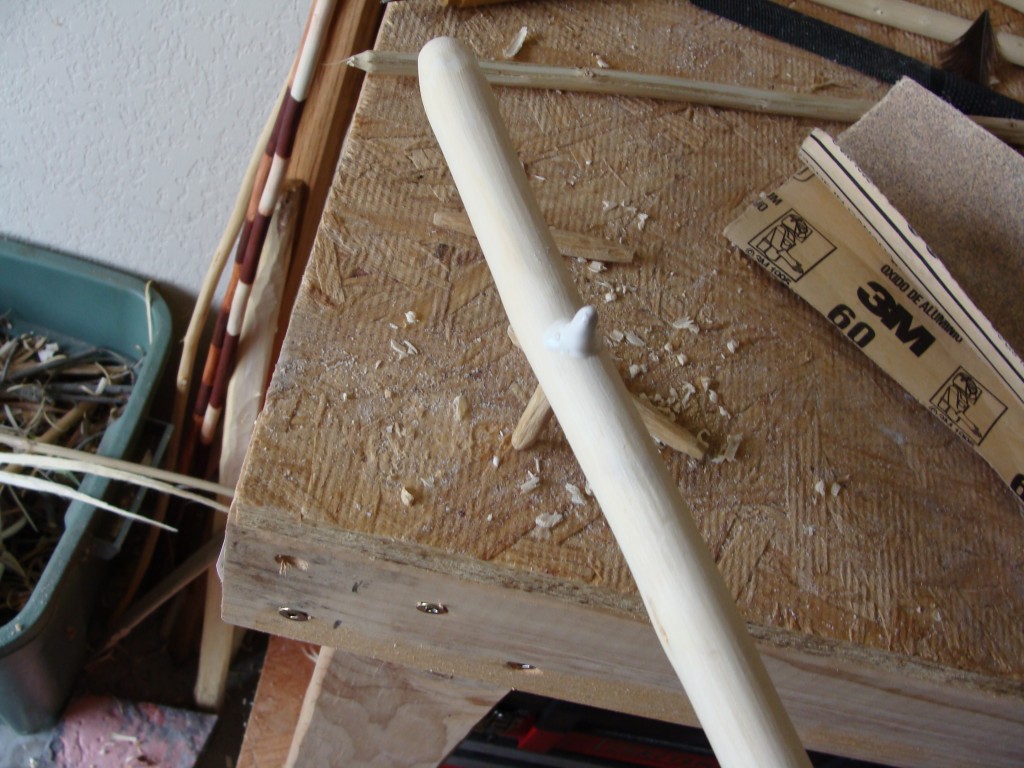
Put some wood glue in the hole and tap the peg into position. Use a soft wood backdrop so you don’t mar the peg (your workbench may not like this very much either… A pine board scrap is better).
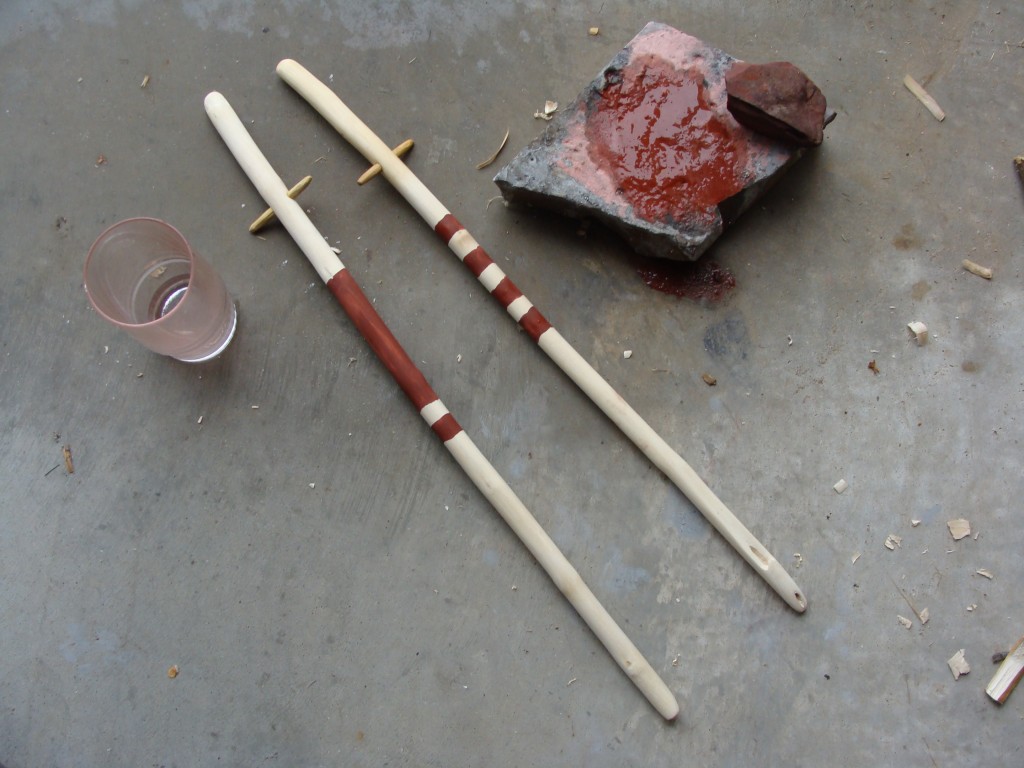
Wipe off the glue. You can sand down the atlatl with fine grit paper such as 220, and if you want do some painting. Here I’m using red ochre, but I’ve successfully used cheap water colors as well.
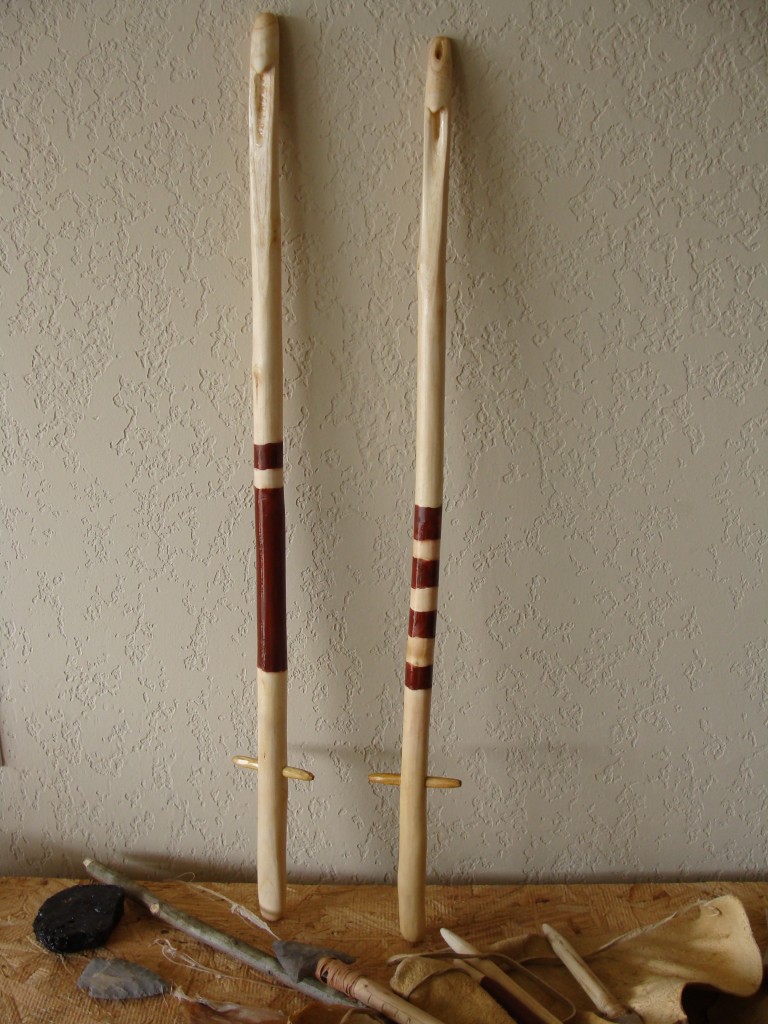
After the paint dries seal it and the wood from weather with oil of your choosing, being careful not to smear the paint. You now have a finished atlatl.
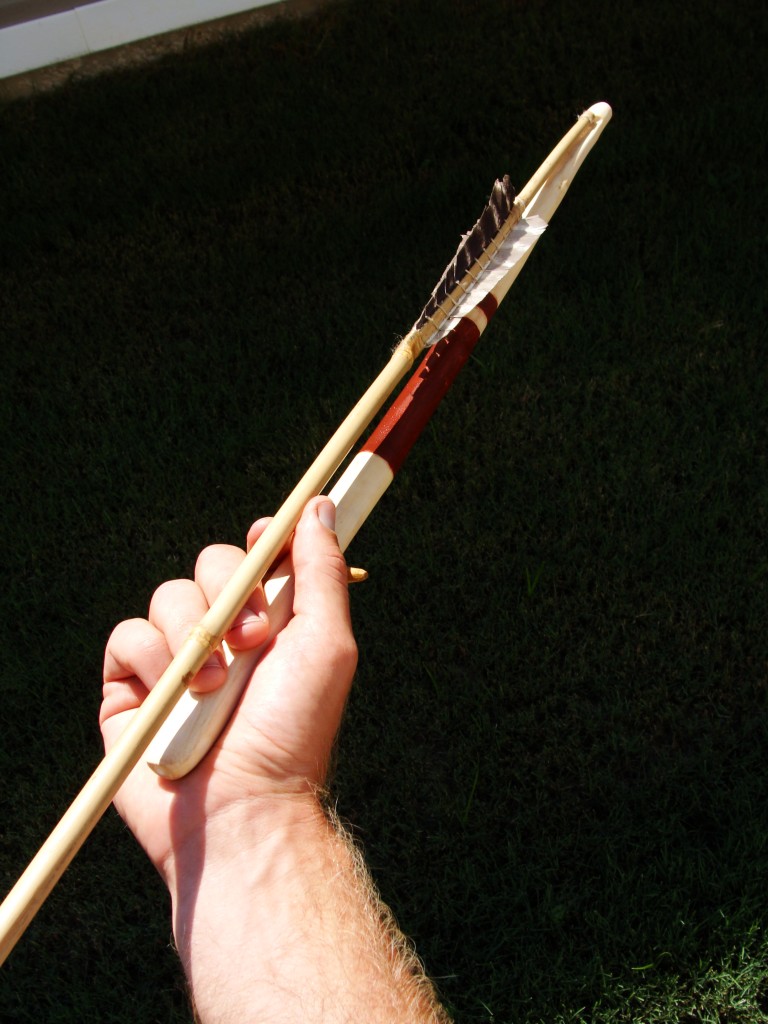
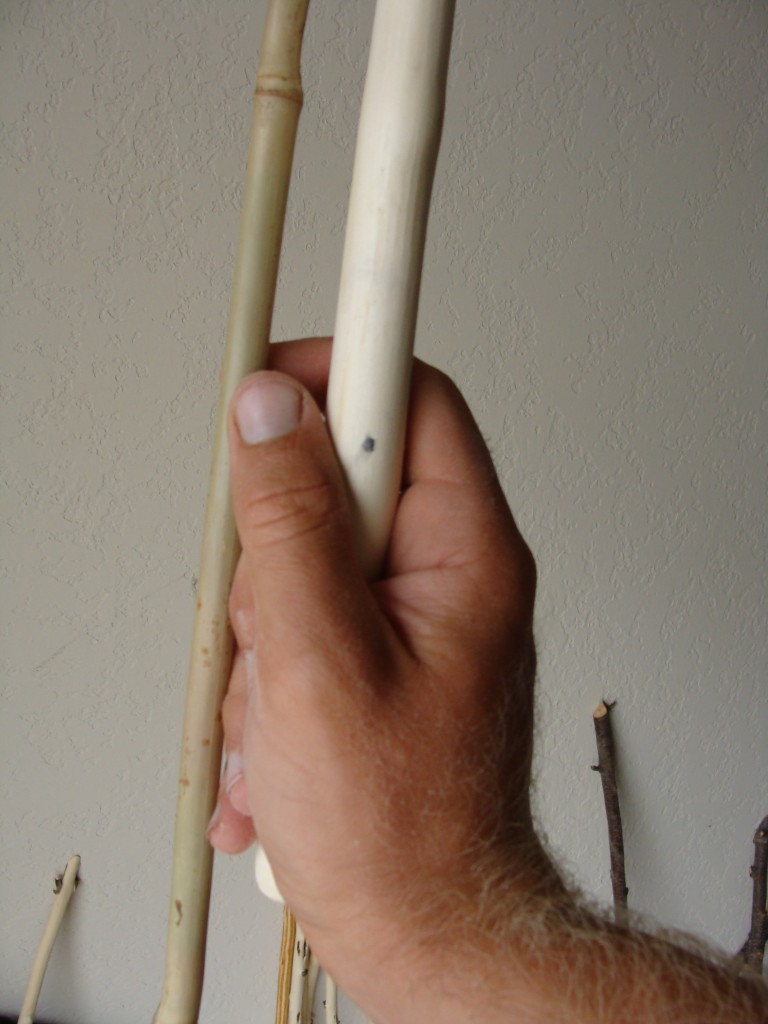
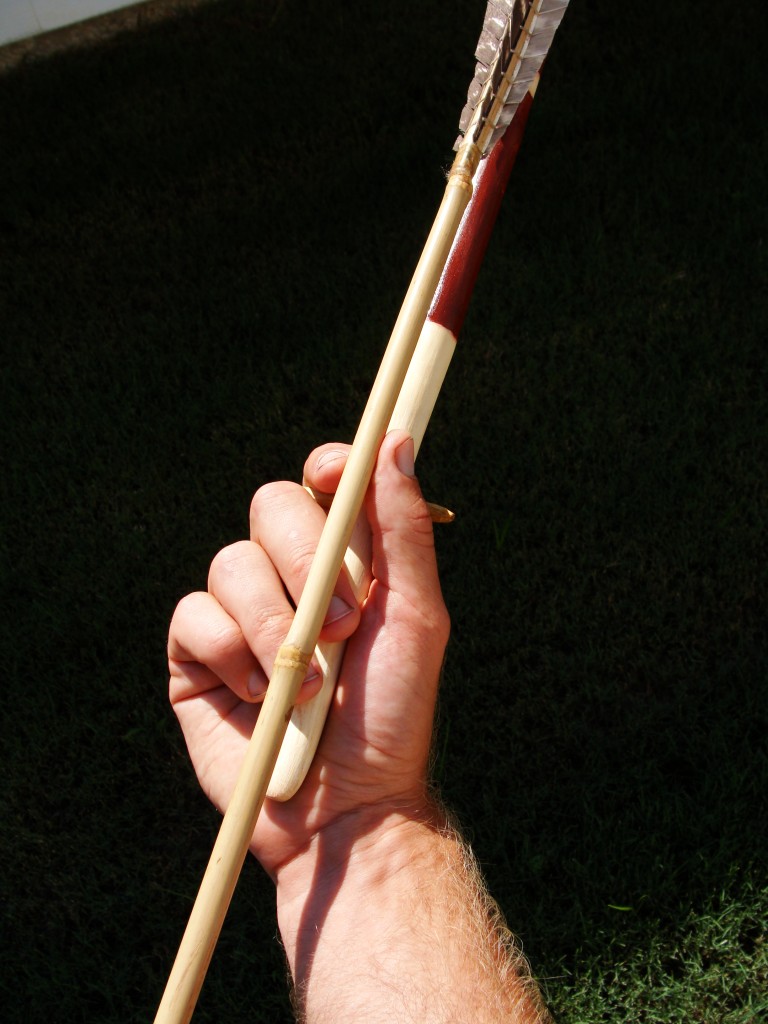
Luckily Mesoamerican codices depict a traditional gripping method in detail (again, see the Alred article). This works really well for me. Place the meat of the second phalanx of your index finger over the peg and hold your thumb against it on the other side. The middle and ring fingers rest on the handle and the dart shaft rests on top of them. The index and thumb apply very slight backward pressure on the dart shaft to keep it on the spur. This light grip of the dart shaft ensures it will release properly when you throw. The cross-peg is also versatile; it can be used left handed and some folks prefer a split-finger grip or some other method. Below is the traditional method as I have interpreted it.
