Devin Pettigrew
8/3/2013
Although atlatls were used all over North America and for a very long time, very few examples of Archaic atlatl darts have survived for us to study. Perhaps this is because darts are projectiles, and as such they are continually breaking, being reused, and replaced.
In the Southwest dry conditions warrant the better preservation of perishable materials such as wood, plant fiber and leather. The number of surviving atlatls still far outweigh darts, but we are fortunate to have some surviving examples of whole darts from that region. When properly reconstructed and paired with Basketmaker atlatls, we see that the ancient hunters were using a highly effective atlatl system.
This will be a tutorial on constructing darts to match the ballistic functionality of those ancient darts, but using modern tools and some modern materials. It is meant to supplement Justin’s video on making willow darts using stone tools: http://www.youtube.com/watch?v=zkG8C4-8q3w.
You will find some of our techniques vary slightly, and there is room for you to experiment and find your own preferred method. These darts work great and are good stand-ins for modern target shooting.
We often use coyote willow (Salix exigua) to make Basketmaker dart shafts, which can also be found growing in the Southwest and is the likely material of many of those darts. However, other types of willow and woody shoots also work. We have successfully made darts of ash, dogwood, Japanese honeysuckle, red maple, box elder, elderberry and others. These woods have different characteristics and will likely require variations in shaft diameters and production techniques. Experiment with what you find to see what works best.
Justin’s coppicing article gives a good description of how to find and/or create dart shafts from the local flora: http://basketmakeratlatl.com/?page_id=113. Many of these species grow in riparian or semi-riparian environments, so local waterways might be a good place to start looking. Also check road ditches or other places where trimming may have occurred and influenced the growth of shoots.
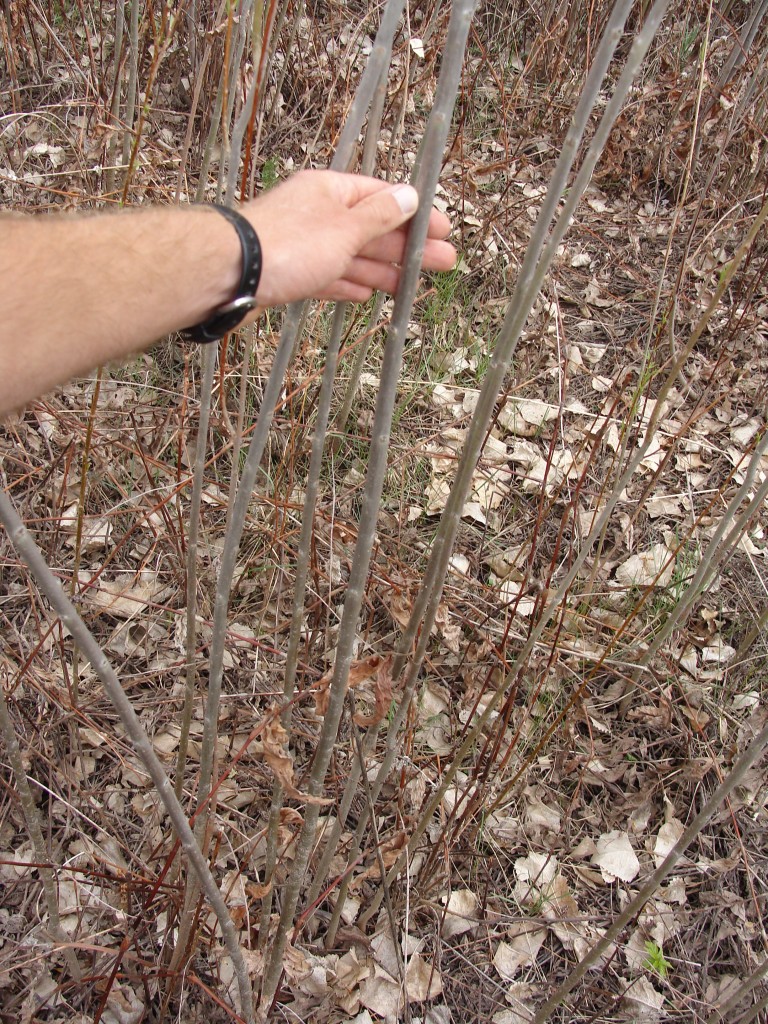
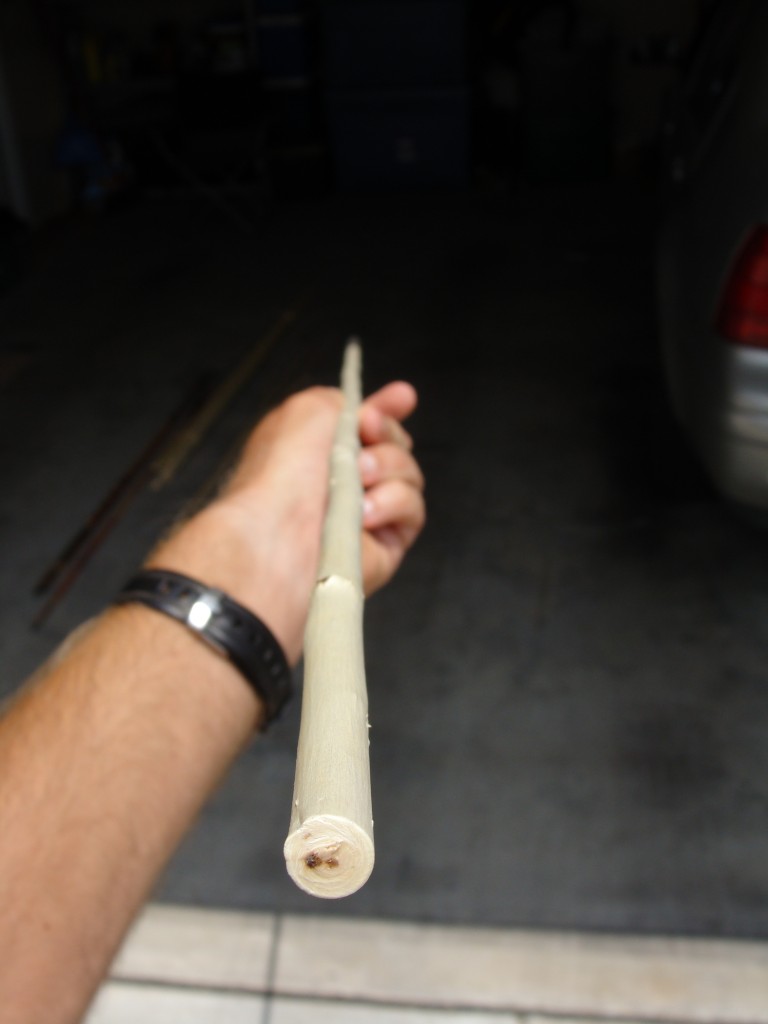
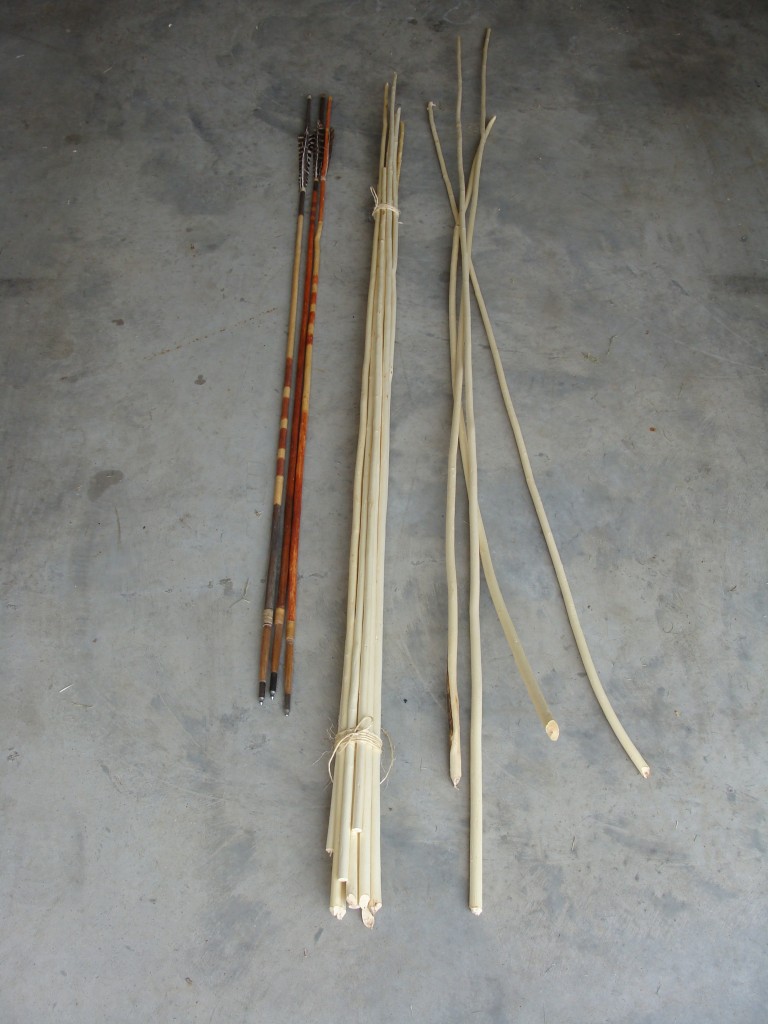
Here I’m picking out some straight shafts of coyote willow. Try to find one’s without crooked sections or too many blemishes. Remember that with the bark removed and slight shrinkage after drying the diameter will be smaller.
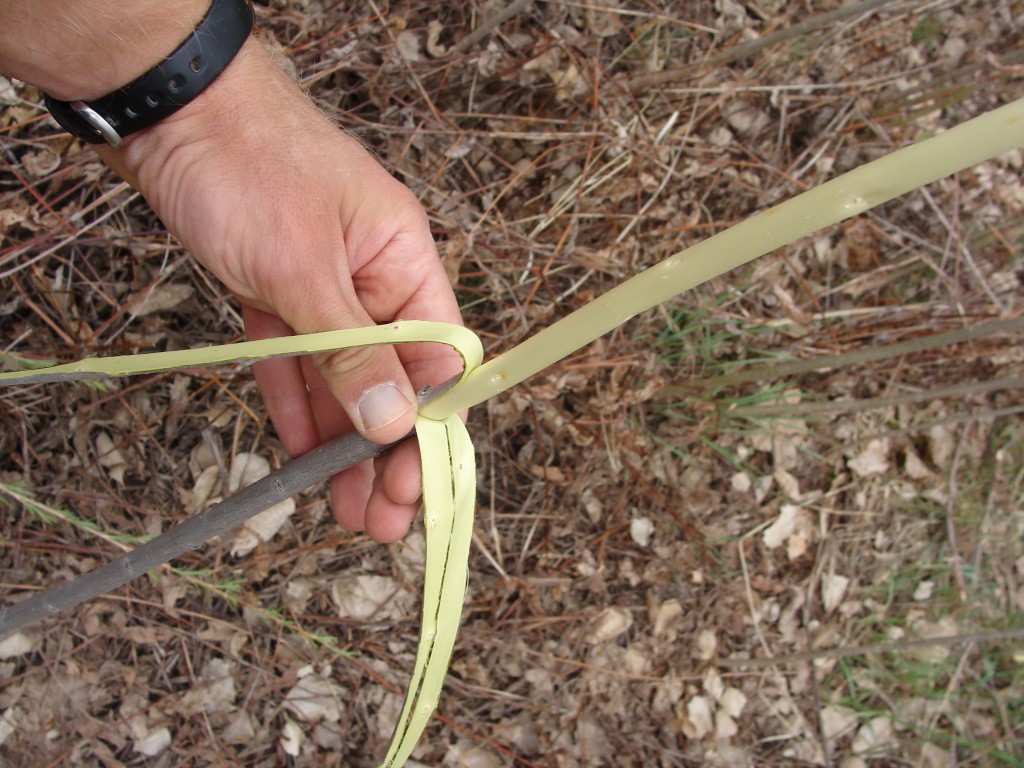
During the spring and into summer the bark is easily pealed, making production far easier. This is the time to collect shoots for darts. You might also find the long strips of willow bark to be useful in other projects.
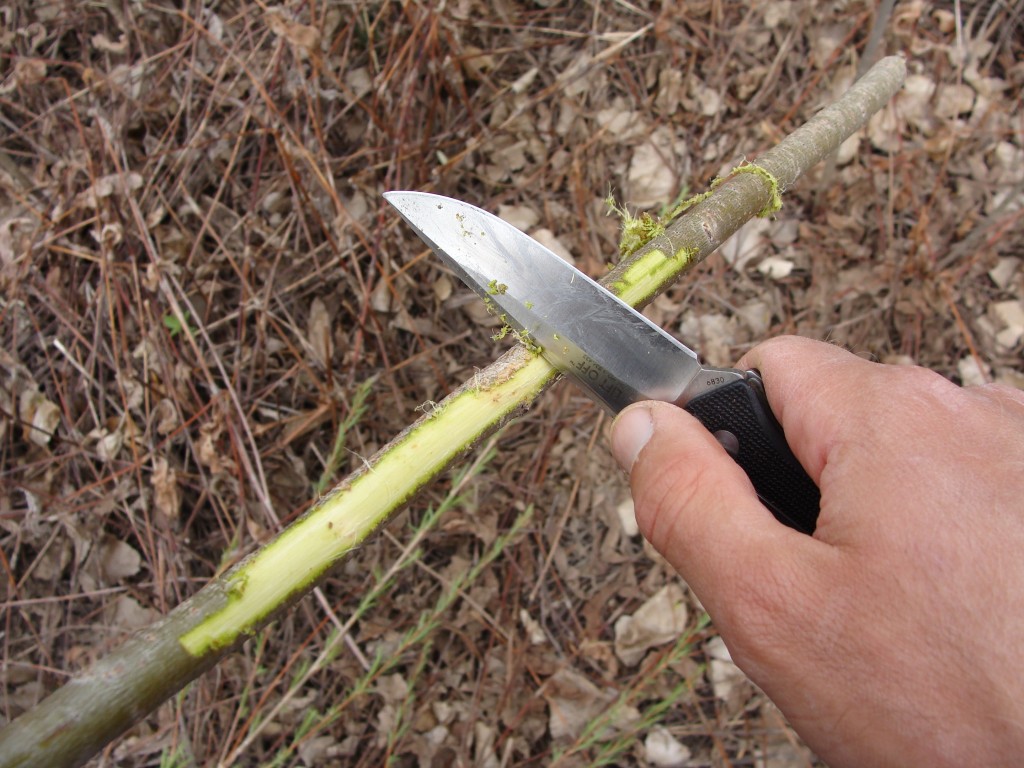
However if the bark isn’t peeling you might be able to scrape it off, or carefully slice it off with your knife then scrape it smooth.
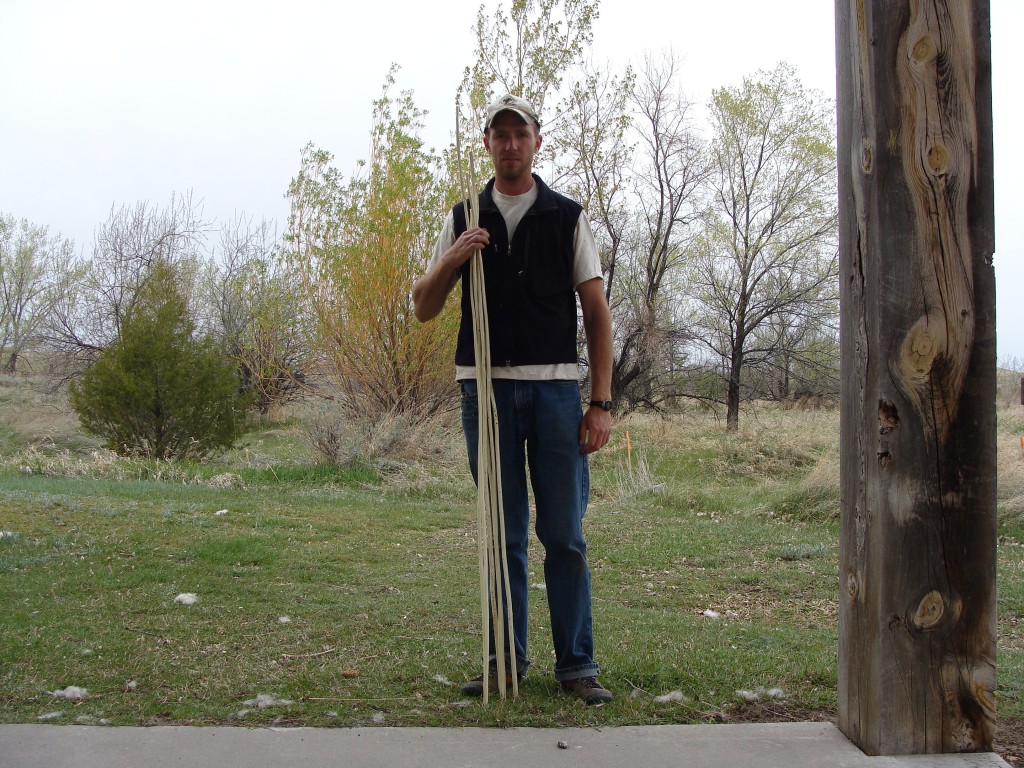
It is helpful to find a place on your body or use other body measurements to get the length and possibly the diameters of these darts. You will probably find yourself collecting material on a whim and without other measuring devices. See Justin’s video on using body measurements: https://www.youtube.com/watch?v=w2aEwL7O278.
It is wise to leave the shafts too long in the field. The shafts are better measured and cut to length after dry and where better tools are available.
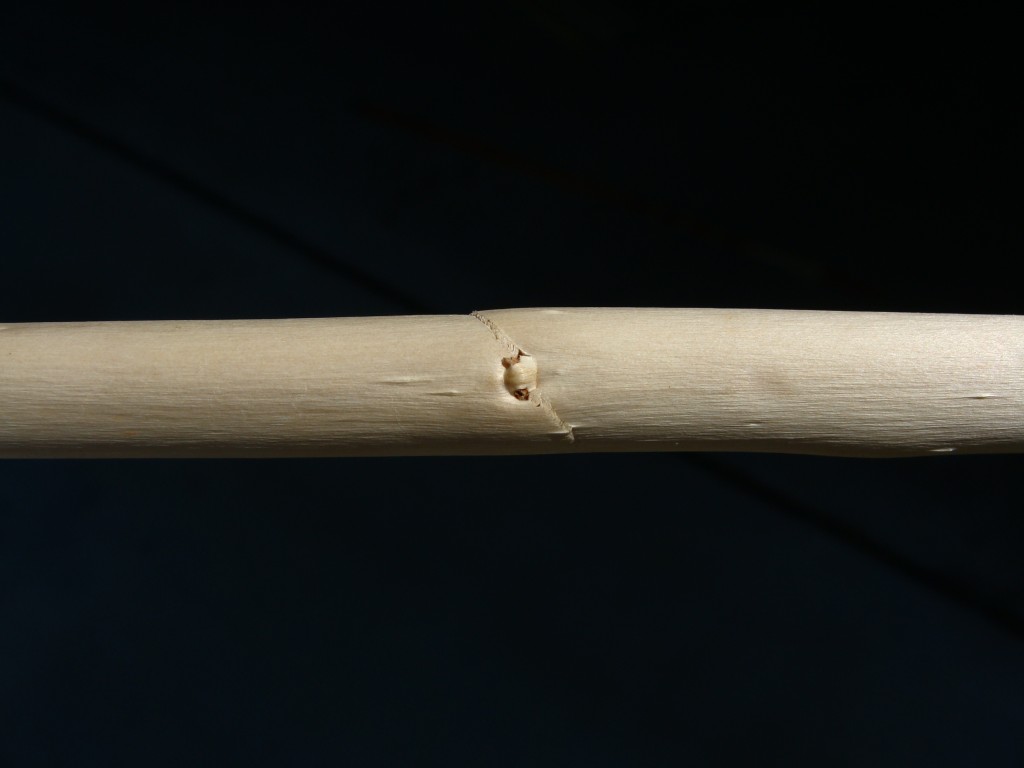
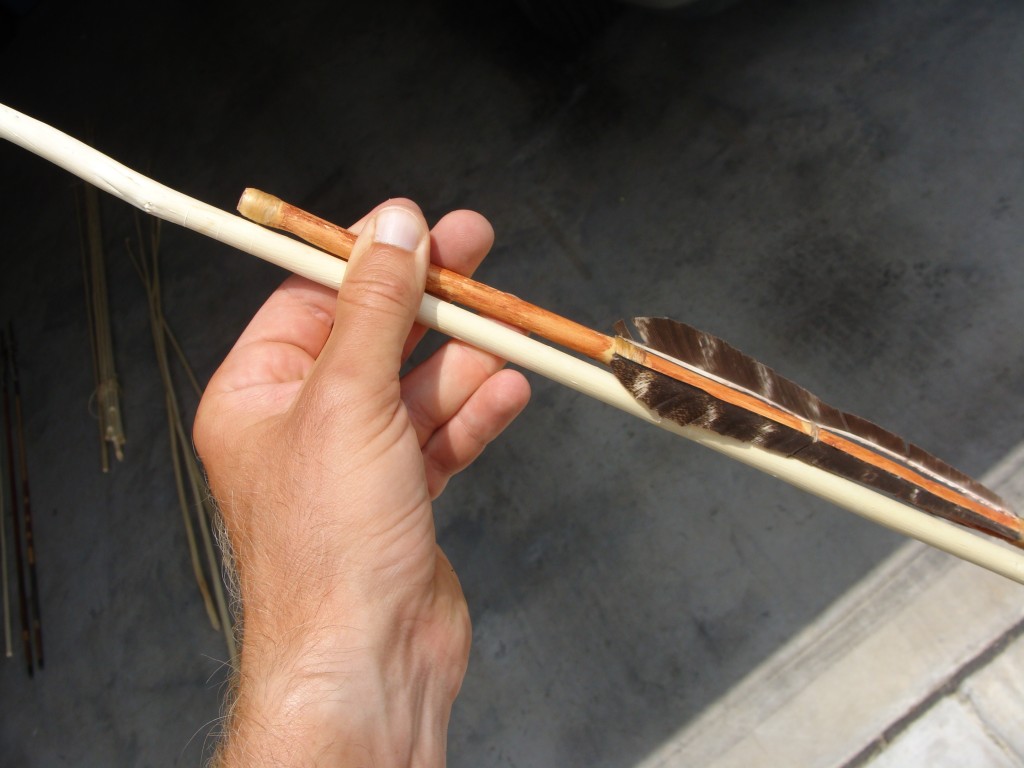
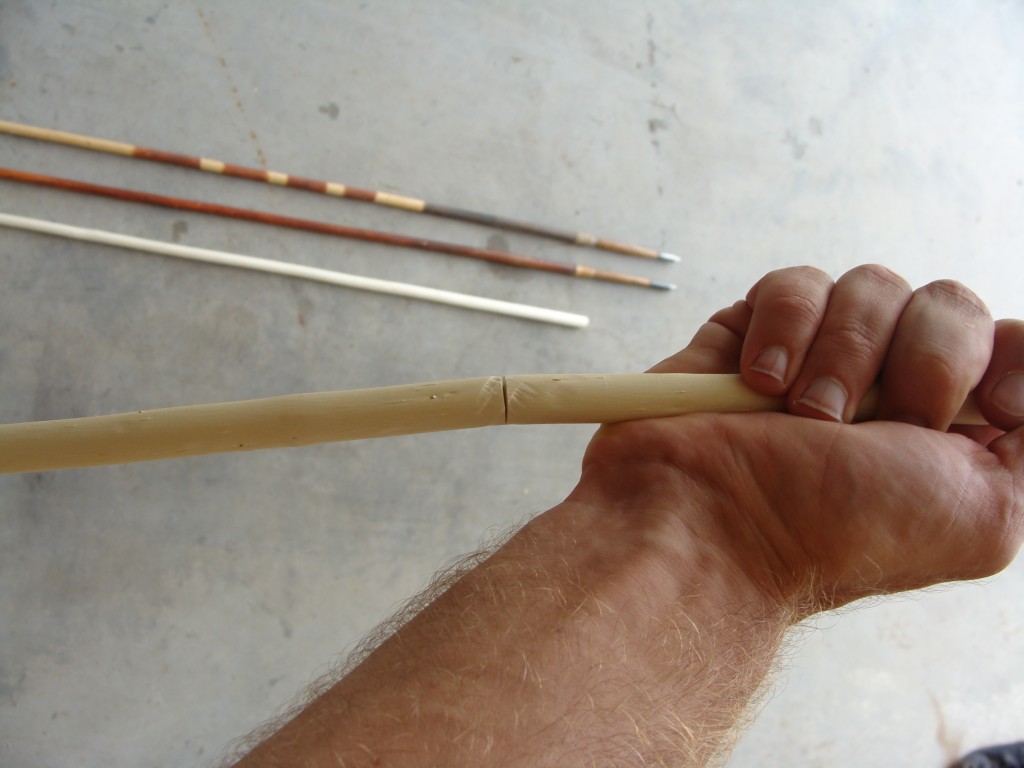
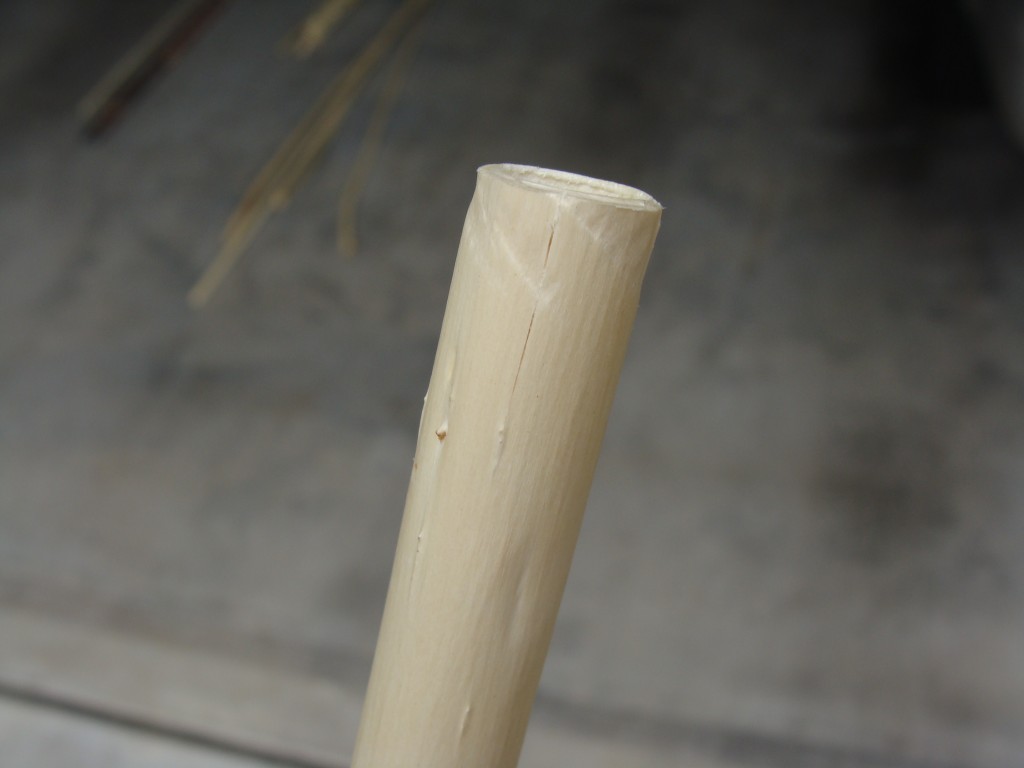
Before straightening allow the darts to dry flat on the floor or hanging somewhere inside for about a day. Do not try to straighten completely green shafts. They will not want to hold a bend and it is easy to put creases in the soft wood that will later form weak spots (especially near the proximal end) that could break during throwing. Example of a crease:
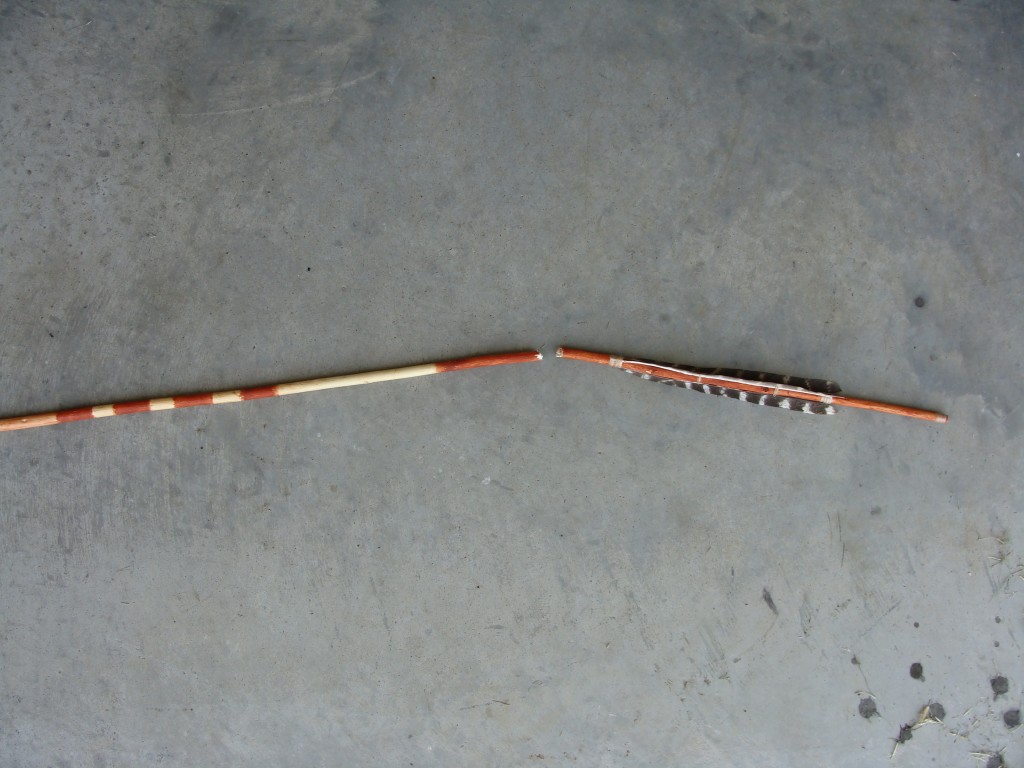
And a dart that broke at a crease:
If the shafts are allowed to dry for approximately 24 hours, give or take, you will find the shafts are more resilient against creasing but also take a bend quite well. They are easy to straighten by hand without heat. However if you allow them to dry out completely straightening is much more difficult. Heat (such as from a heat gun, kitchen stove, or obviously fire) can be used to take out more pronounced bends, and often works on dry wood. You can also try rehydrating the shafts by leaving them outside in the rain, damp grass, etc.
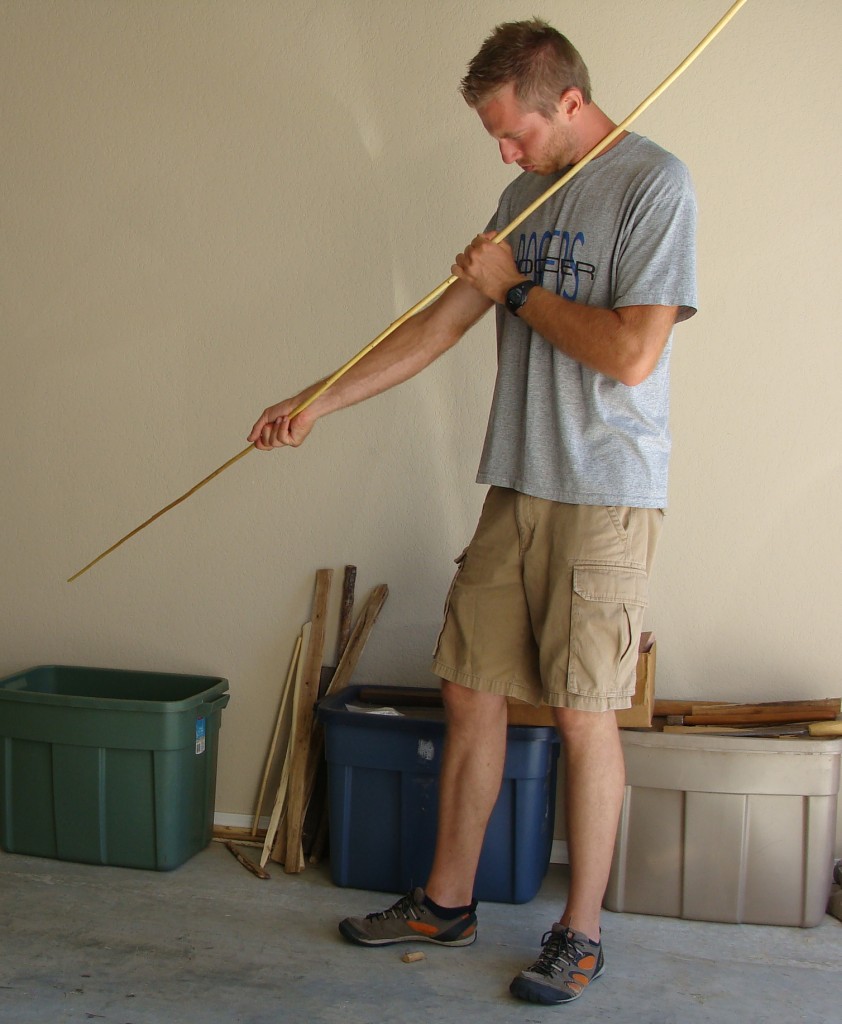
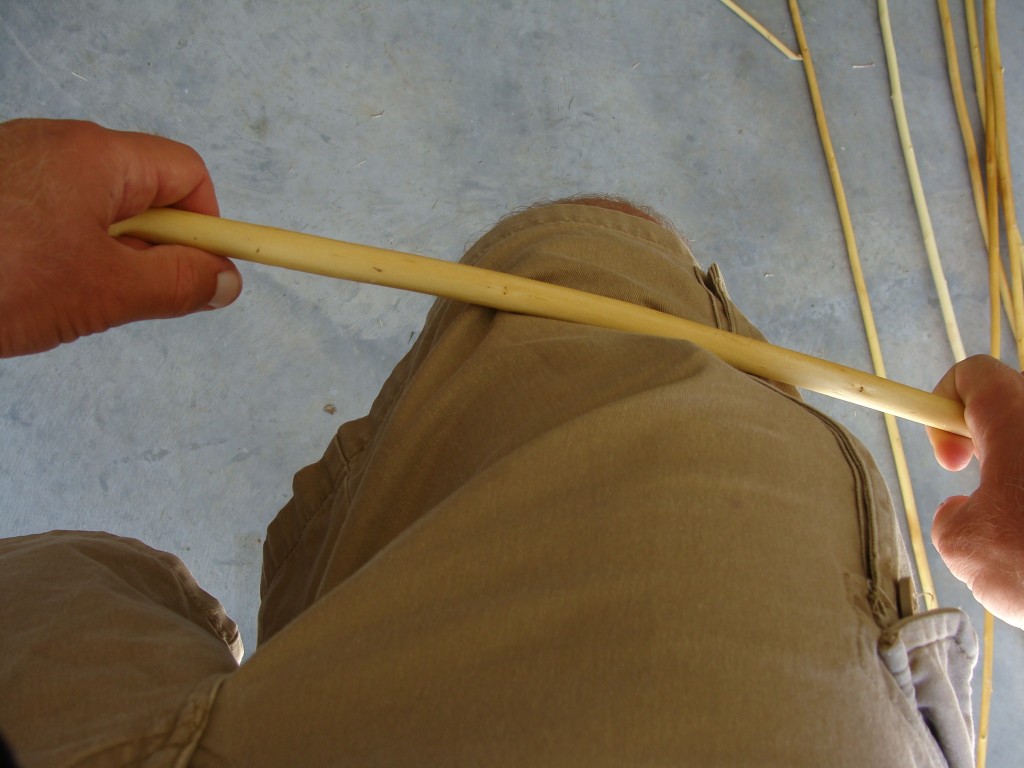
One technique I often use during straightening is rolling the outside of the curve over my leg while applying pressure. Be prepared to loose some shafts to breakage while straightening. This is especially the case starting out, before you have gained a better feel of the material and techniques.
After initial straightening allow the shafts to dry completely, on the floor or hanging. They will probably warp a bit and require another round of straightening once or twice a day for about three days or so. If you are using a material other than willow this is usually the make or break part. You will find out if the shoots will crack open while drying or warp beyond saving.
Some willow shoots may simply not want to hold a bend. Try straightening these with heat, or simply give up on them. Also, the shafts don’t have to be perfectly straight. Some curvature out of alignment is actually the norm, especially after extensive throwing. You will probably find that this does not adversely affect flight, and sometimes can even make them easier to throw accurately. Small adjustments can also be made at any point.
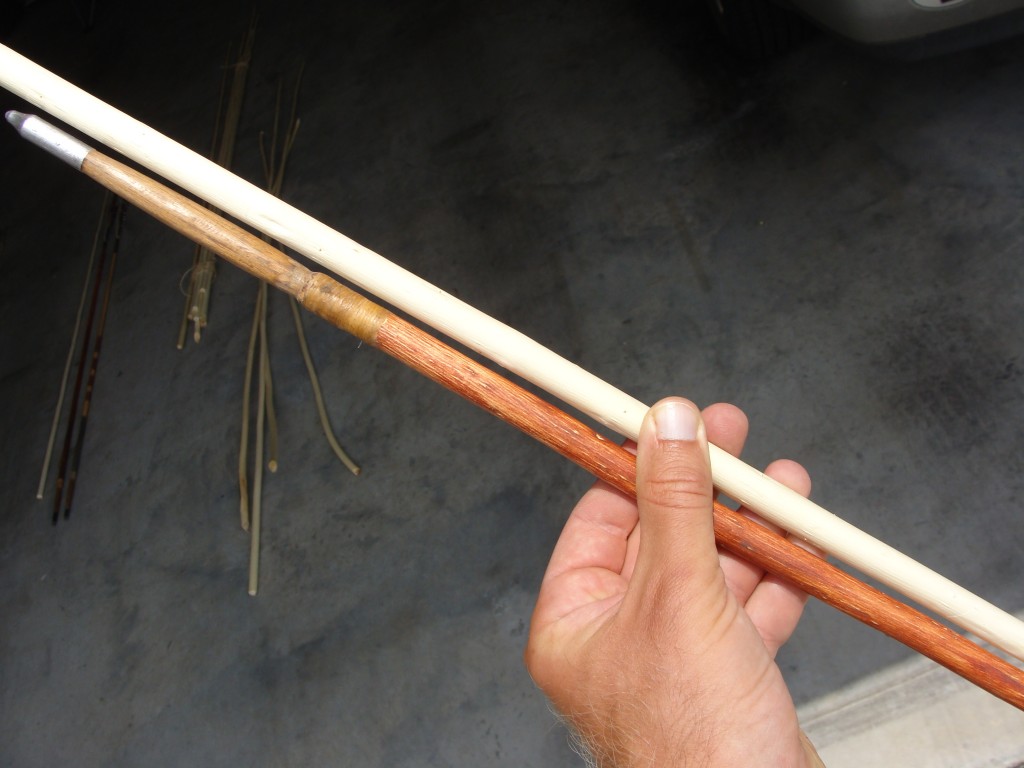
After the shafts have dried size them up with your best Basketmaker darts or starting out using a measuring tape. My darts are based on the measurements of the darts from White Dog Cave in Arizona. Three whole mainshafts were found measuring at 52.5, 55 and 55.5 inches long, and 5/16 inch proximal diameter to 1/2 inch distal. You will find that slight variations in dimensions can affect functionality fairly dramatically. These darts are finicky, but if made right function very well. You will just have to experiment. Try using different atlatls with your different darts.
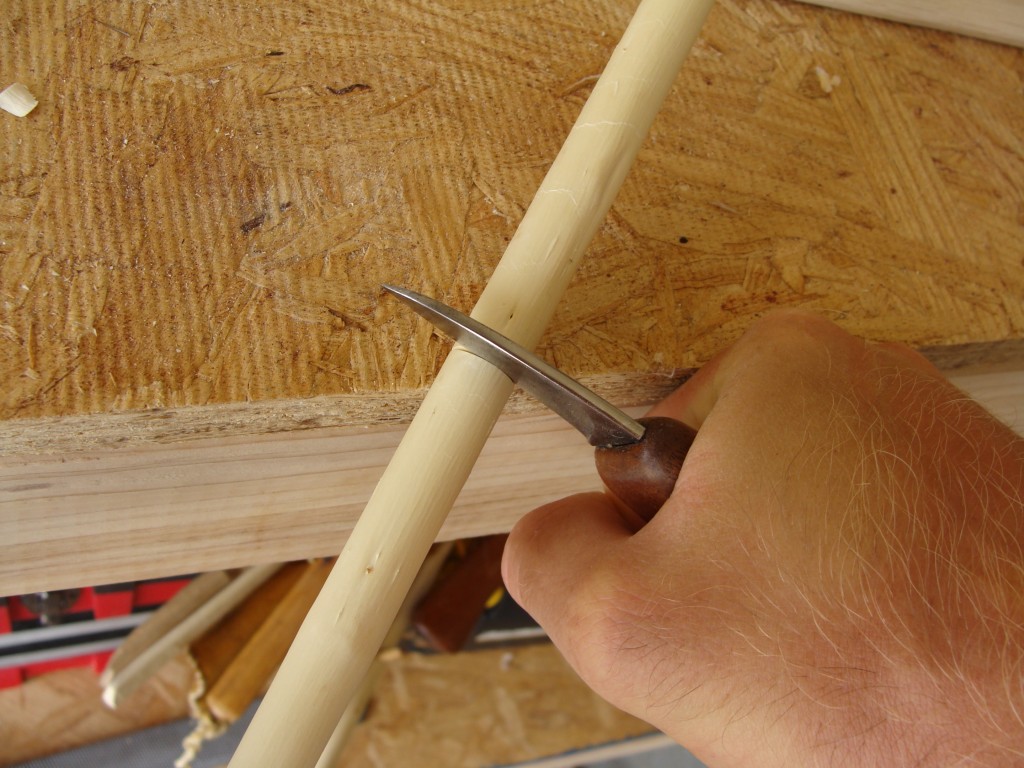
With the shaft marked cut it to length. You can press straight in with your knife while rolling the shaft on a hard surface to make the cut, then break the remaining fibers.
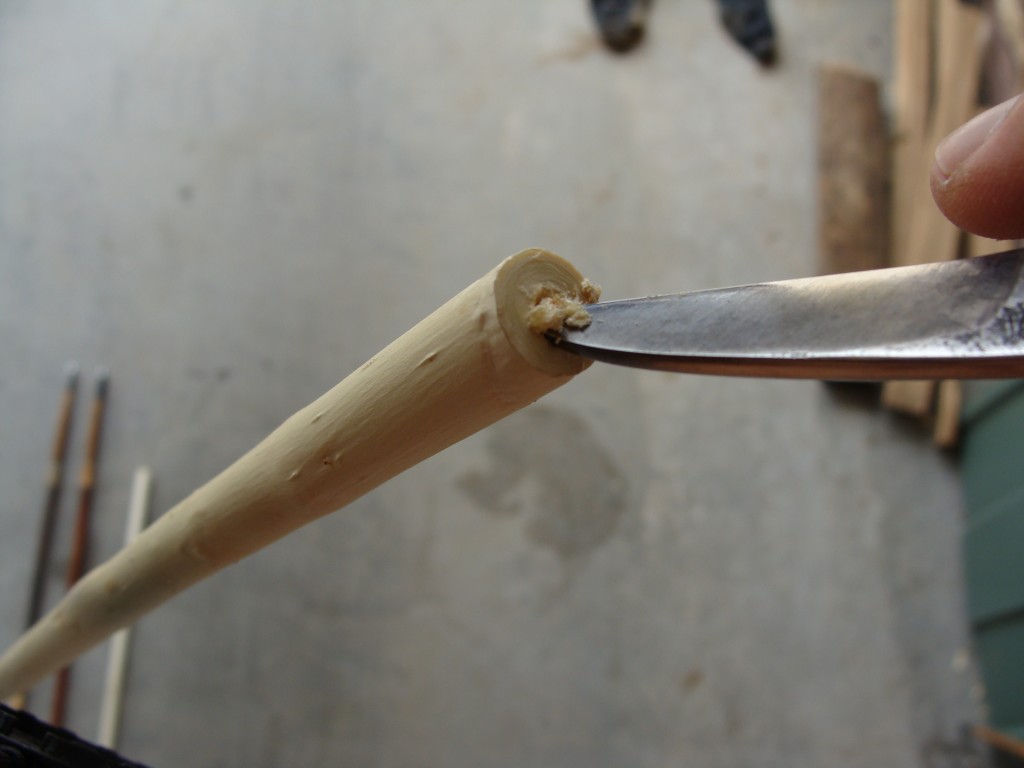
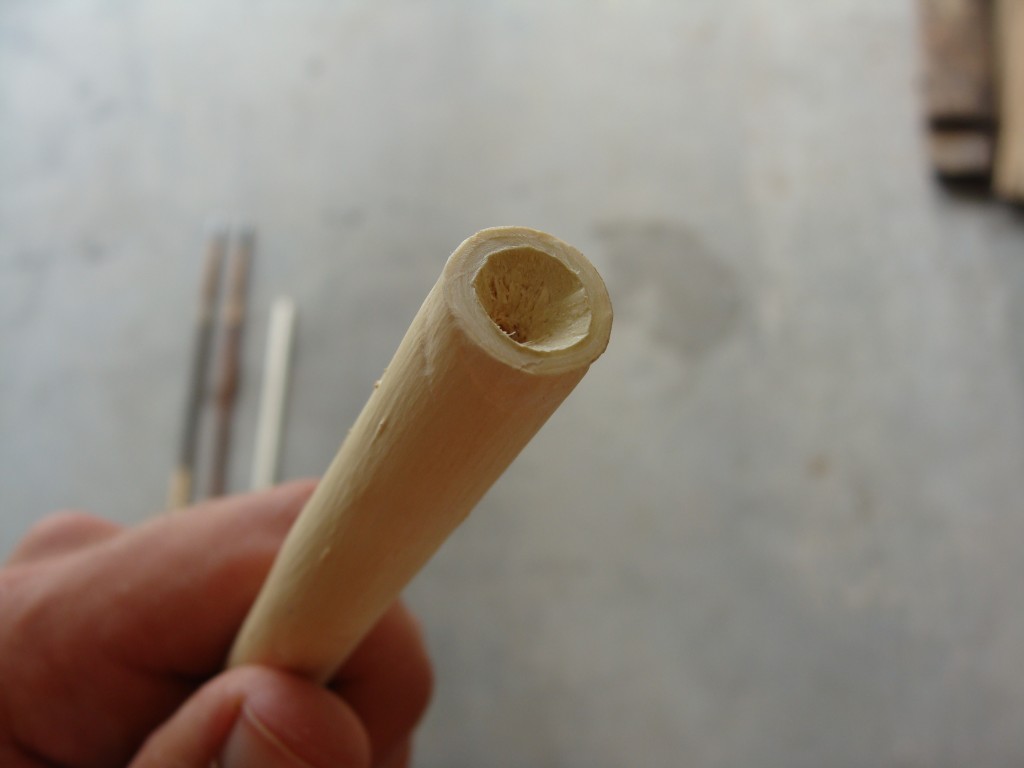
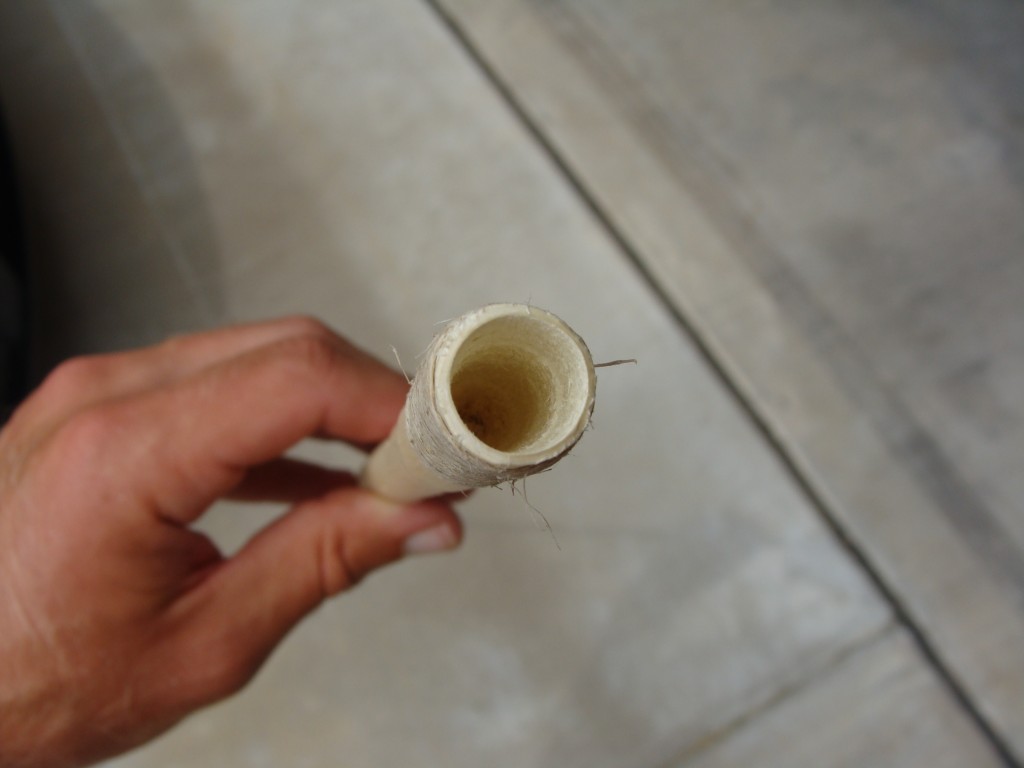
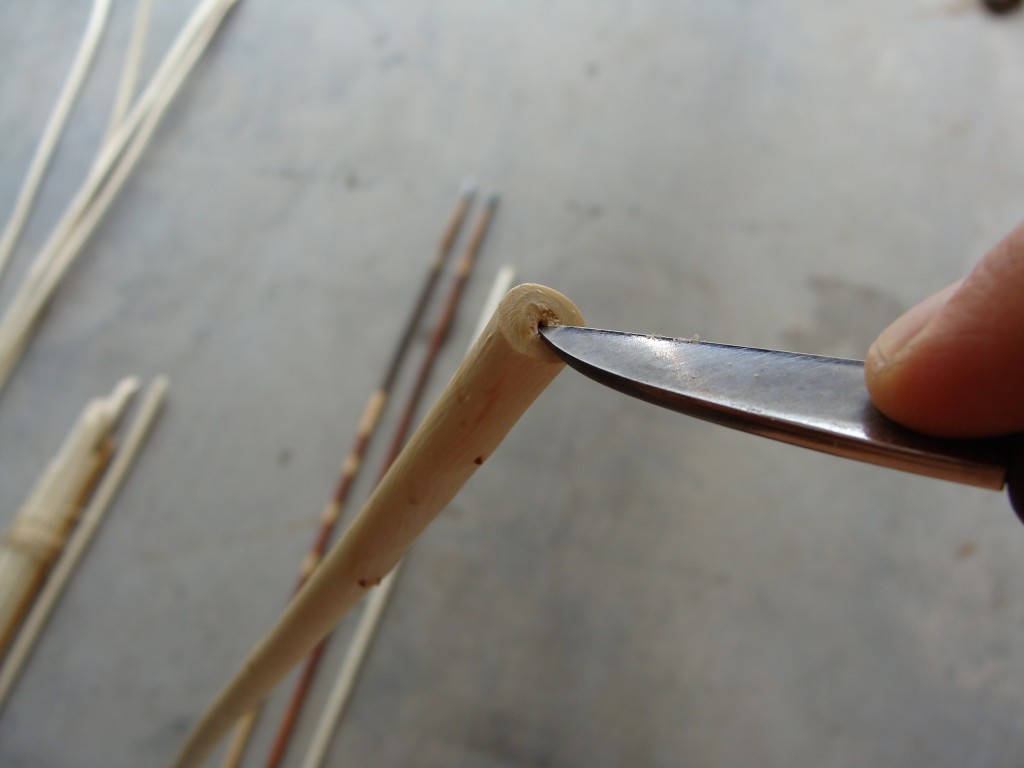
Now its time to drill the socket in the distal end. The socket should be approximately 1.25-1.5 inches deep. I start by reaming out a shallow cone with my knife.
I personally haven’t found a better tool for drilling dart sockets than stone drills, however you may be able to use modern drill bits of progressively smaller diameters. The stone drills last a good while.
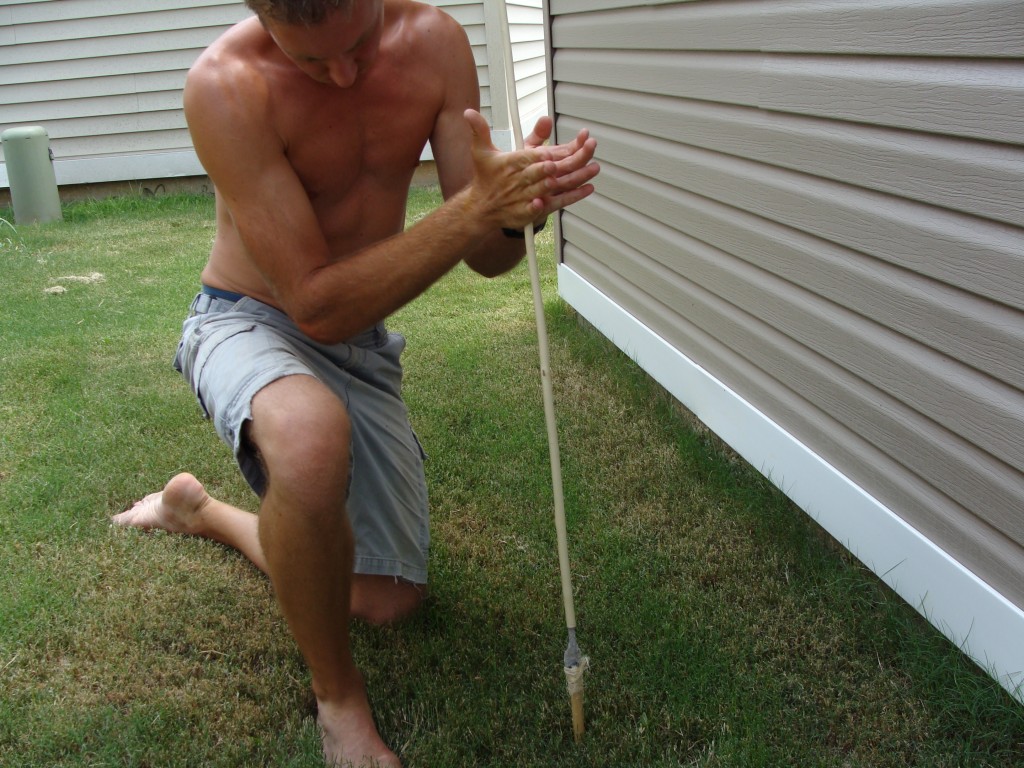
Drills can be mounted in a split stick that you step on, as in Justin’s video, mounted on a stake, or simply held in your hand. The lower drill in the picture above has a sharper tip than the other. They seem to compliment each other, so I switch back and forth during drilling. This makes the procedure go quickly.
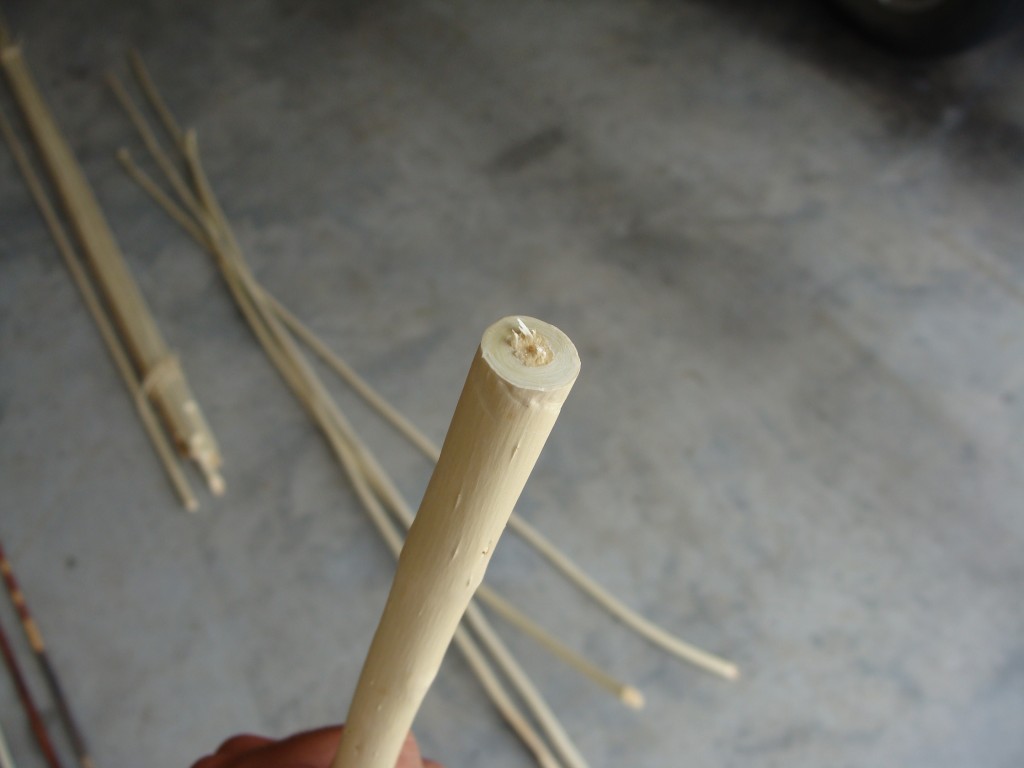
The soft pith cavity in the wood helps direct the drill. After most of the drilling the shaft cracked slightly on this dart. I often wait till this occurs to apply the binding, but you can also bind before drilling.
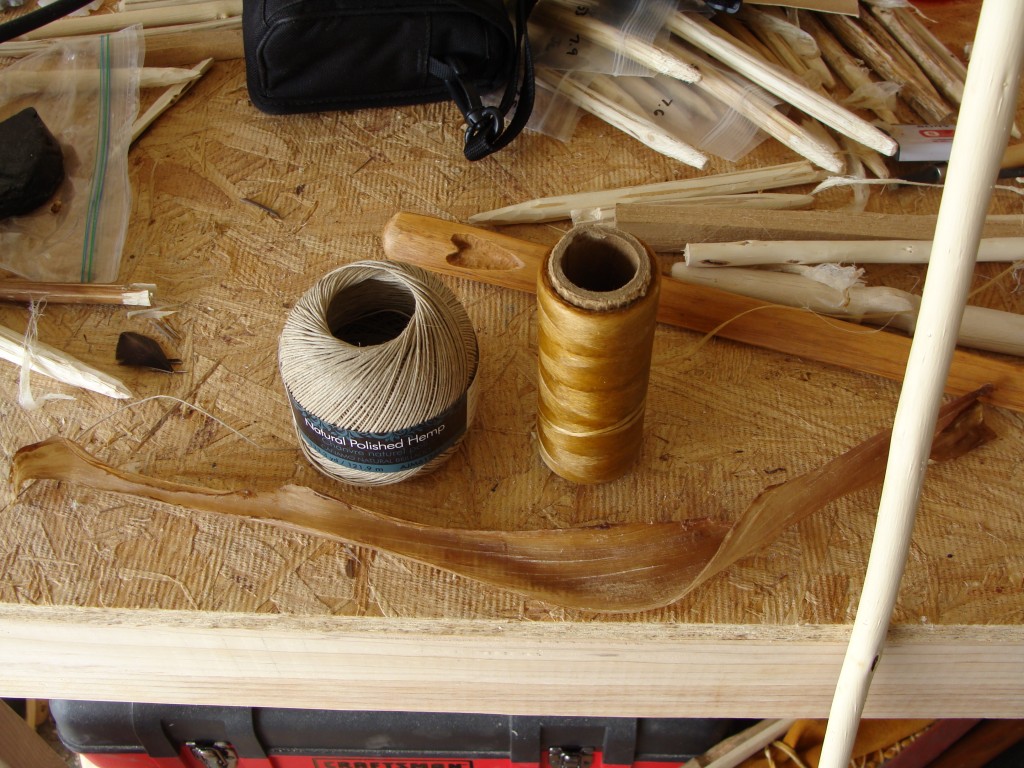
Binding can come in a number of forms, such as artificial sinew, real sinew, and here I’ll be using thin hemp cordage.
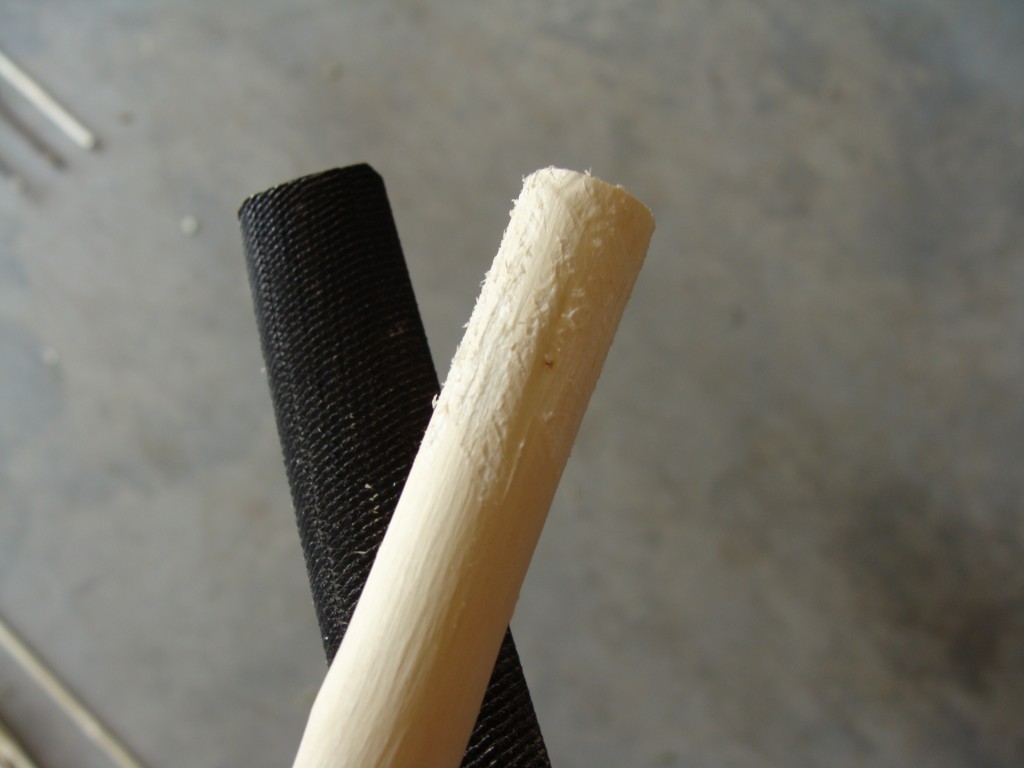
Start by roughing up the socket a bit as on the original artifacts, to give the binding a better grip. I use a rasp for this job, but many small cuts with a knife also works, scrape with a rough stone, etc.
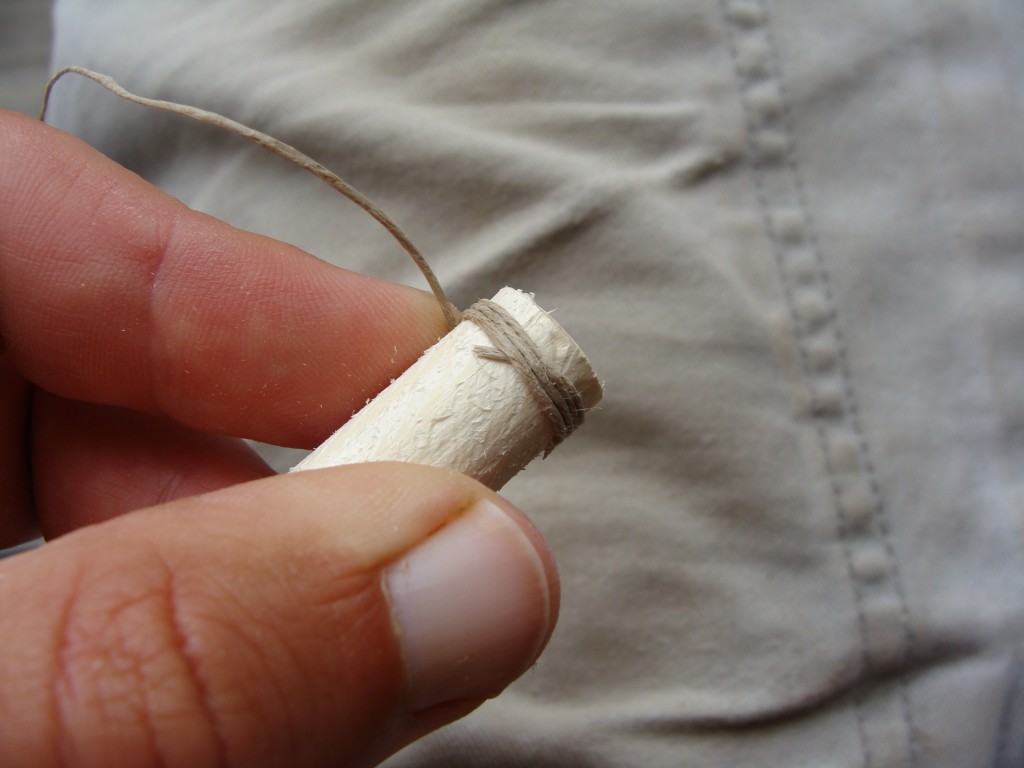
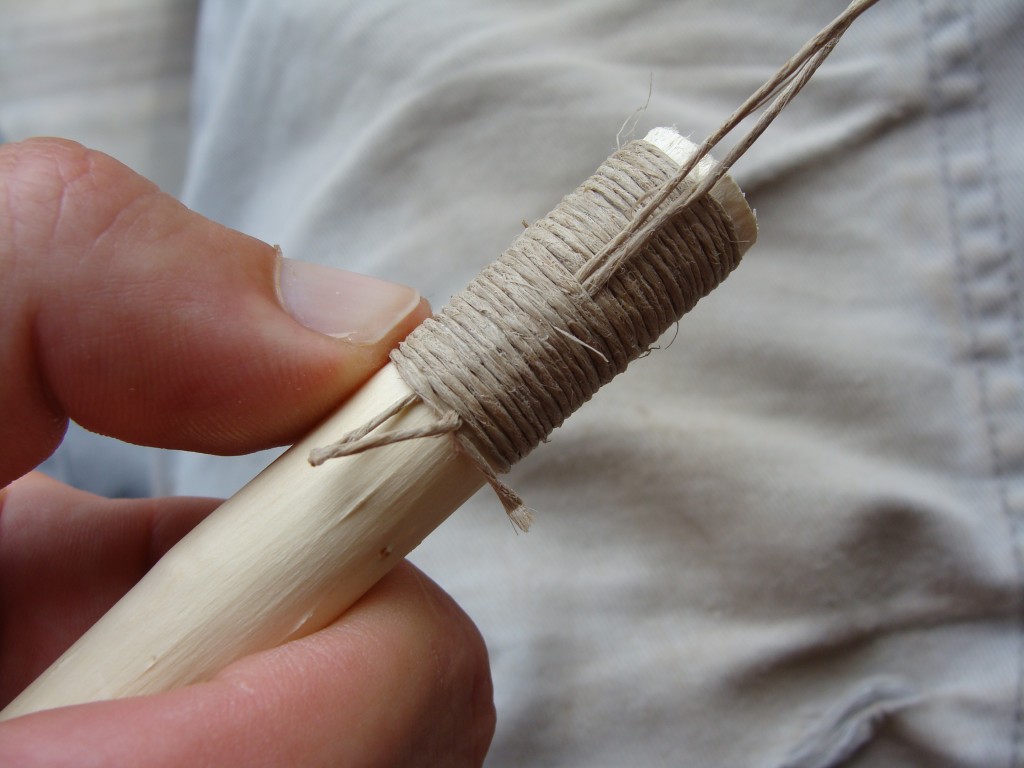
Make a whipping if using cordage. Start by wrapping the cord over itself.
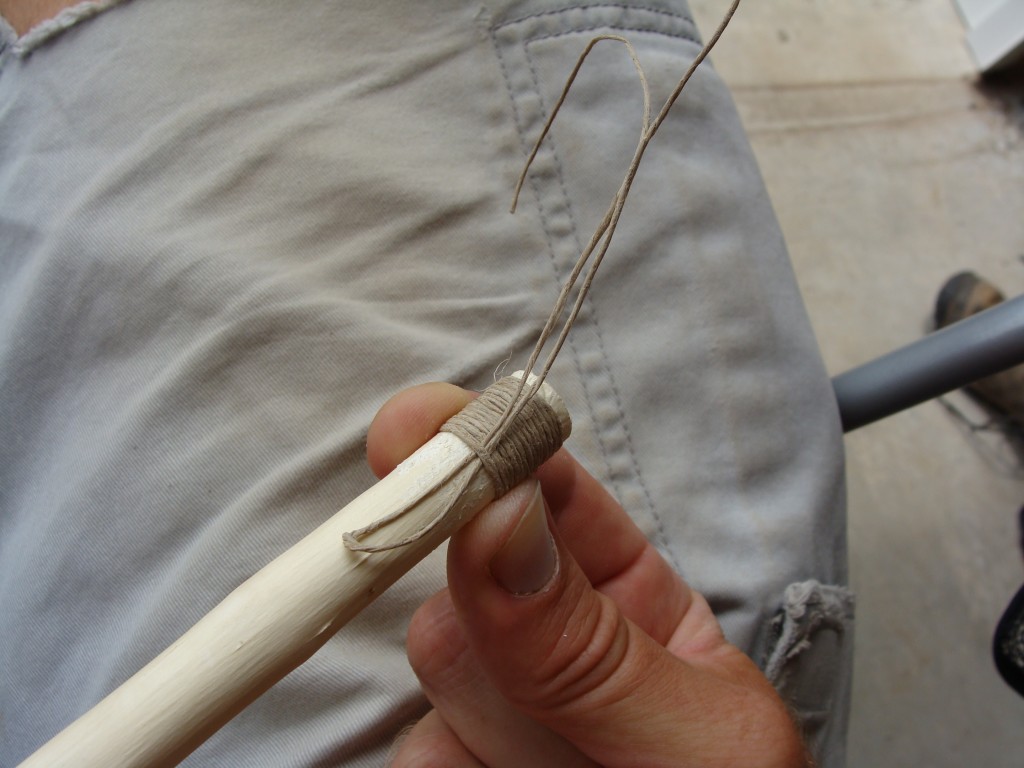
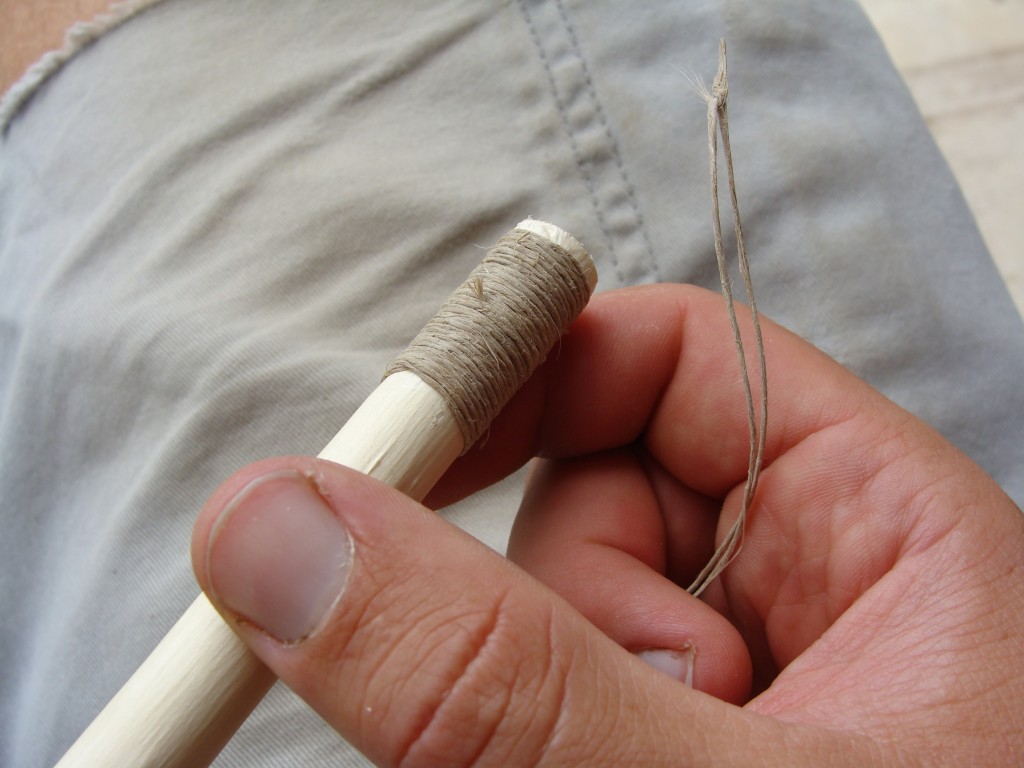
Wrap down a ways and insert a loop. The loop should be the same diameter as the cord you are using to wrap.
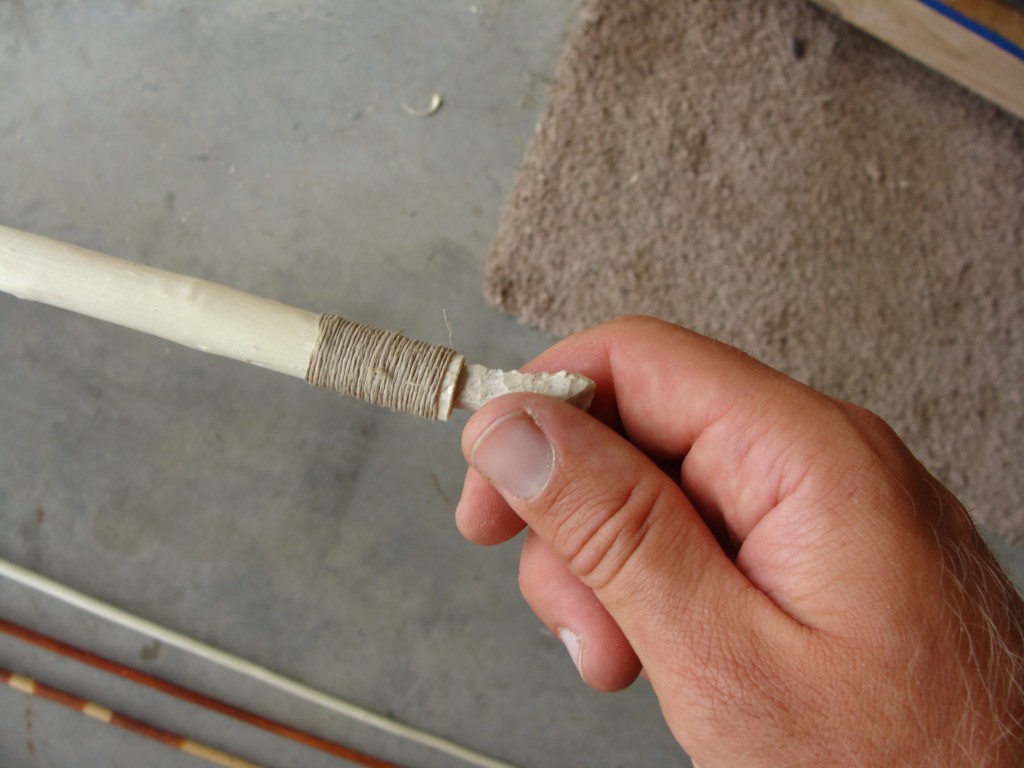
Wrap down over the loop and insert the end of the line through the loop, then pull through and trim.
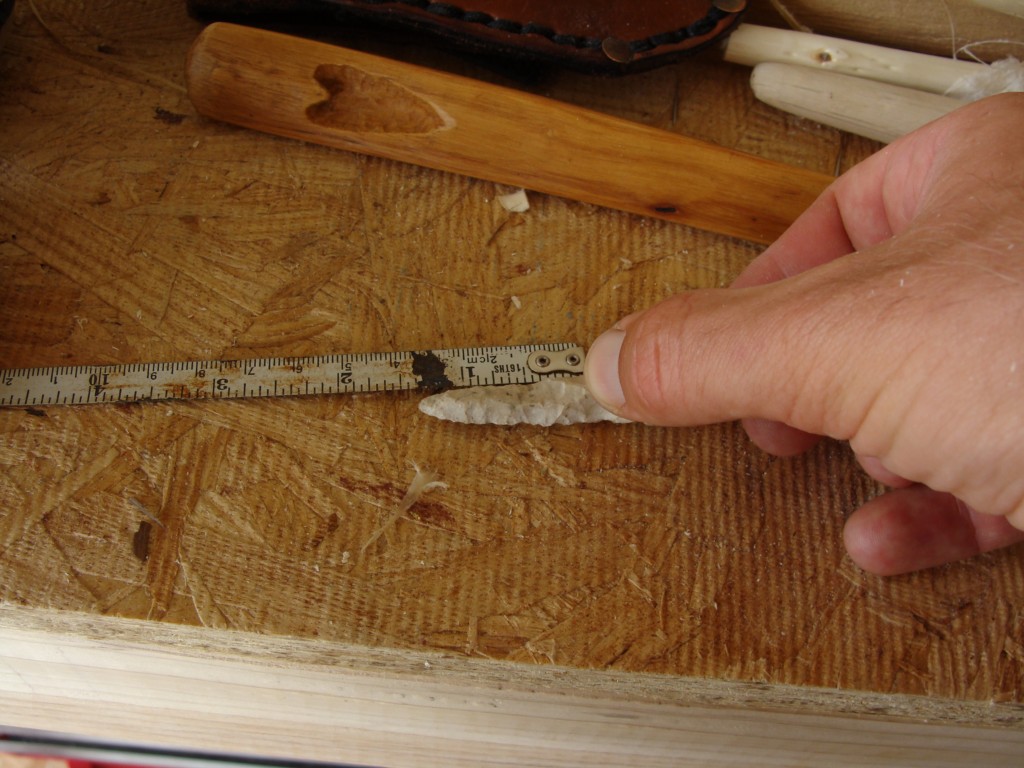
Now finish the job of drilling. Measure the depth of the inserted drill to get the socket depth.
The finished socket:
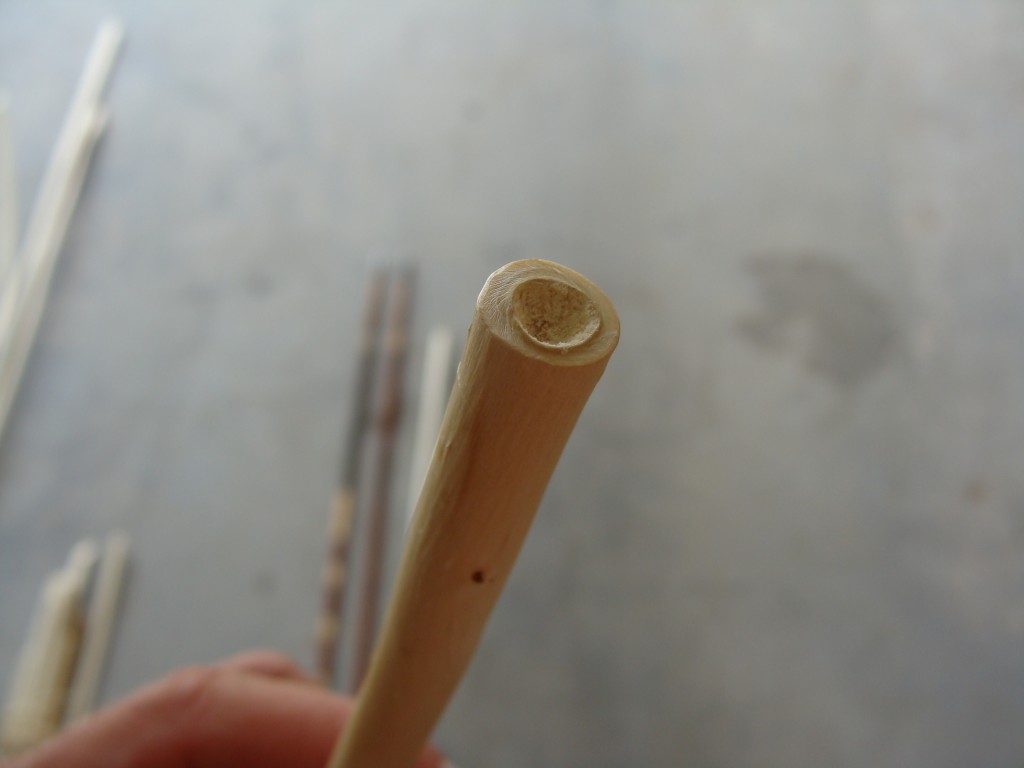
Now put the cup in the proximal end for the dart nock. The cup should be pretty shallow. You can carefully ream out the cup with your knife tip and/or use the end of a stone drill. The latter makes a more even cup for me.
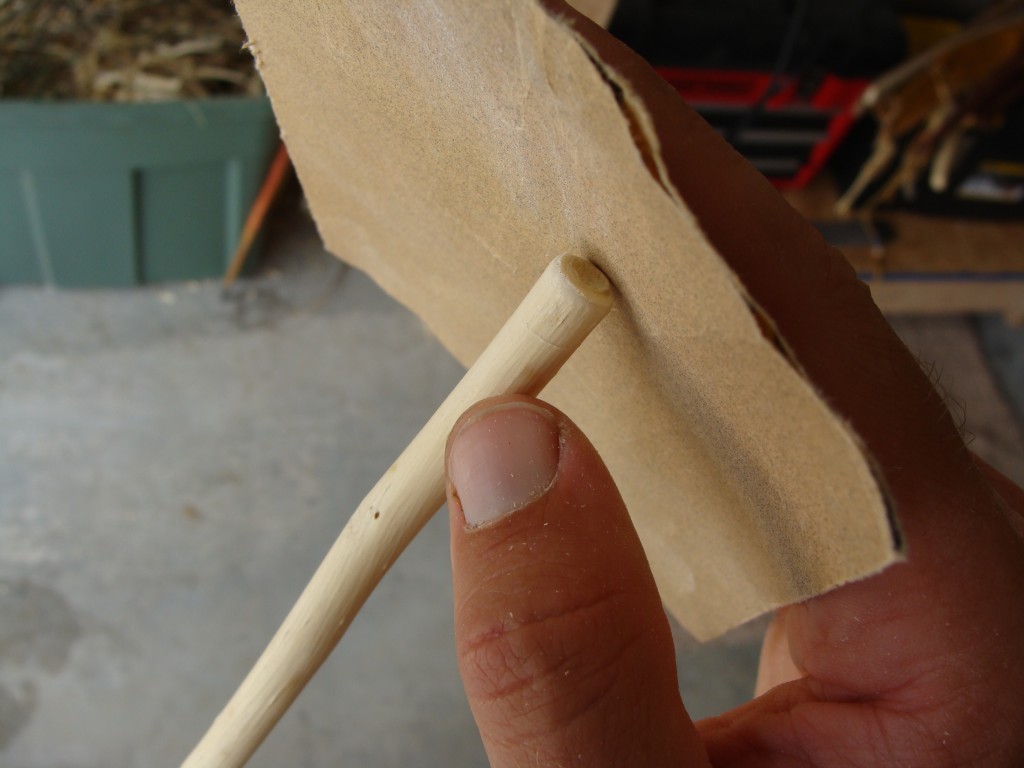
Sand the edges of the nock with light sand paper.
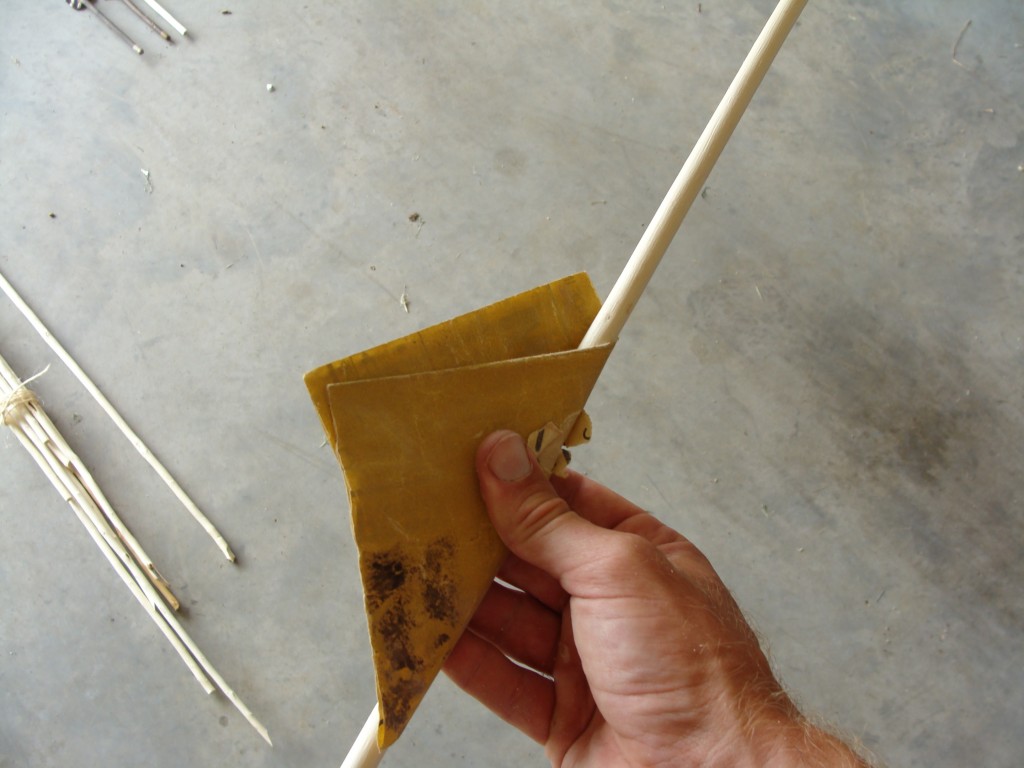
Sand down the entire shaft with fine sandpaper, or polish using a bone or other smooth, hard surface. Polishing the wood crushes the outer cells, and may help the shaft retain its straightness.
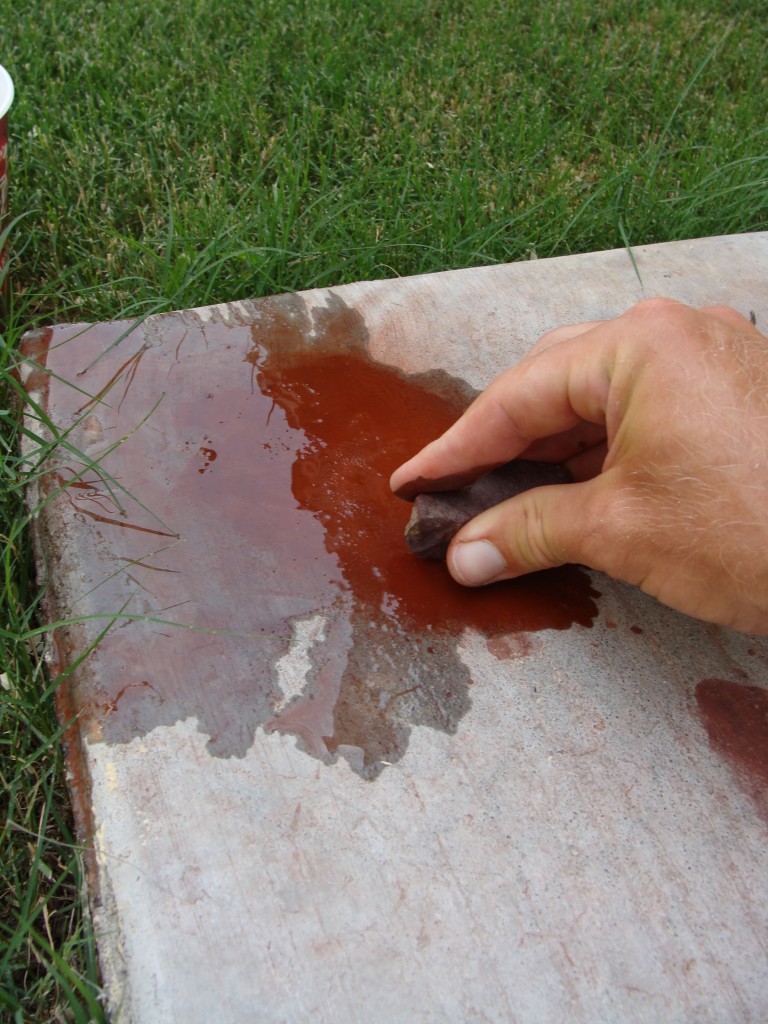
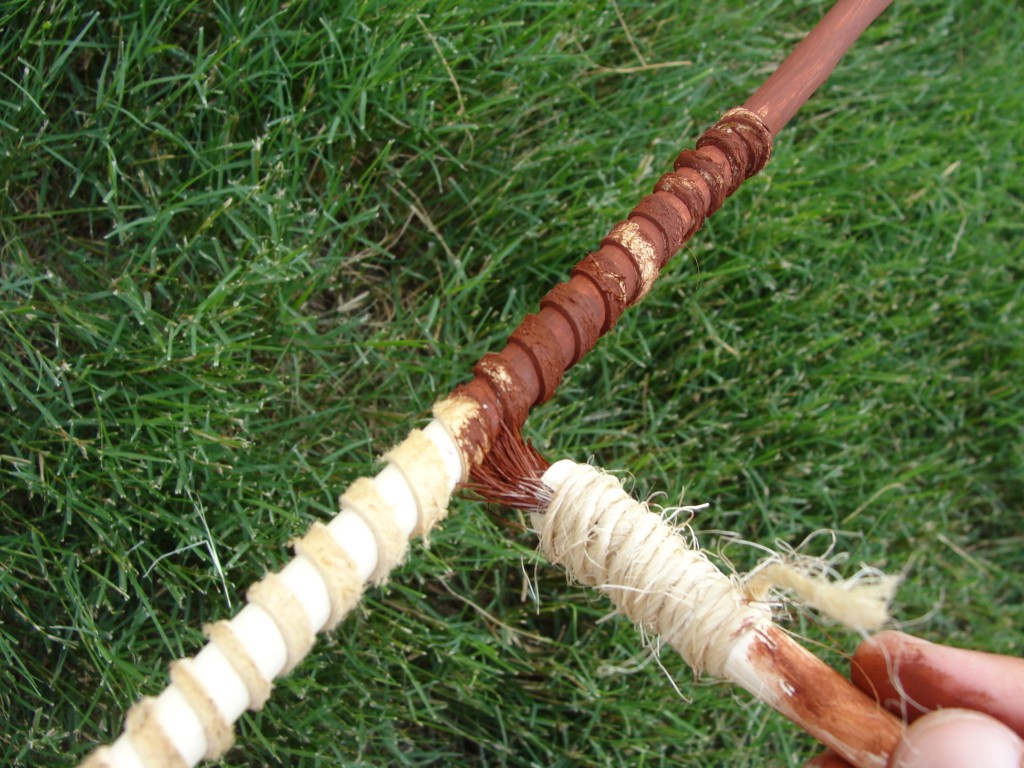
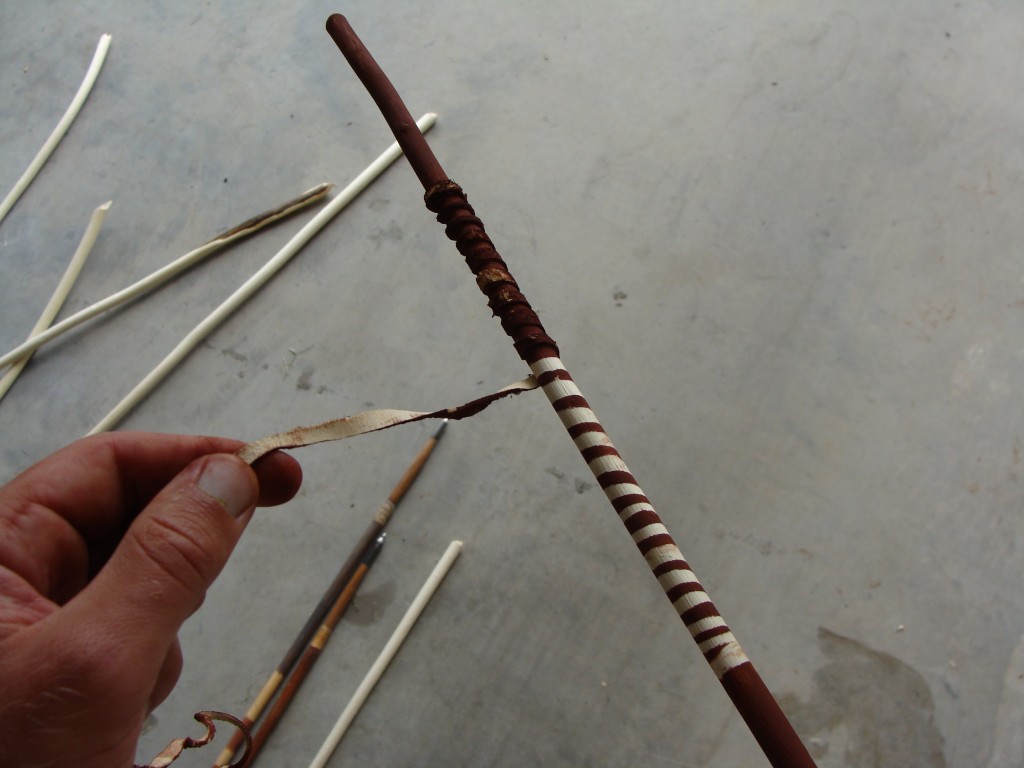
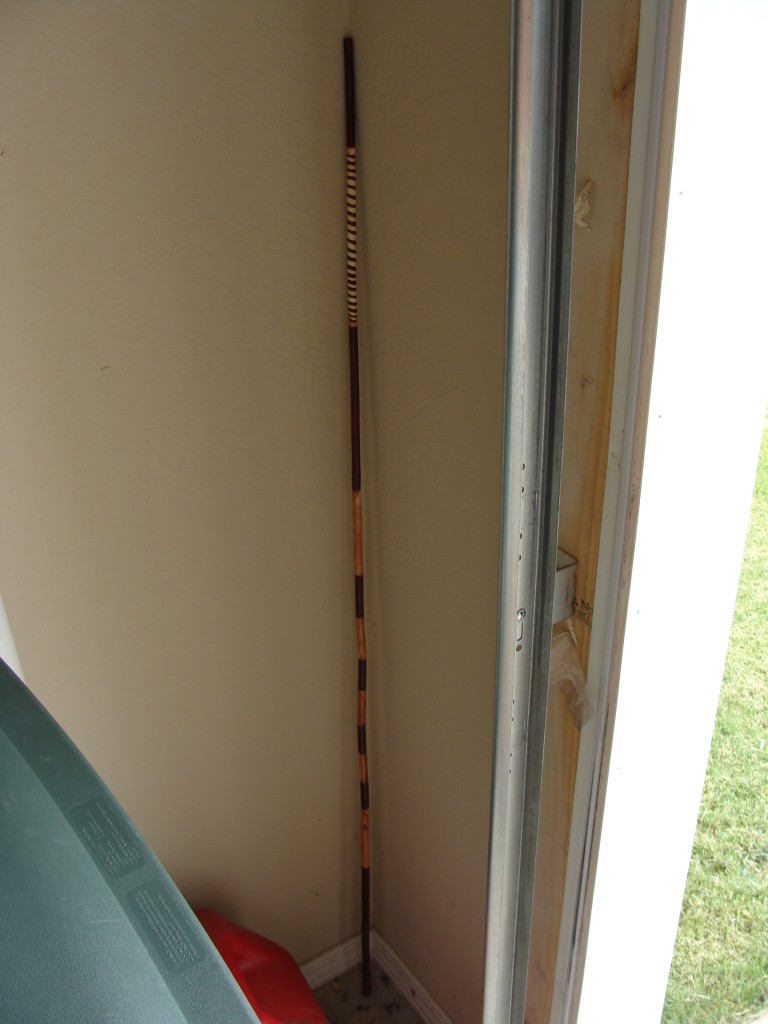
Now its time to paint if you want to do that. Here I’m using red ochre and water, but I’ve also had success with cheap water colors. The artifacts had a number of different schemes in black and red. The design I make here is a combination of the described schemes, but missing the black.
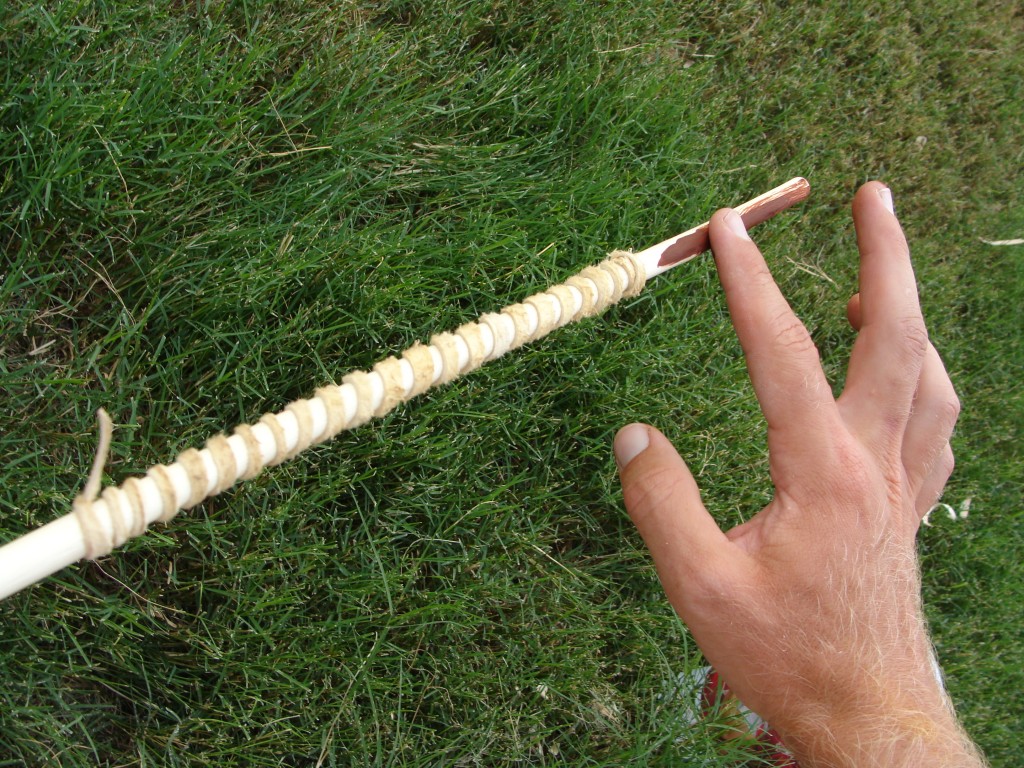
Spirals under the fletching are a common scheme in surviving darts. It is likely this had a purpose other than visual aesthetics (from what I can tell the fletching technique would have covered the spiral design), but I’m not sure what it might have been. To make the spiral a cord is wrapped around the shaft and the bare wood is painted, then the cord is removed after the paint has dried.
Once the paint has dried oil the shaft to lock in the paint and help protect the wood from weather. Depending on your oil/paint, it may be difficult to apply oil without smearing the paint. In that case you might want to mix the paint with oil before applying it. Once the shaft is oiled lean it up in a safe place to dry. It may take several days depending on the oil you use. Vegetable oil, animal fat, store bought oil are all options.
Now for the fletching. What I’ll be making here are 3-vane fletches. These work well but are not the traditional method. Some parts of the fletching remain on the artifacts, enough to tell they were a tangential fletching of 3 whole feathers with wood splinters or the tips of yucca leaves inserted into the hollow quill and bound with a sinew wrapping before being bound to the shaft. Unfortunately the feathers were eaten by insects or rotted away, and we don’t know how they were trimmed or fully understand the attachment technique. It may have looked something like this:
The above dart does not throw any differently than a three vane fletch. My three vane fletch is an adaptation of Mills’ fletching technique in his river cane dart tutorial: http://basketmakeratlatl.com/?page_id=534. You can use the whole domestic turkey feathers that are prepared for arrow shafts and can be purchased, or trim your own feathers. The latter can be difficult and requires practice. The rachis needs to be trimmed down so that the feather will straighten out on the shaft. Be prepared to ruin several feathers through the learning curve, and even after you’ve practiced (I bet the traditional method was easier). It helps to have a very sharp knife. I’ve prepared a video showing the trimming process:
Trimming feathers for atlatl dart fletching
I trimmed these feathers up a bit more on the inner rachis so they would straighten out. It doesn’t seem to help a dart to have spiral fletching as on arrows. Darts act differently, oscillating, rotating and spinning on their own depending on the angle of deflection in the throw and the spine of the dart. However if the fletching ends up a bit crooked, which it likely will starting out and often still does for me, this probably won’t affect functionality, only aesthetics.
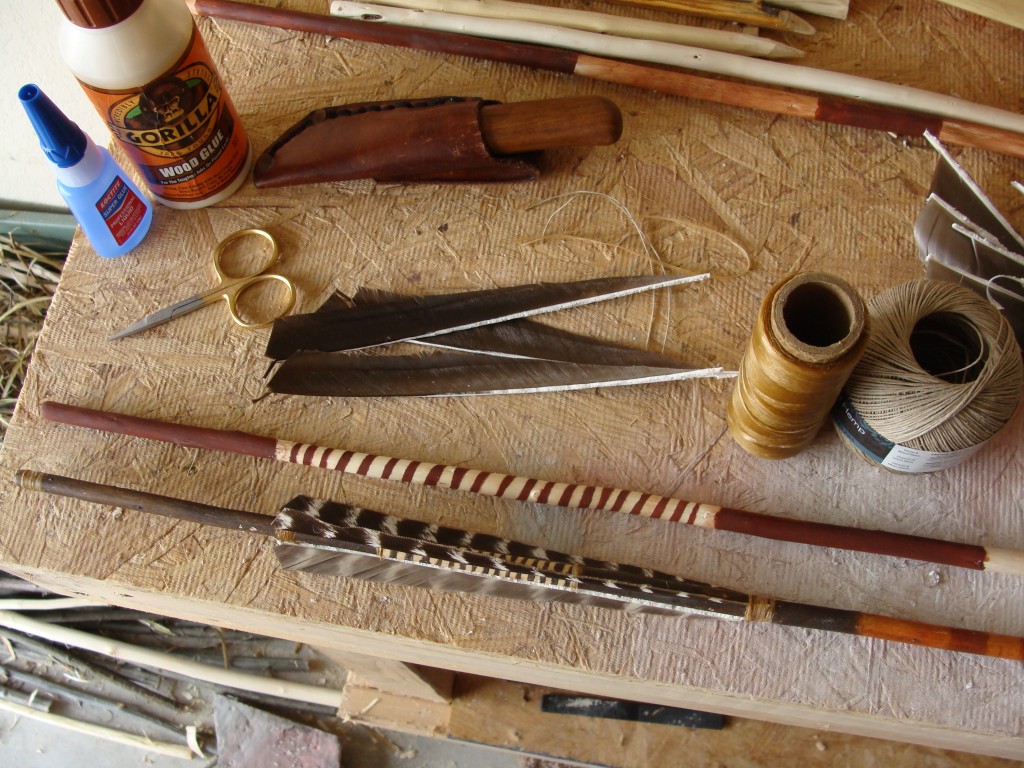
Materials for fletching:
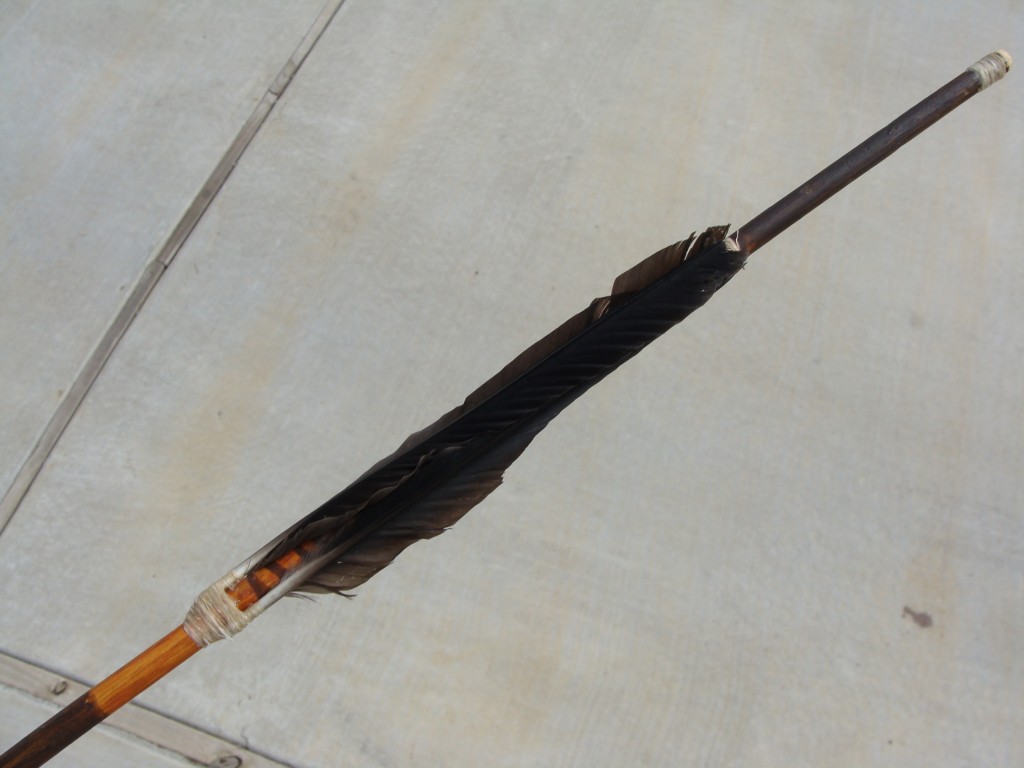
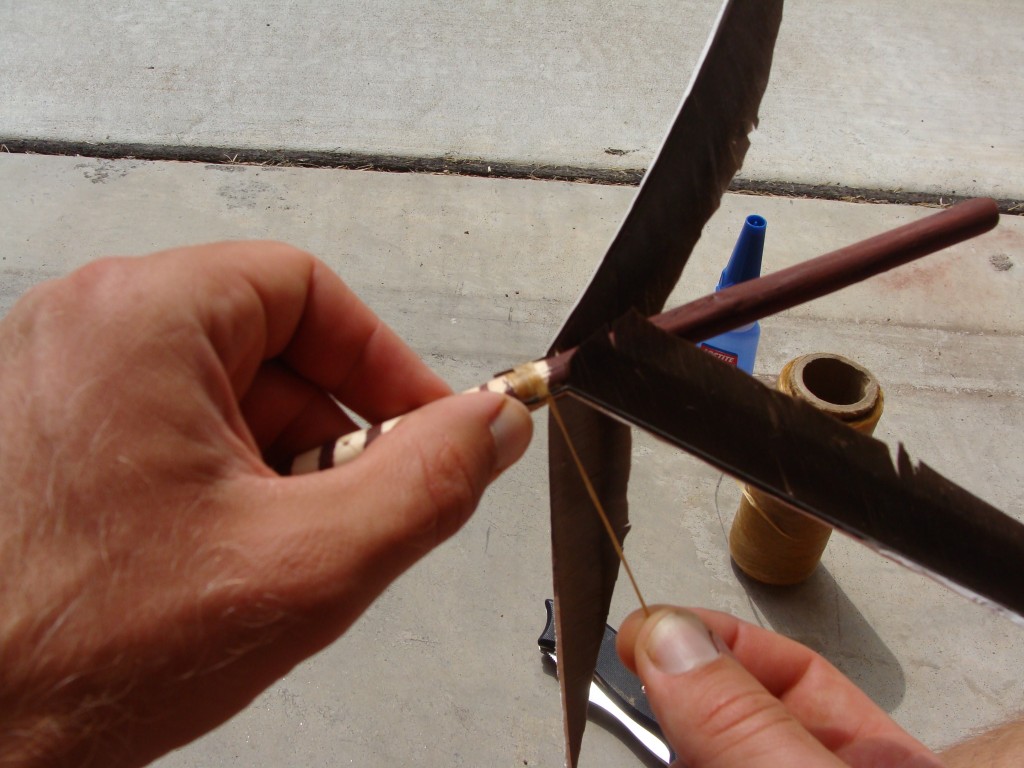
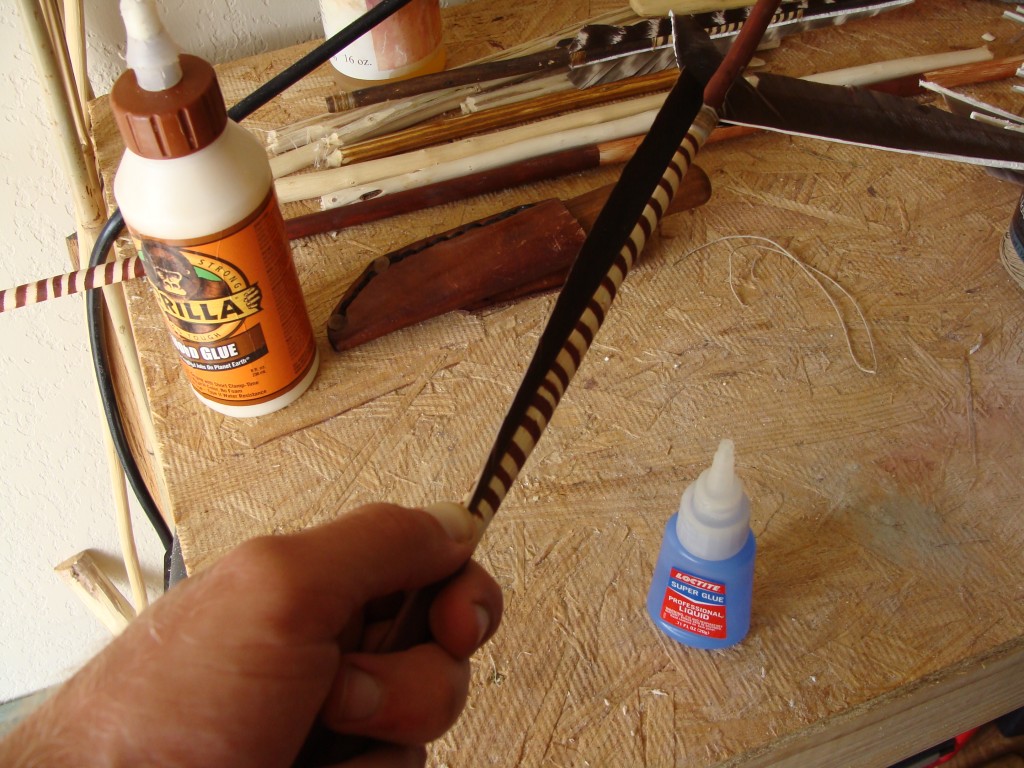
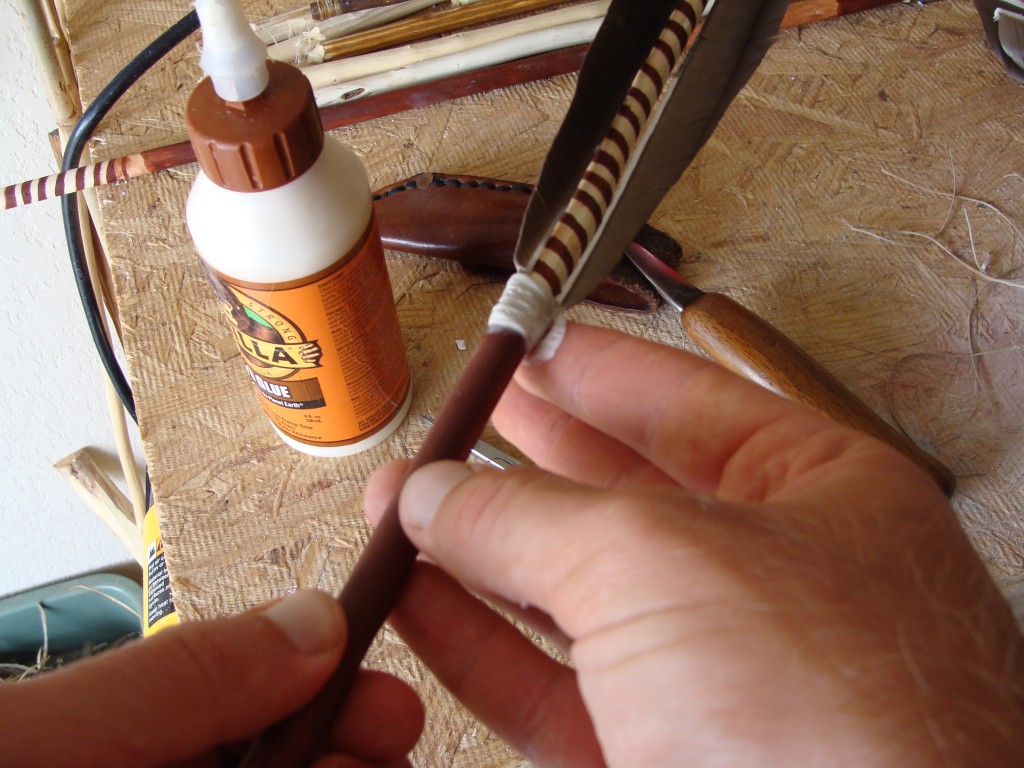
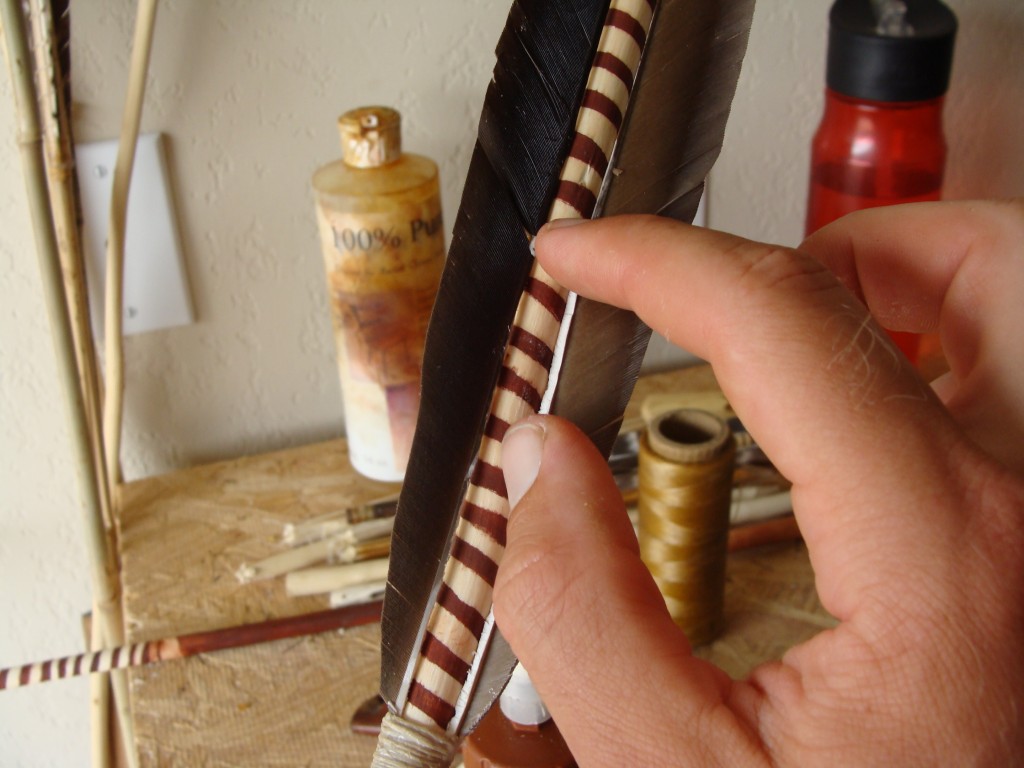
The original fletchings were about 7.5 inches long, and placed about 4.5 inches from the proximal end. I bend down the back of the fletch and wrap in place with a whipping of artifical sinew. This is the time to make sure the fletchings are evenly spaced and you have the bent down section straight. For instance if the side of the bent section is wrapped to the shaft rather than the back, the fletch will end up a bit crooked.
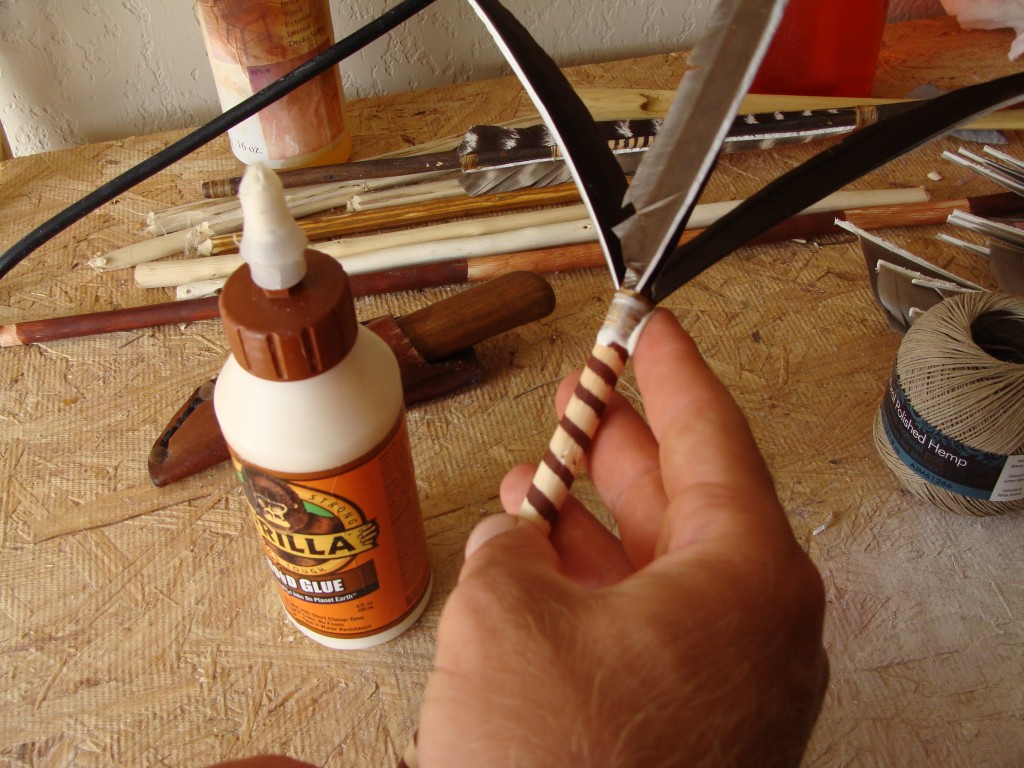
You might want to put a coating of wood glue over the whipping to increase its longevity and good looks. Artifical sinew frays over time and with rough use.
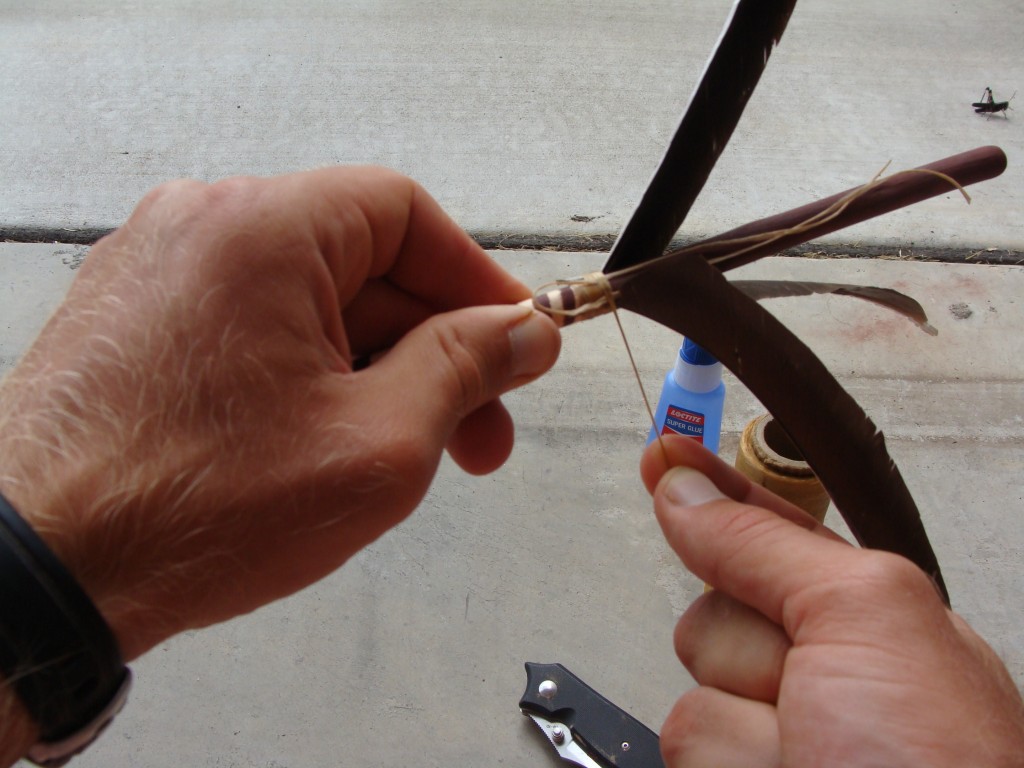
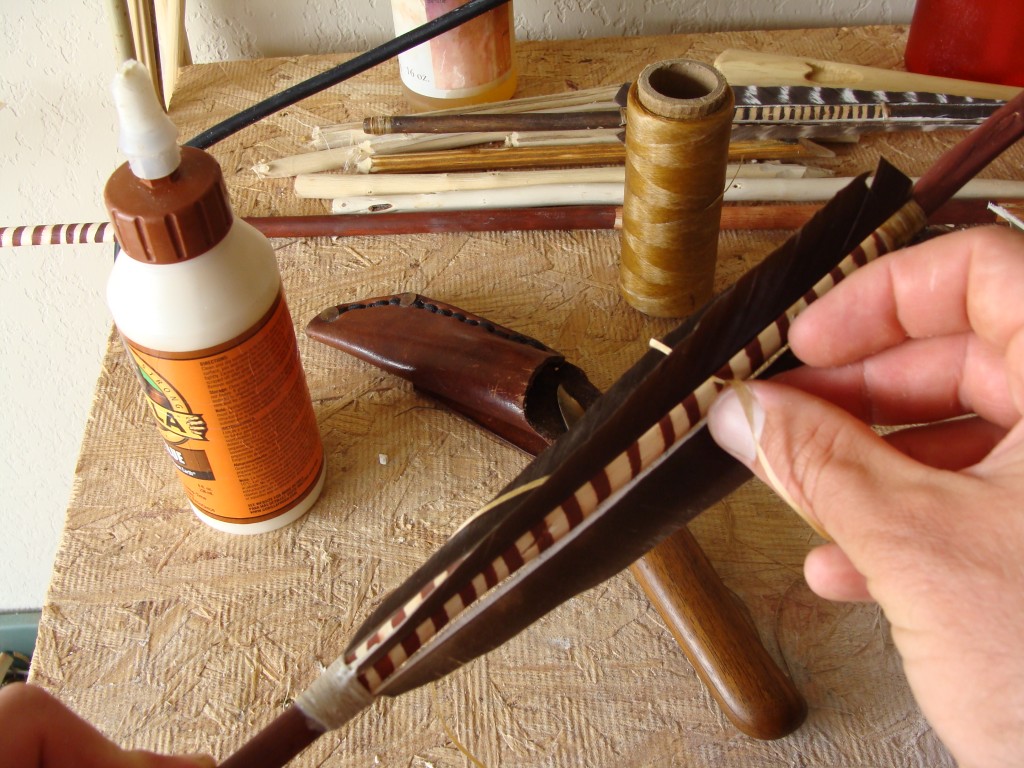
Now fold the fletchings down, pull the feathers tight, and lock them in position with a dab of super glue.
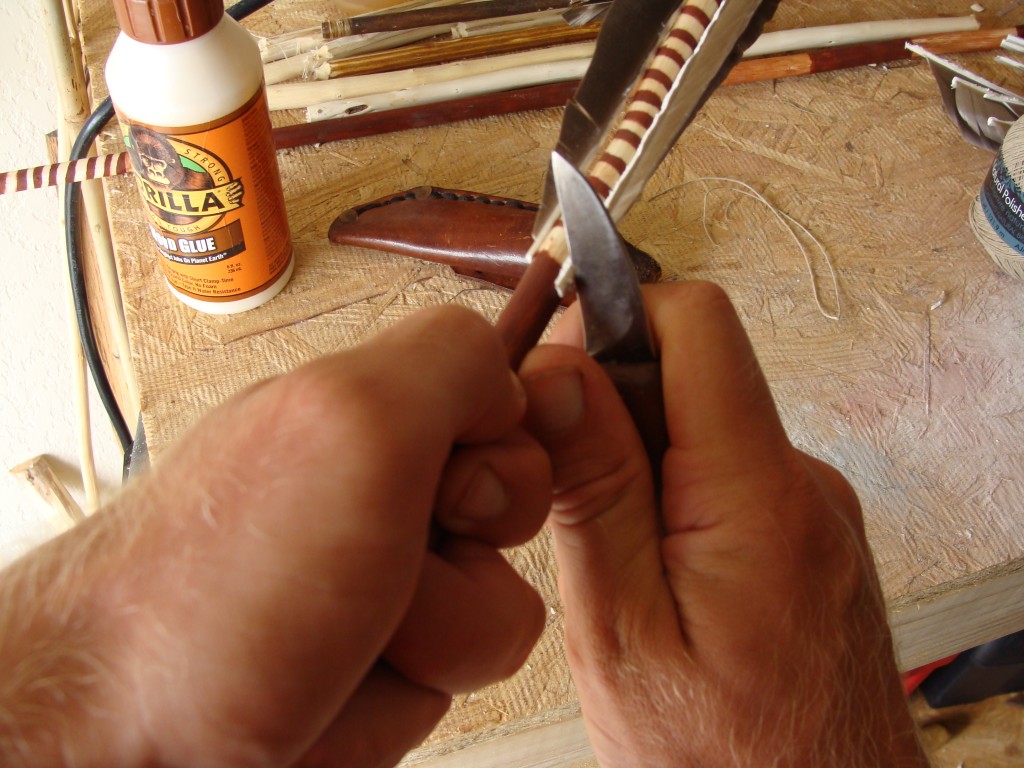
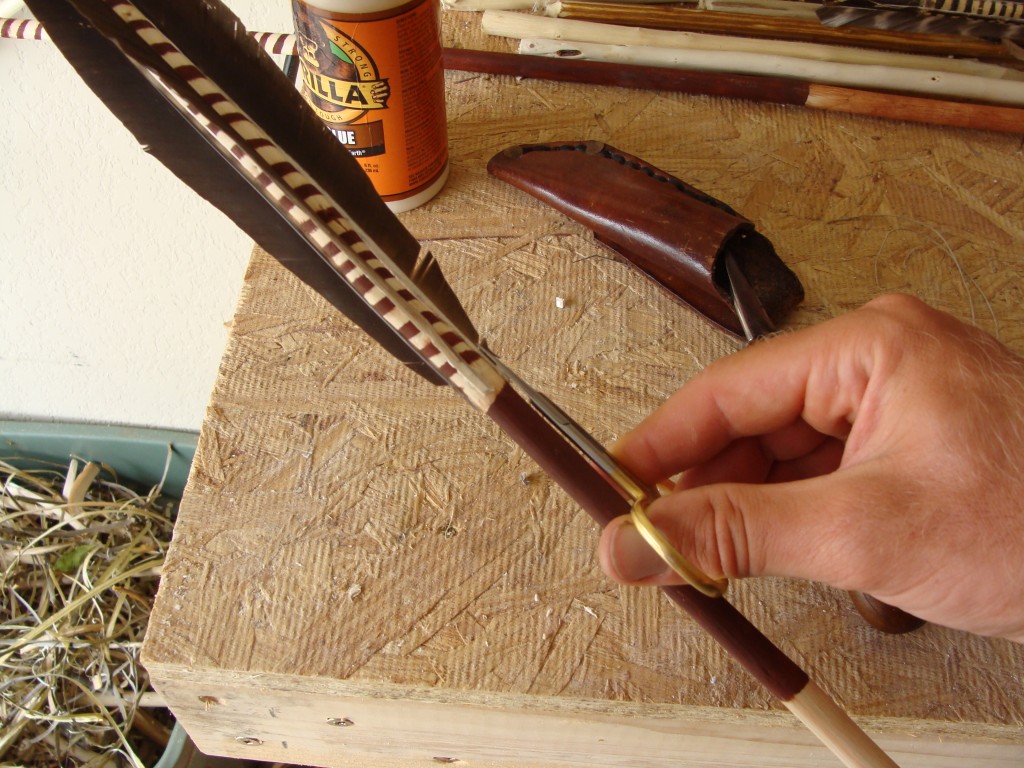
Its probable that the fletchings won’t come out at even lengths, so trim as necessary.
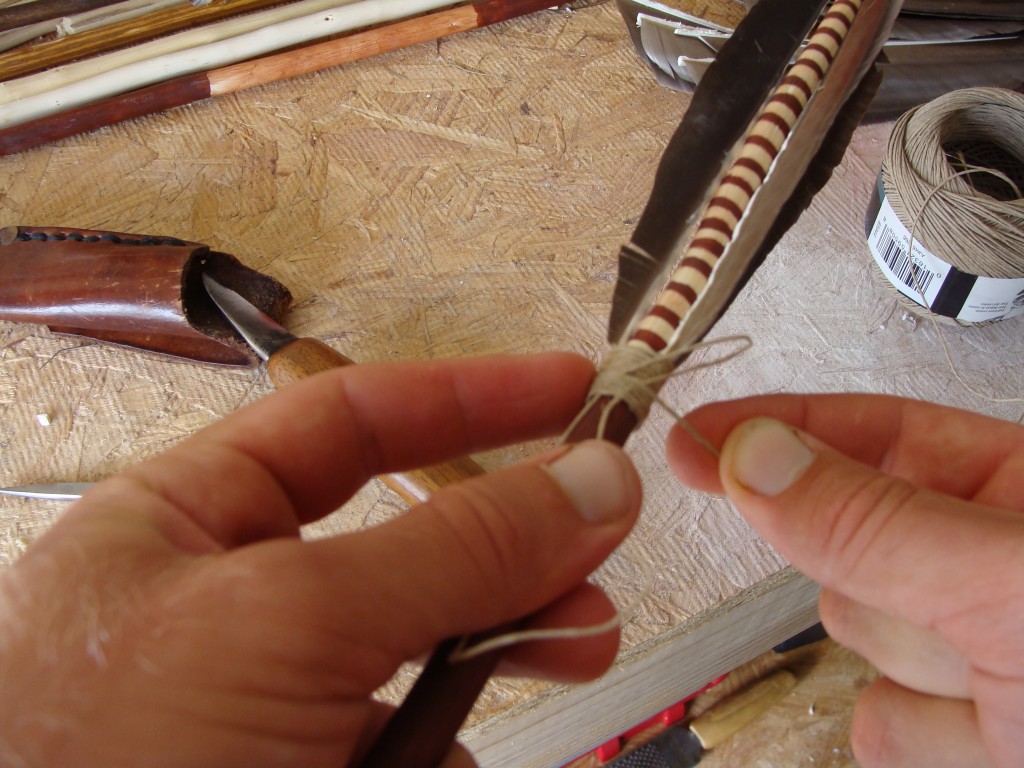
Now make a whipping over the ends and coat it with wood glue. This will see more abrasion so give it a couple of coatings.
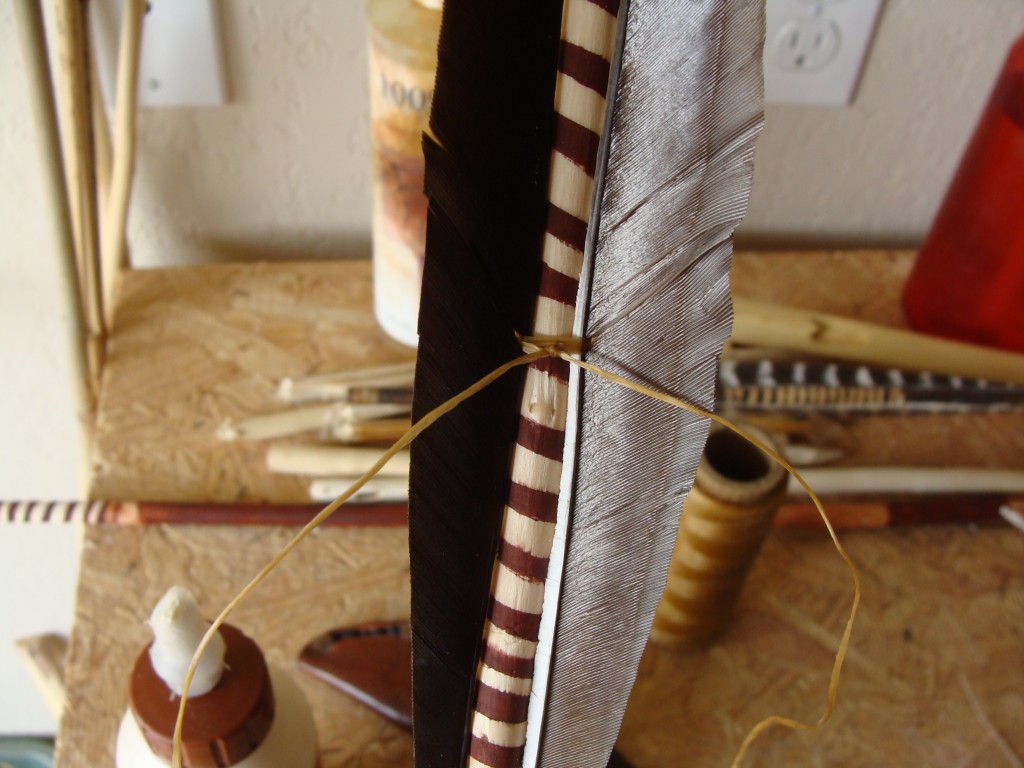
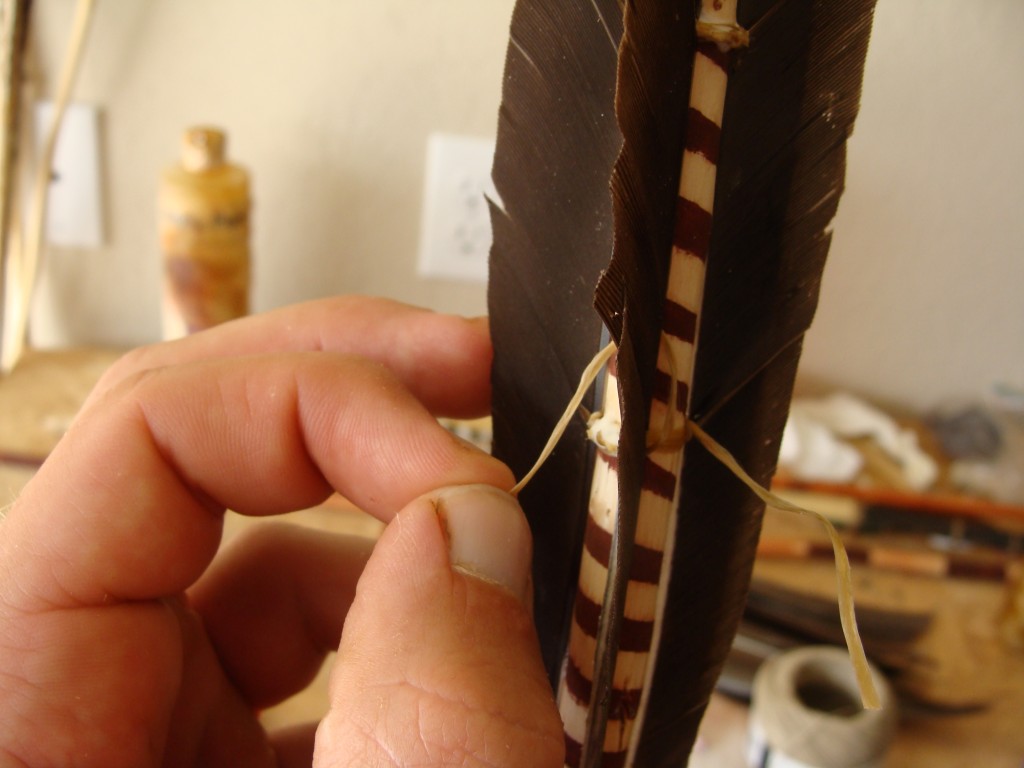
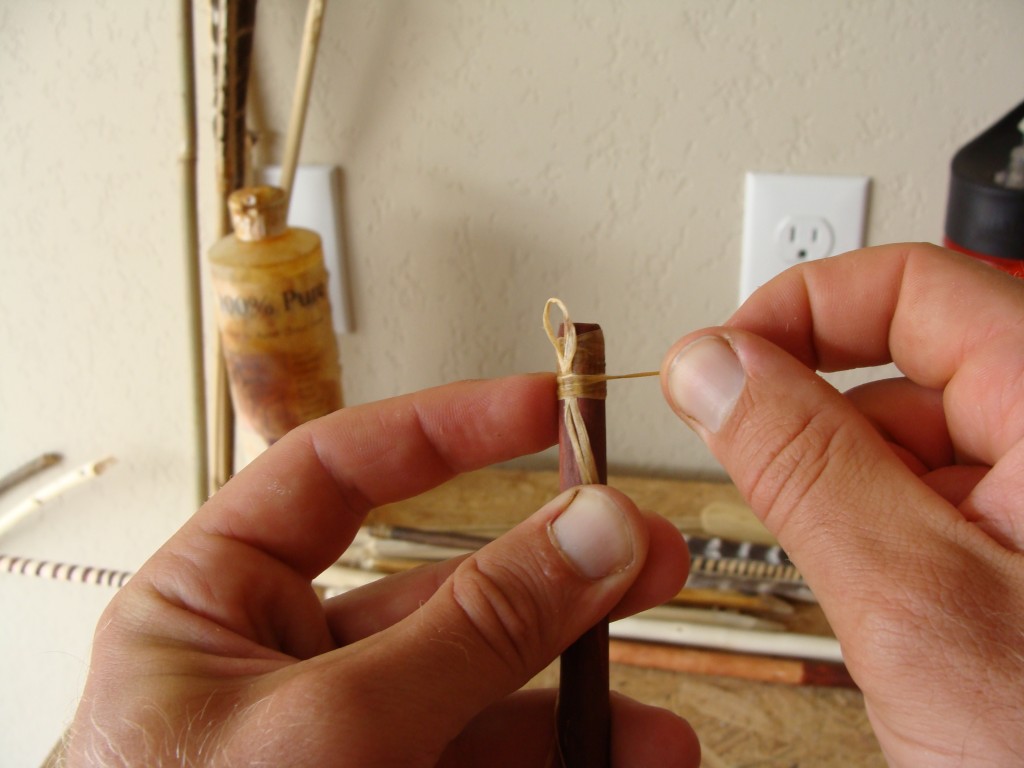
Now you can put a tie in the middle to help hold the fletches down. Thread some artificial sinew under the quills, tie with a square knot, then thread it between the barbs and do the same.
Two of these middle ties will work at this length. I ended up with three. If you want you can also try a lashing between the quill and dart shaft to keep the fletches from moving side to side.
Trim the ties and apply a dab of wood glue to lock in the knots and protect the thread.
Put a small whipping below the nock to protect it from splitting and give it a couple coatings of glue. Splitting here is a rare occurrence. I like to think I am protecting the dart from total destruction in the case of a “Robinhood”–the point of another dart striking the nock of this dart while it is sticking out of the target. Some of the originals had this back seizing, others not.
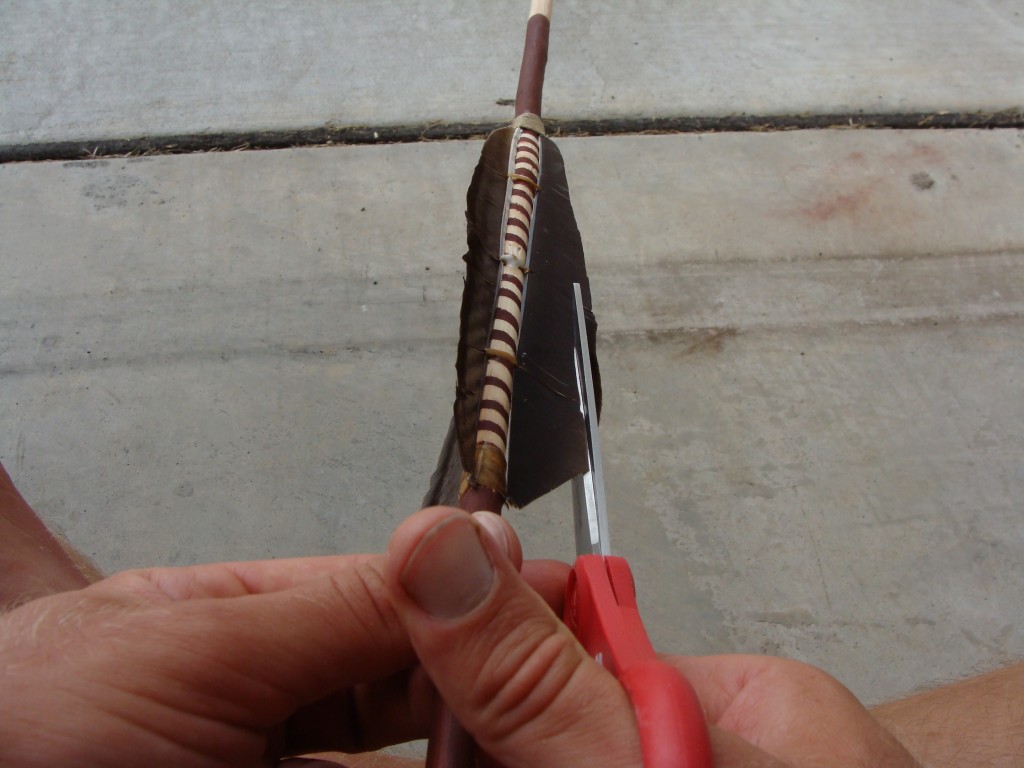
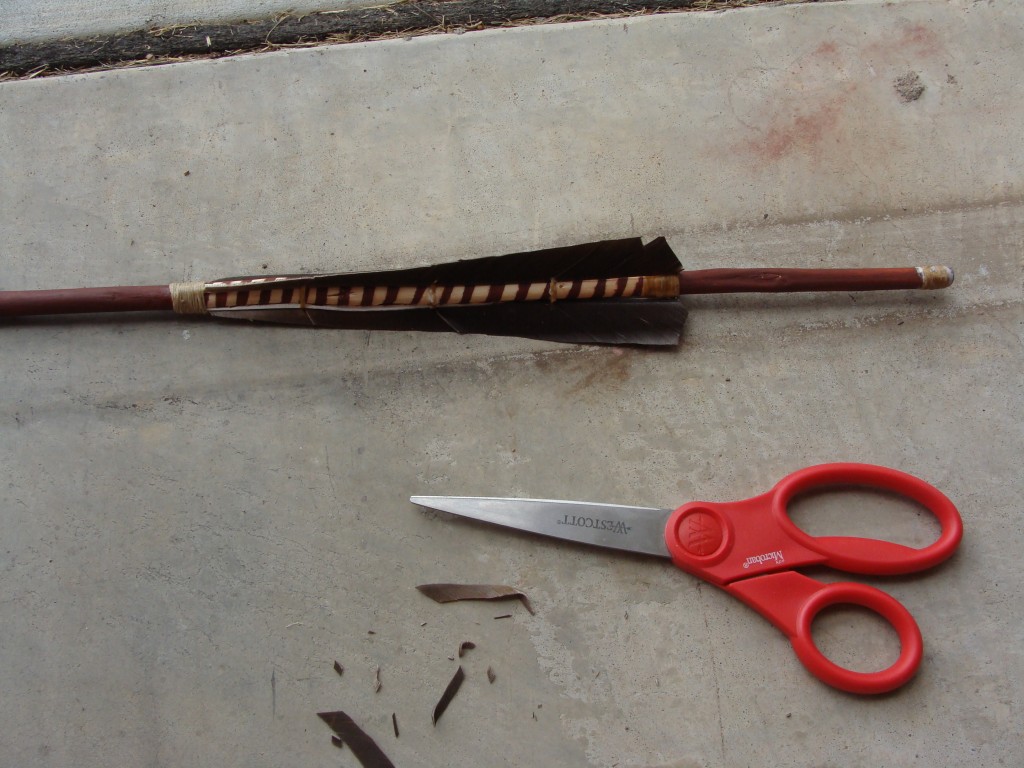
Trim down the fletchings. They don’t need to be very high, and if they are too high they can slow down the dart’s flight dramatically. Mine are about 5/8 inches tall.
The finished fletching:
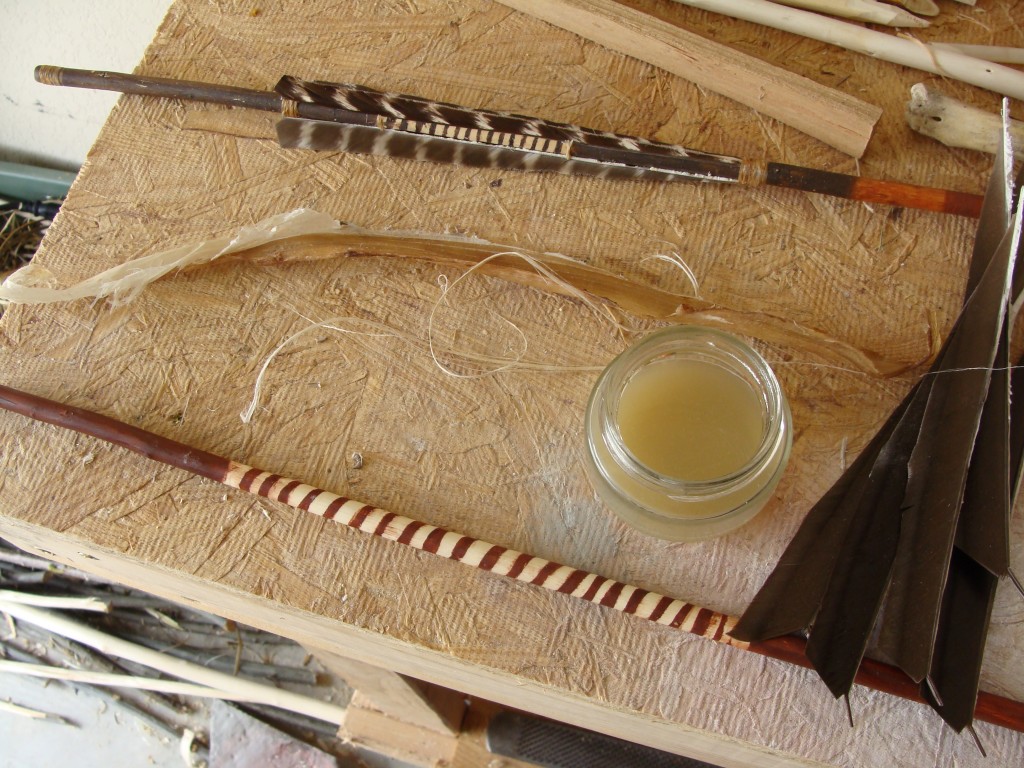
If you have access to sinew and hide glue it works well for fletching. Backstrap sinew is the best and easiest. I don’t even mess with leg sinew anymore; just trim the sinew off deer tenderloin, scrape it clean and hang to dry. It produces long strands of sinew. Or you can obtain gut from the butcher shop for even longer strands, as Justin uses in his video. Simply pull it apart and divide into strips.
An easy method for hide glue is to keep it in a small jar in the fridge, and zap it for 10-20 seconds in the microwave. You can purchase real hide glue, use Knox Gelatin from the store, or research how to make your own.
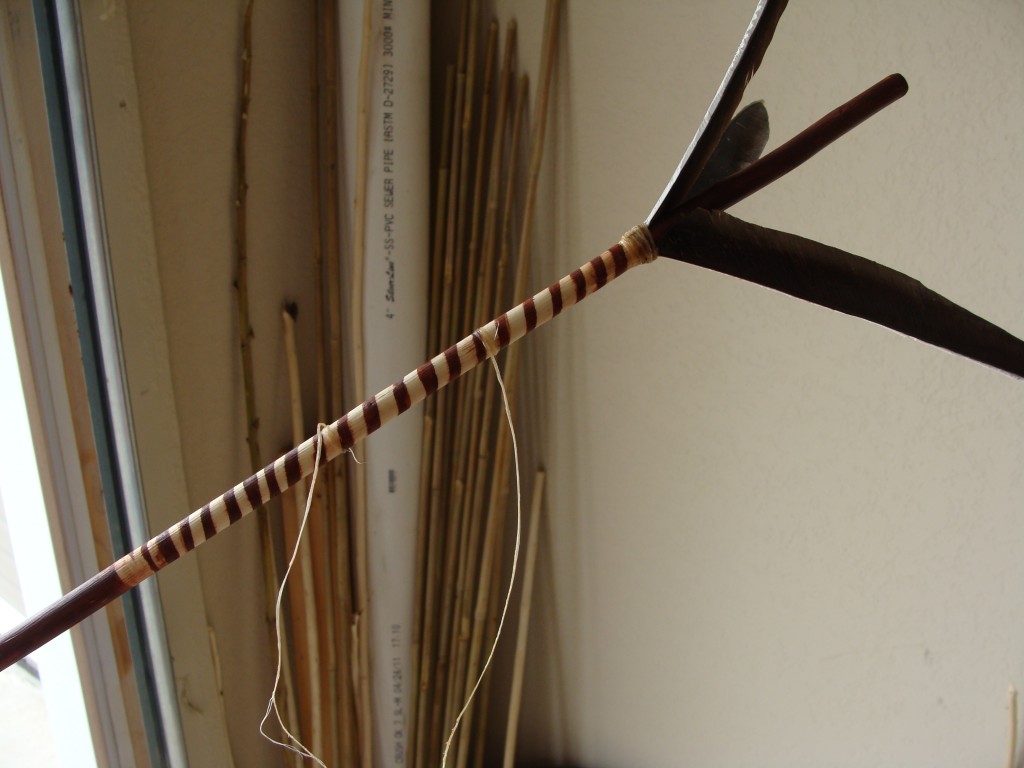
The fletching method is nearly the same with sinew, but soak the ends of two strands and wrap them to the shaft for the middle ties before tying down the front of the fletching.
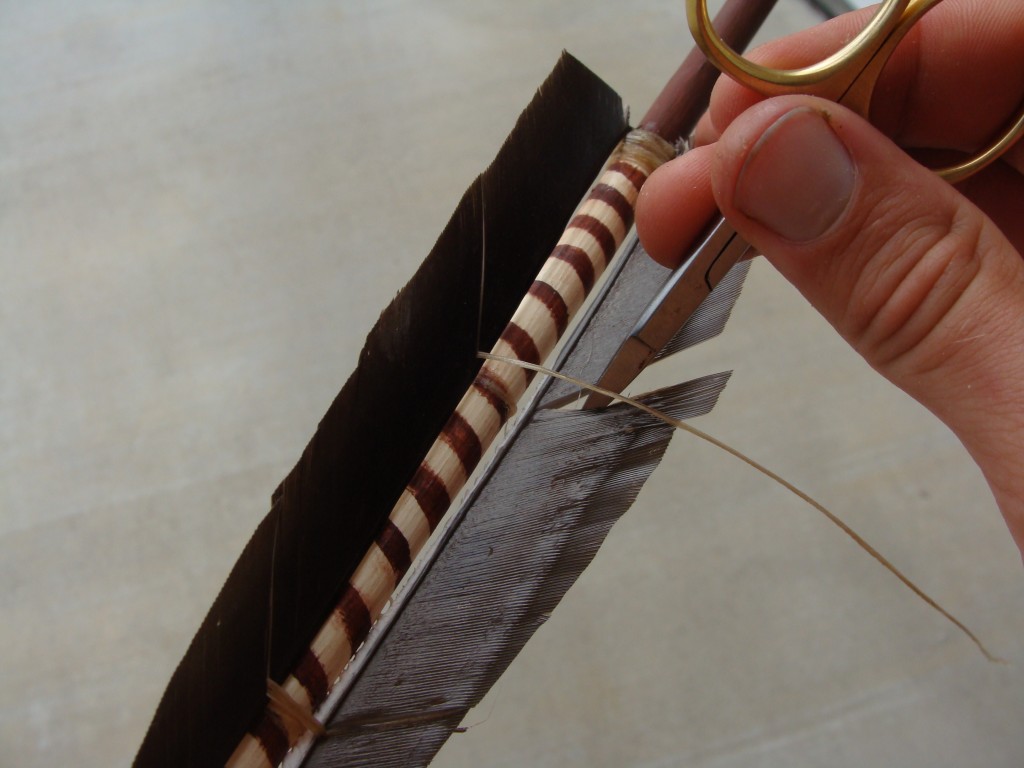
A sharp object of some sort is handy to divide the barbs so you can position the threads correctly.
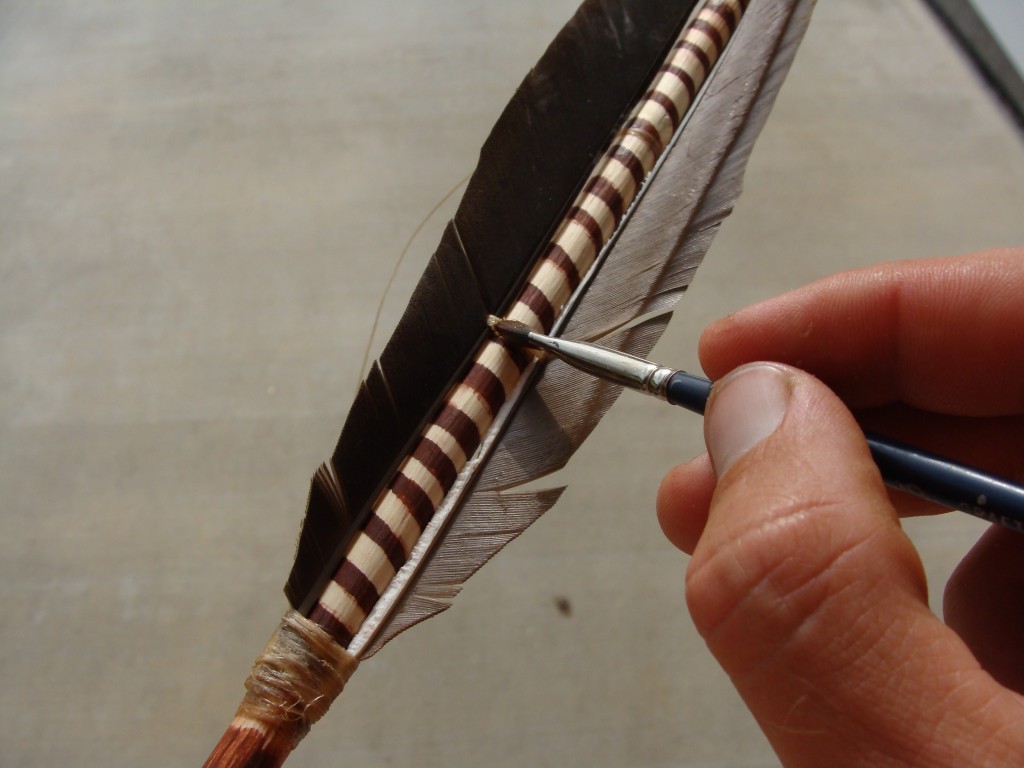
And use a small paint brush to paint on more glue.
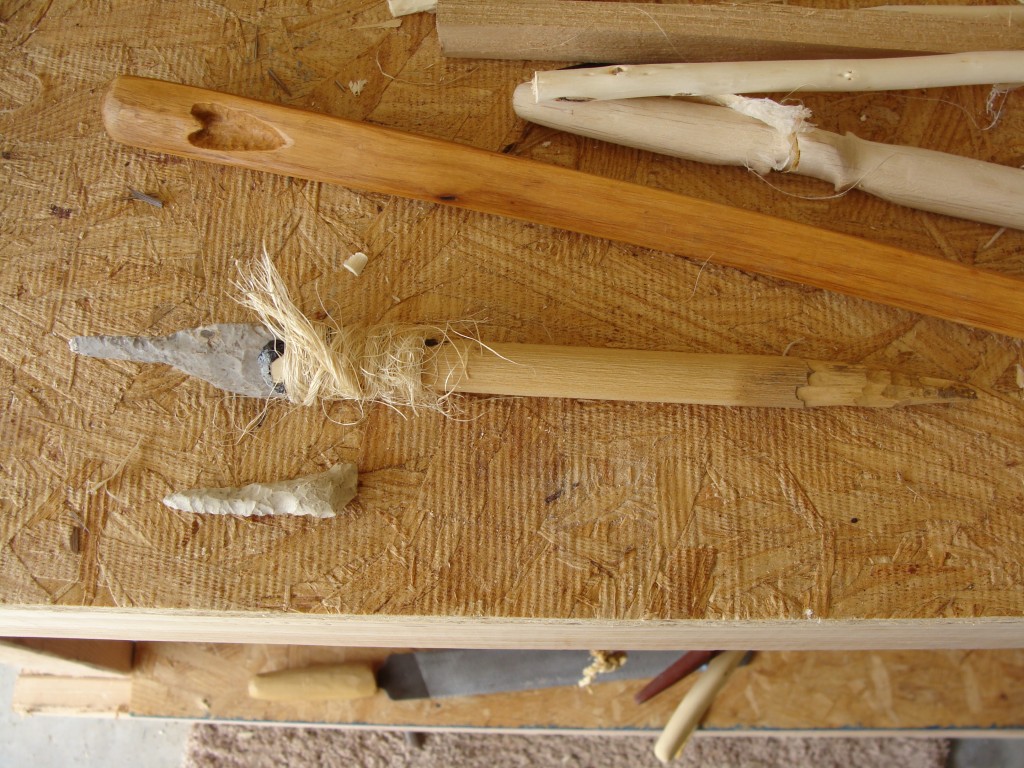
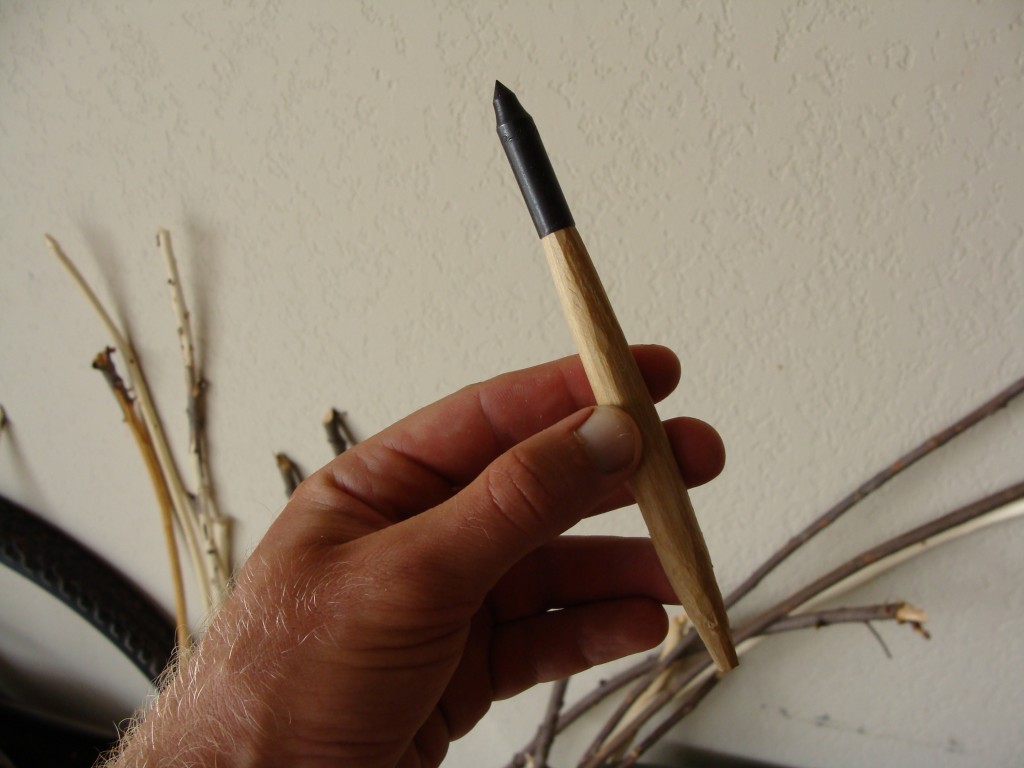
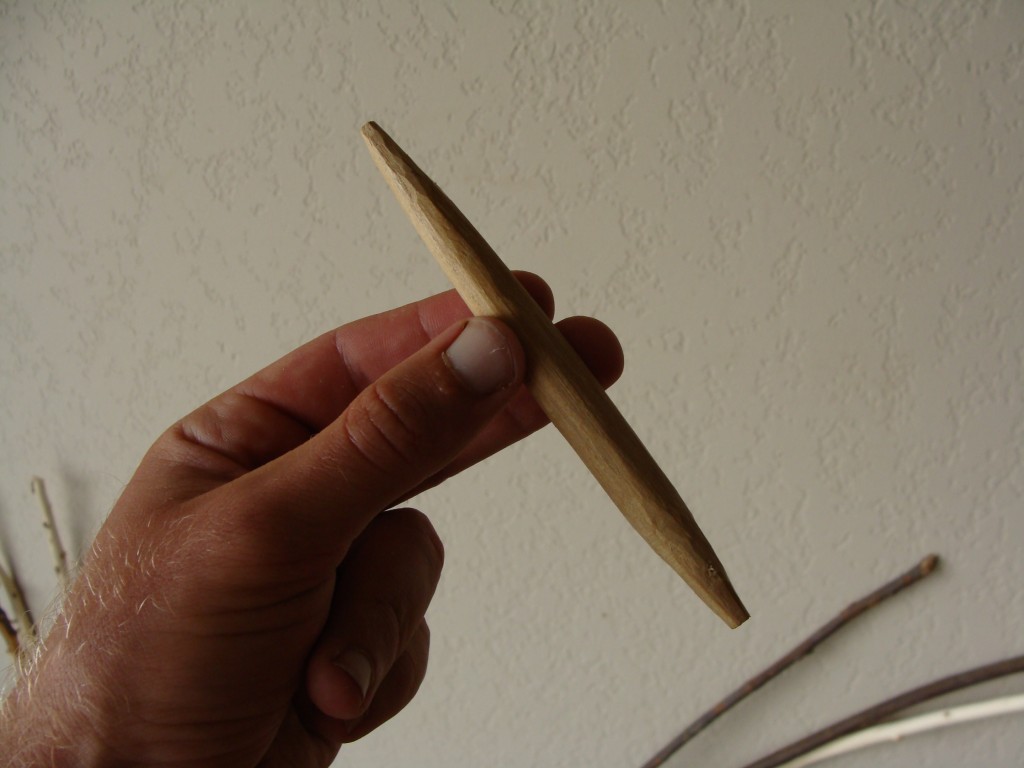
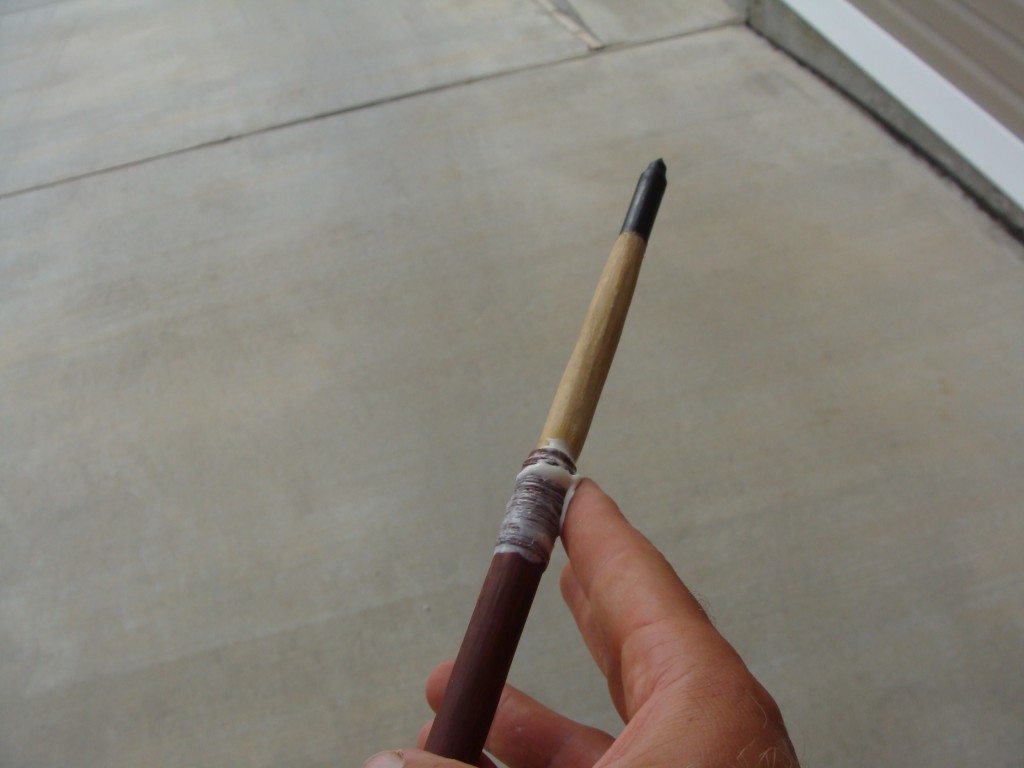
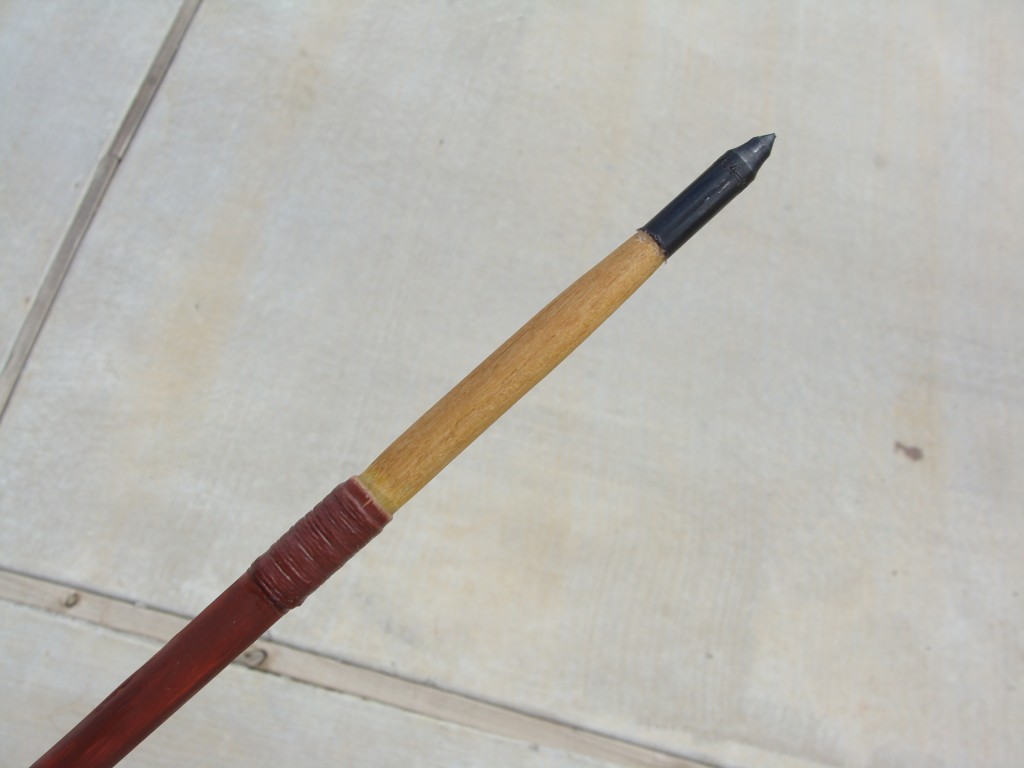
Now for the foreshaft. I like to make them from split pieces of very hard wood such as Osage orange or black locust heartwood. I find these are a little tougher and do not weather very quickly–they resist rotting. You can also use hardwood limbs or oak dowels from the store. Additionally an archery field point will greatly extend the life of the foreshaft.
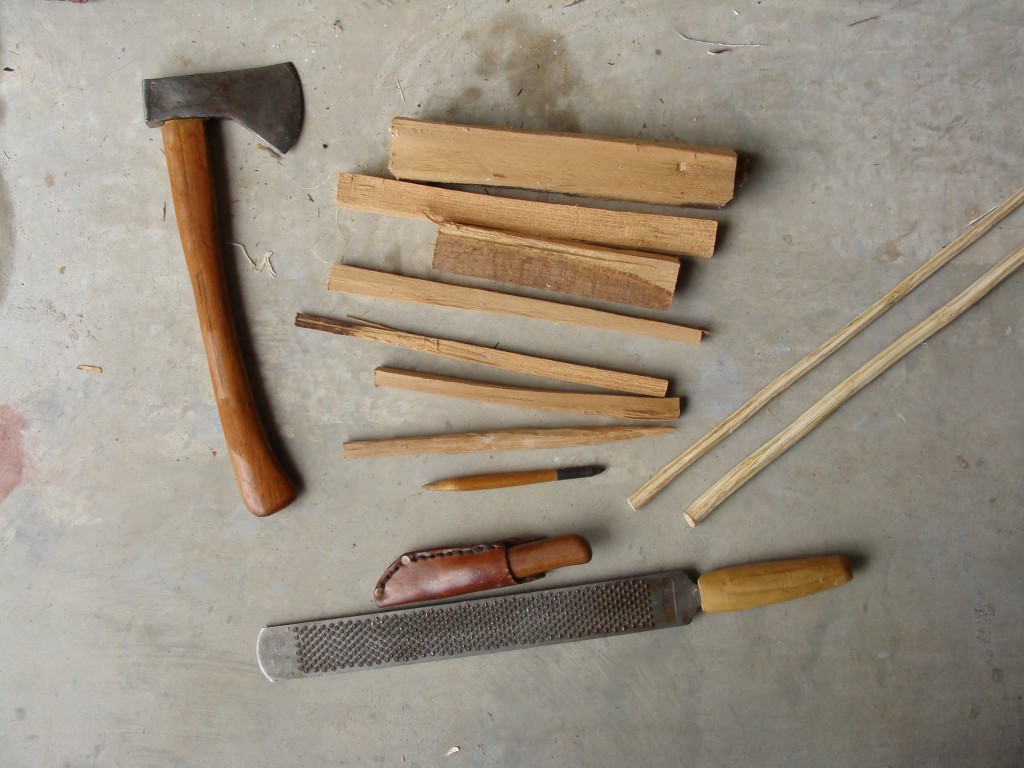
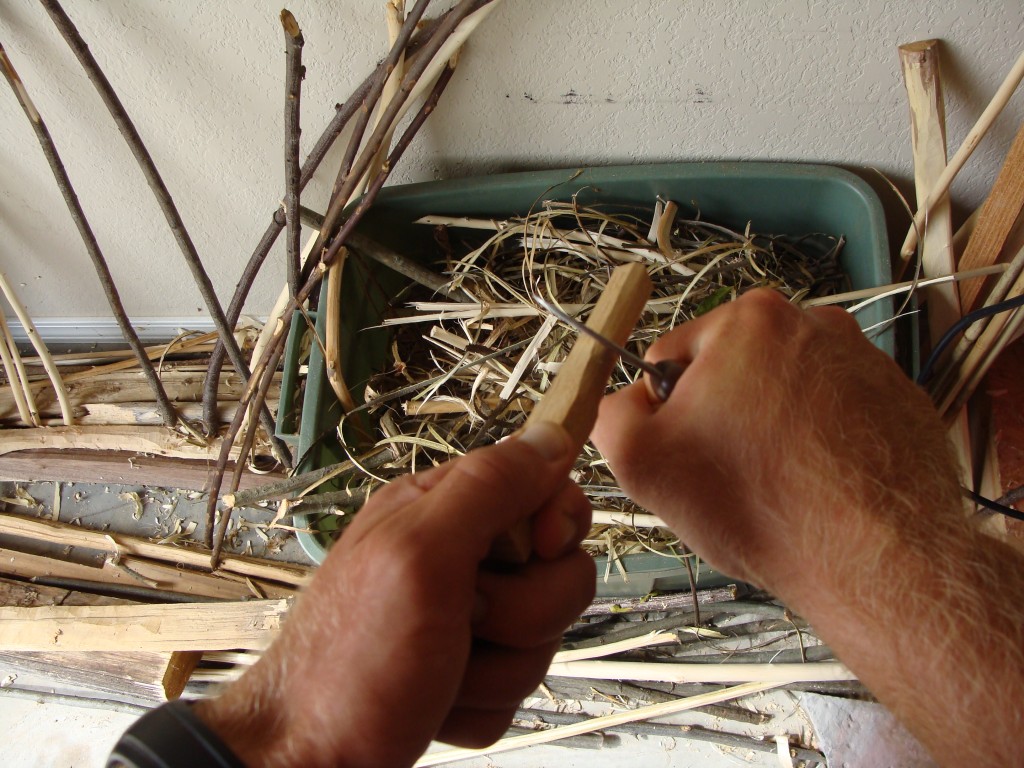
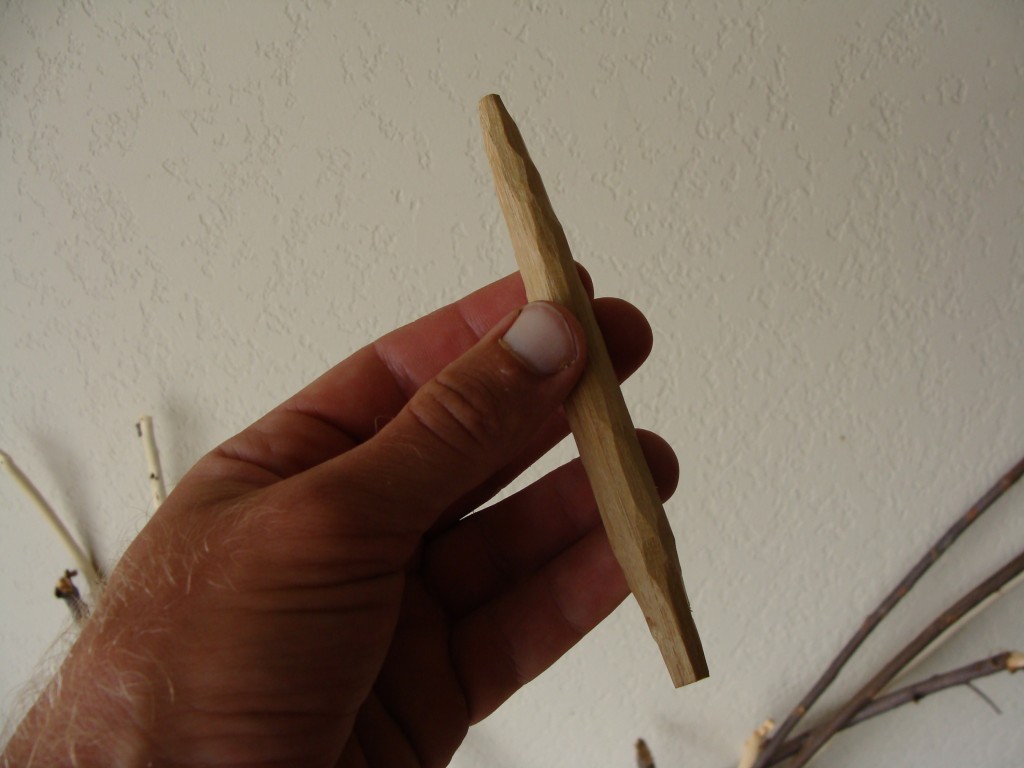
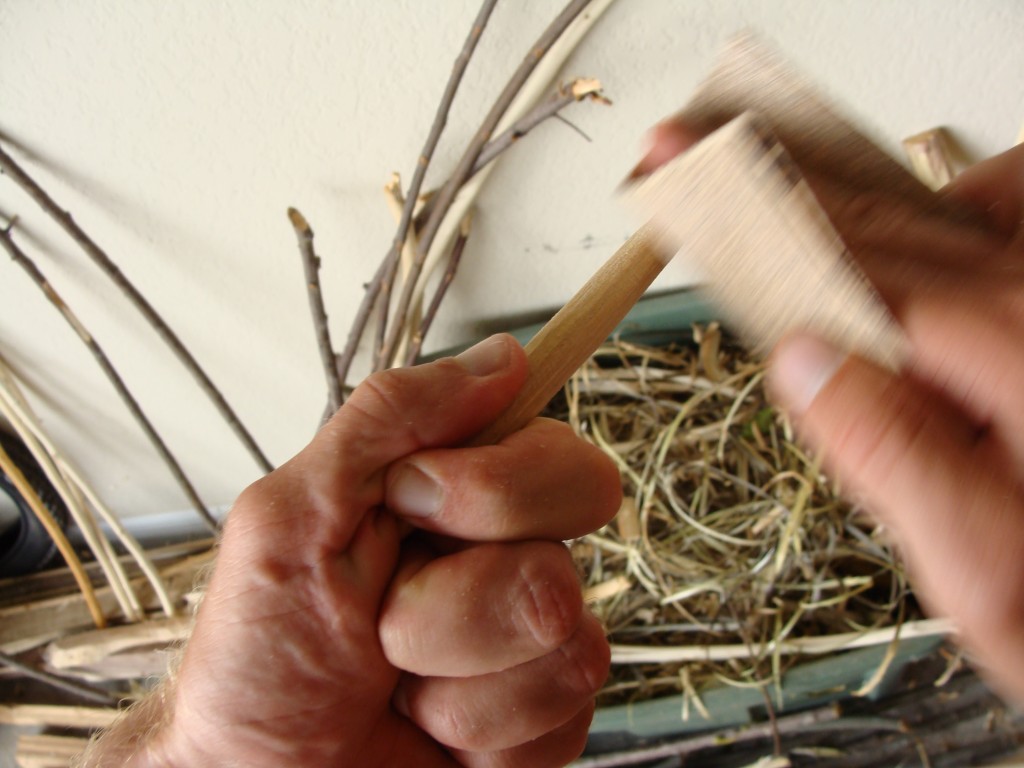
Foreshafts from White Dog Cave were around 6 inches long, making the finished length of most of my darts about 61 inches. I split the heartwood chunks into rectangles the approximate diameter of a complete foreshaft and whittle them down, constantly spinning the piece in my hand as I whittle and work progressively down towards the ends.
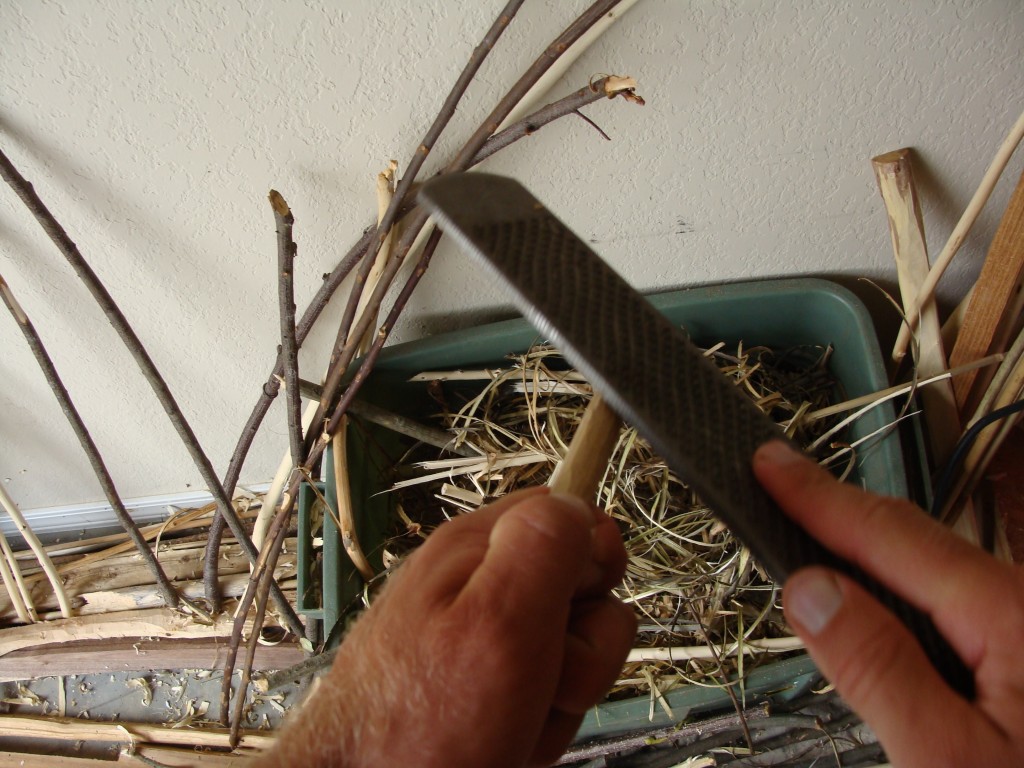
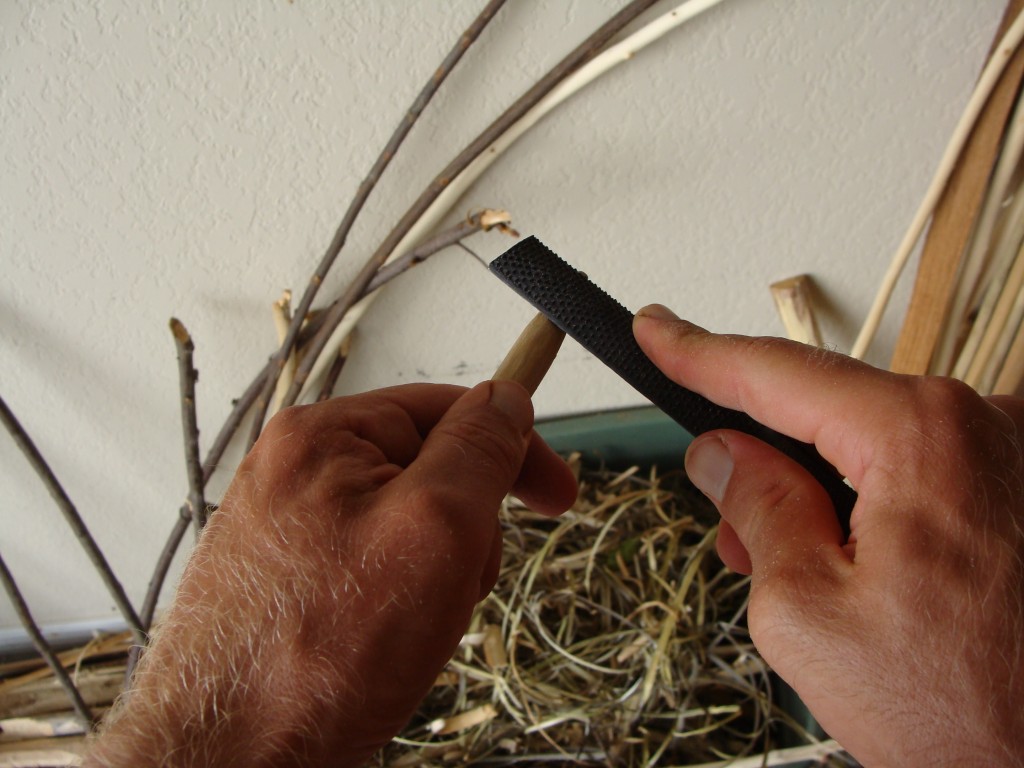
At this point I use a farriers rasp to smooth down the piece, still using the spinning technique.
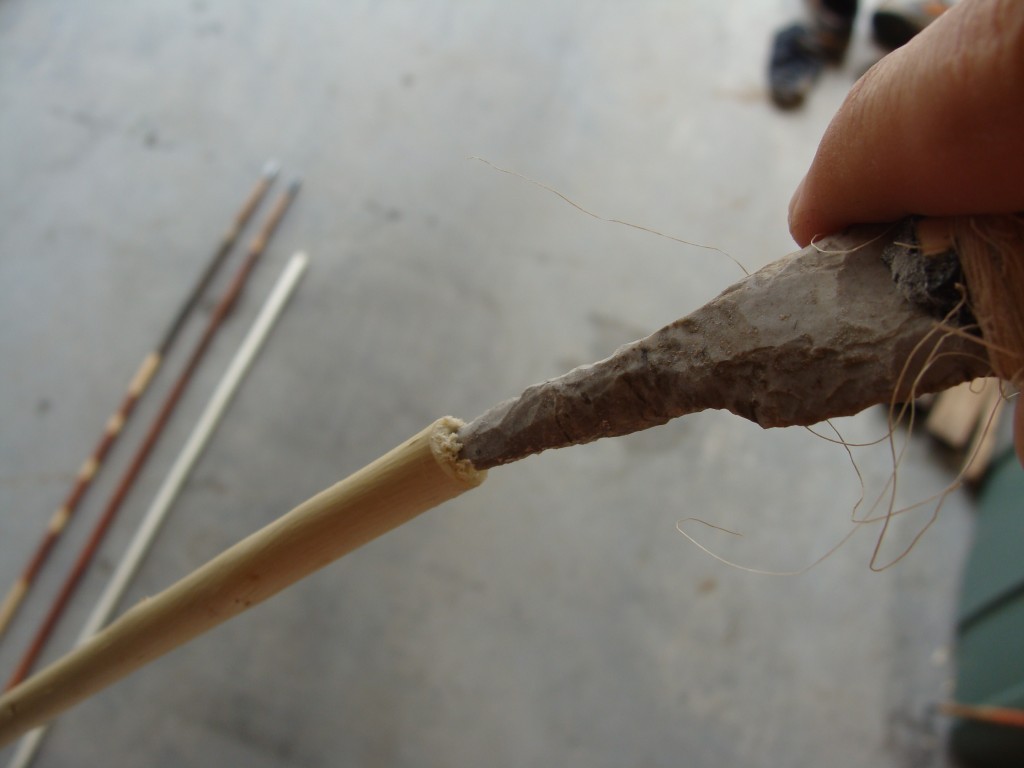
Check the fit of the field point as you go. If it doesn’t fit well and there are spaces between the wood and the point at its base, the target can grap this ridge and you will loose the point in the target. This is the major weakness of this system, aside from having the point break off right at the base when the dart strikes something hard.
Now I sand the foreshaft smooth with rough sandpaper,
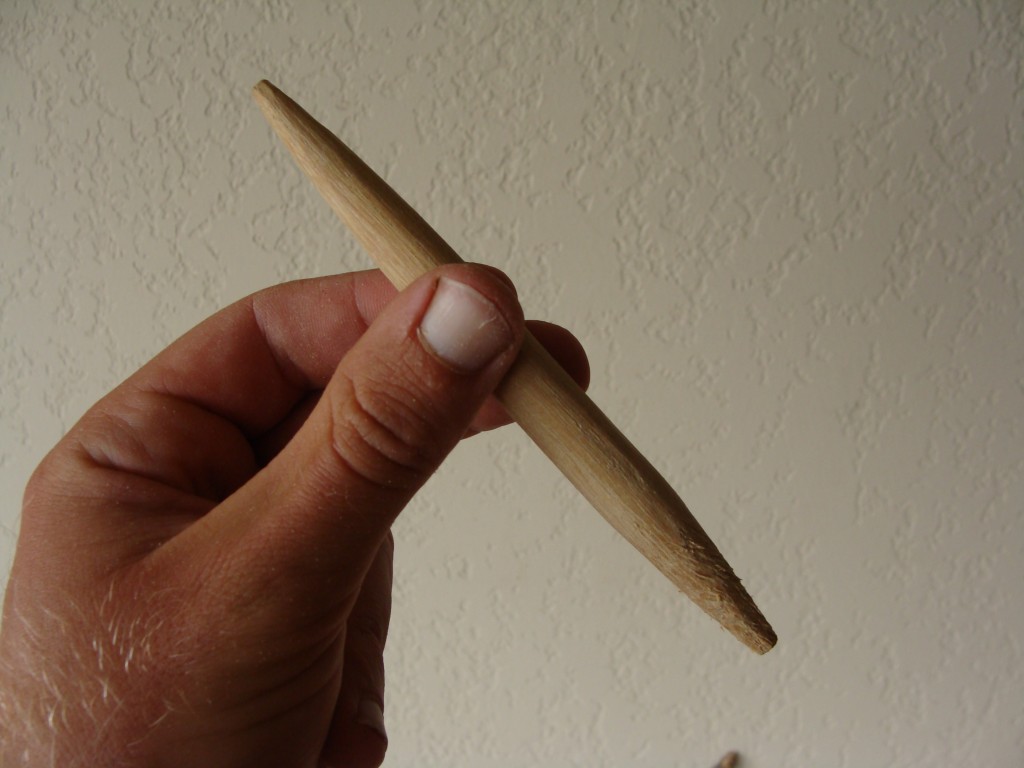
and put spiral markings in the socket end with a rasp. This was also done on the originals to increase friction at the joint and help keep the foreshaft in place.
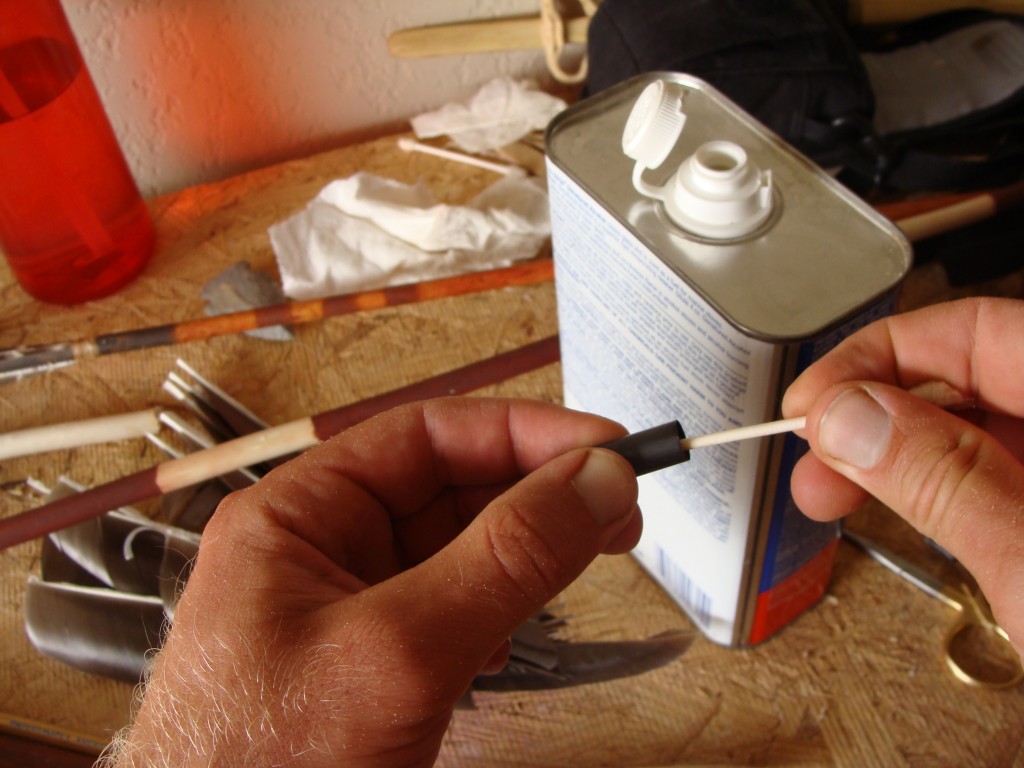
Before gluing on the field point wipe out the inside with alcohol and a q-tip. They have a thin coating of oil from the factory to keep them from rusting. This needs to be cleaned out to promote better adhesion between the glue and metal.
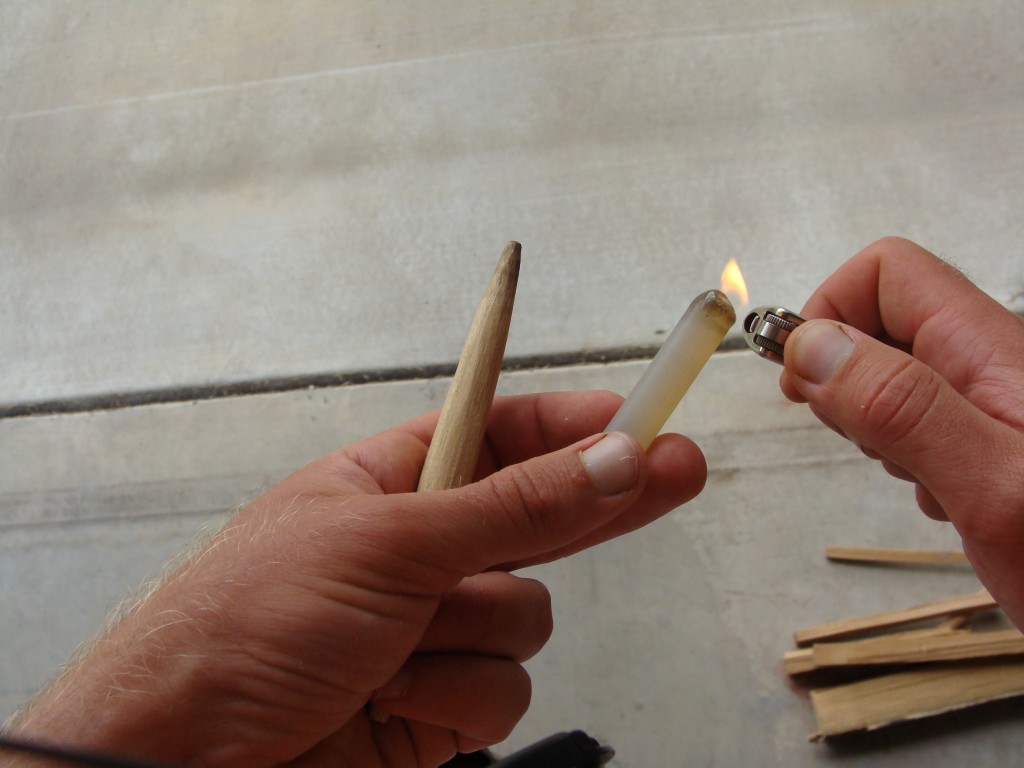
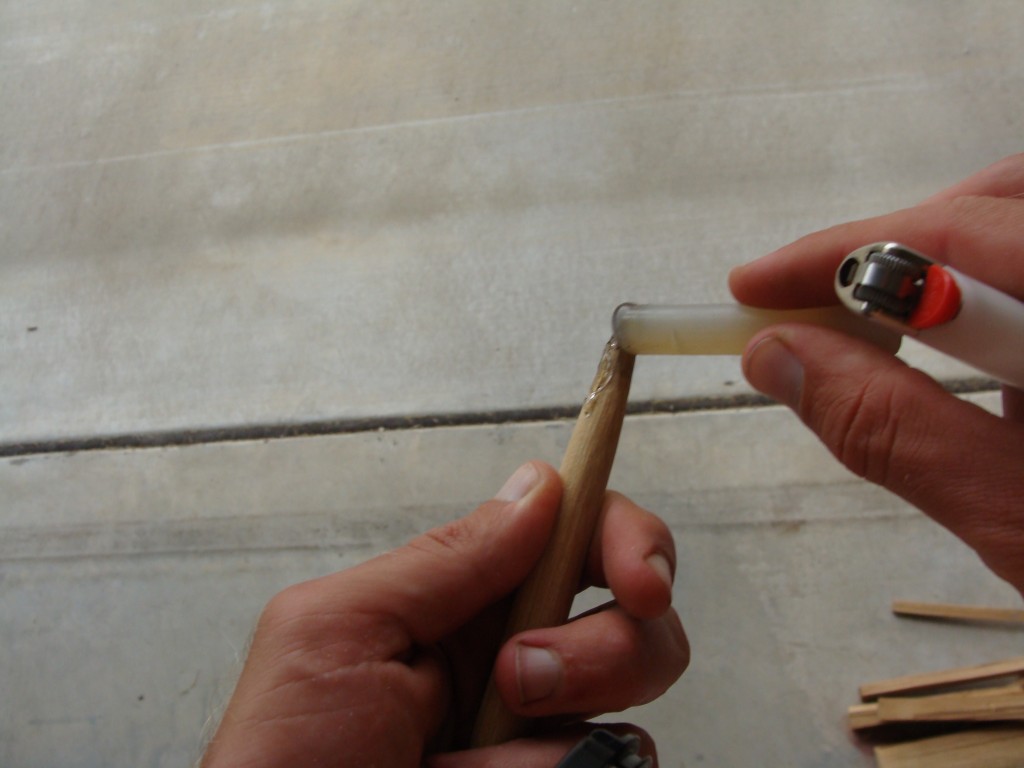
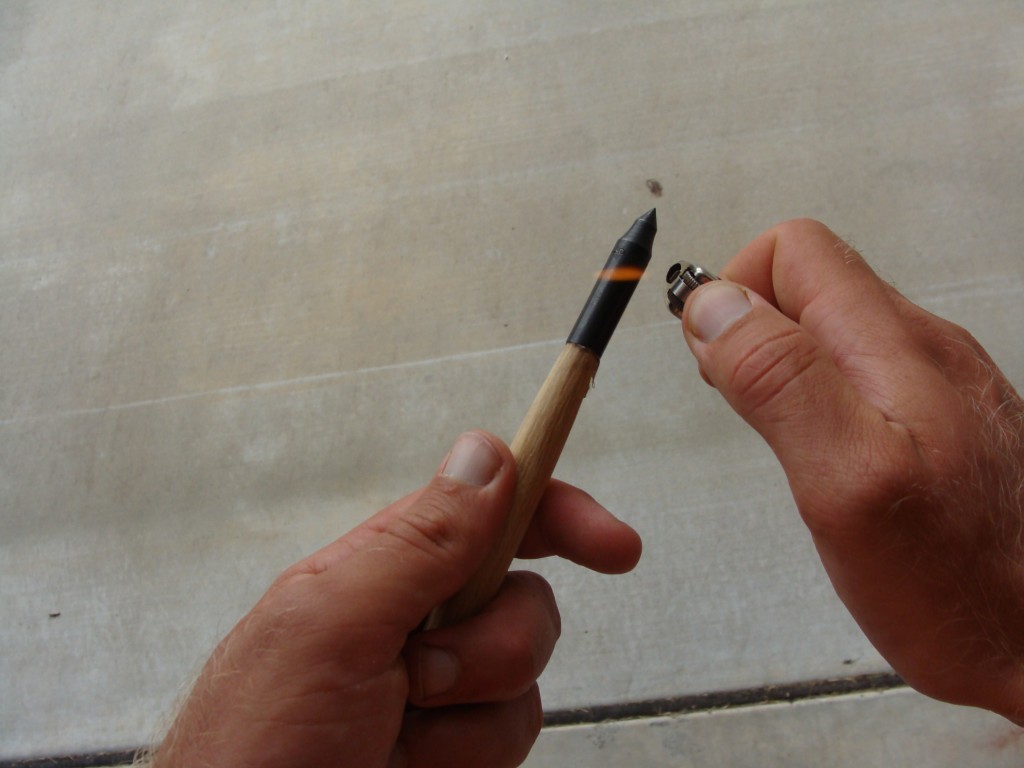
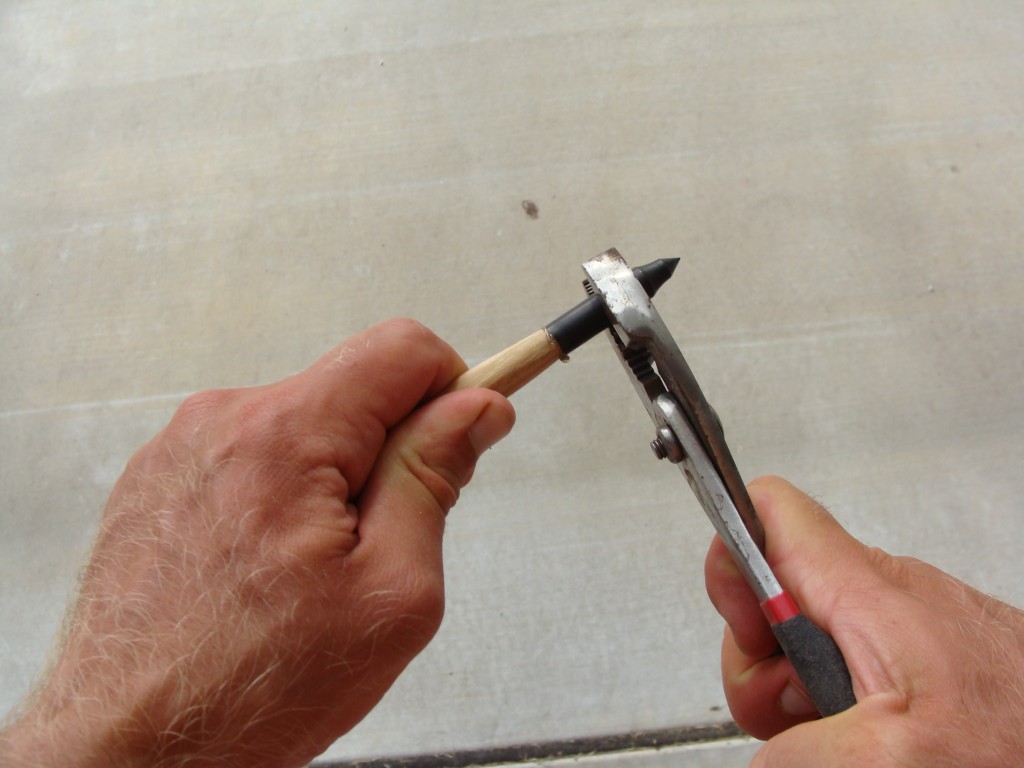
Several folks have come to prefer regular hot melt glue for field points (the cloudy kind seems to work better than the clear). It has more give so the glue bond is less likely to be broken when something hard is struck. Heat up the glue stick and foreshaft end and smear on some glue. Hot surfaces promote better adhesion as well.
Fit on the field point and heat it up with the lighter, then cram it on tightly with pliers, spinning a bit to get an even coating.
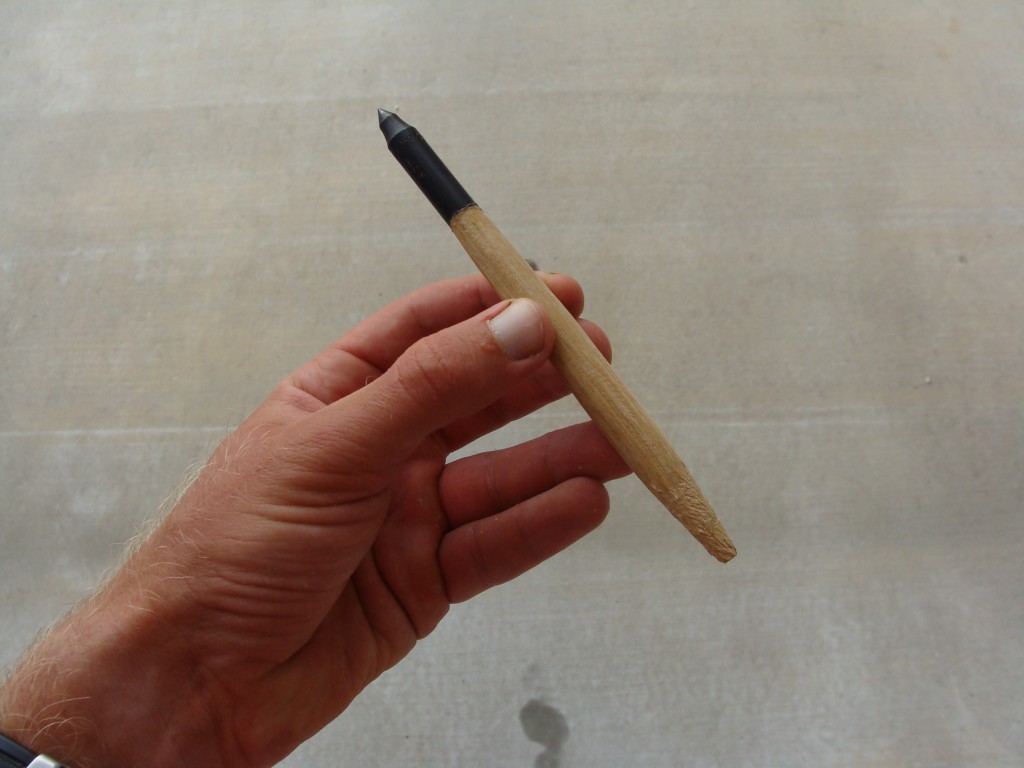
Dip it in water to cool it down, and trim off most of the excess glue.
Make sure the foreshaft fits evenly in the socket, and is straight with the dart shaft. If it isn’t even the foreshaft cone or the shaft leading up to the socket is probably a bit crooked. If the latter is the case once the foreshaft is glued in you can heat up the shaft at the end and try straightening the whole affair.
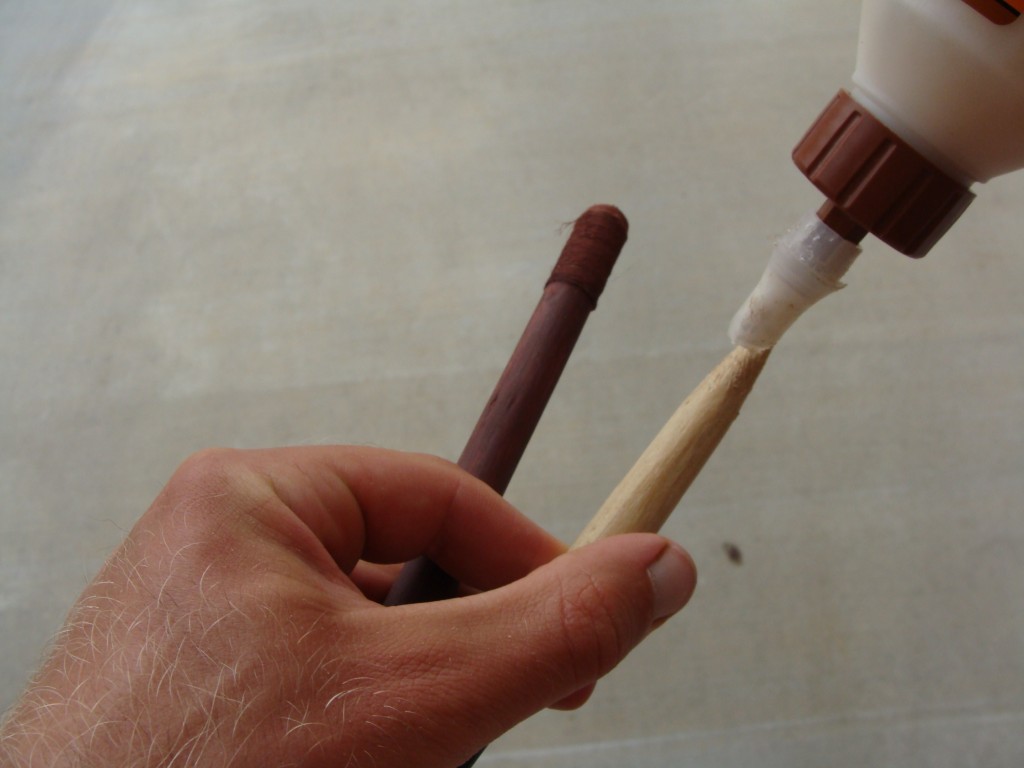
For target shooting I like to glue the foreshaft in with wood glue. If you need to remove it later you can heat up the socket to loosen the glue and wiggle it out, then clean the glue out of the socket with a little more drilling. The ancient Basketmakers did not seem to prefer the foreshafts glued in. In that case wet the foreshaft cone with spit and twist it in tightly. It will hold for a couple of throws, and can easily be replaced. Make sure the fit is tight before every throw or you will loose the foreshaft.
Apply some glue to the end of the foreshaft and fit it in tightly. You can drop the dart straight down on something hard to seat it up.
Apply two or three layers of wood glue over the distal binding. Wait till the first layer is tacky to apply the next, so they bind together better. Wood glue will become brittle with age and chip off, especially if you are using artificial sinew. It soaks into hemp and other natural fibers much better. Maintaining the health of the bindings is an important step to prolonging the life of the dart.
If you treat these darts right, not throwing them at hard objects, into brush, in overly wet conditions, maintaining the bindings and storing them hanging or lying flat they will last a good long while. However these are projectiles and it is the destiny of most darts to become lost, broken, made into other tools, etc.
Enjoy your Basketmaker target darts!
References:
Guernsey, S. James and Alfred V. Kidder
1921 Basket-Maker Caves of Northeastern Arizona: Report on the Excavations, 1916-17. Papers of the Peabody Museum of American Archaeology and Ethnology 8(2). Harvard University, Cambridge.


